Introduction
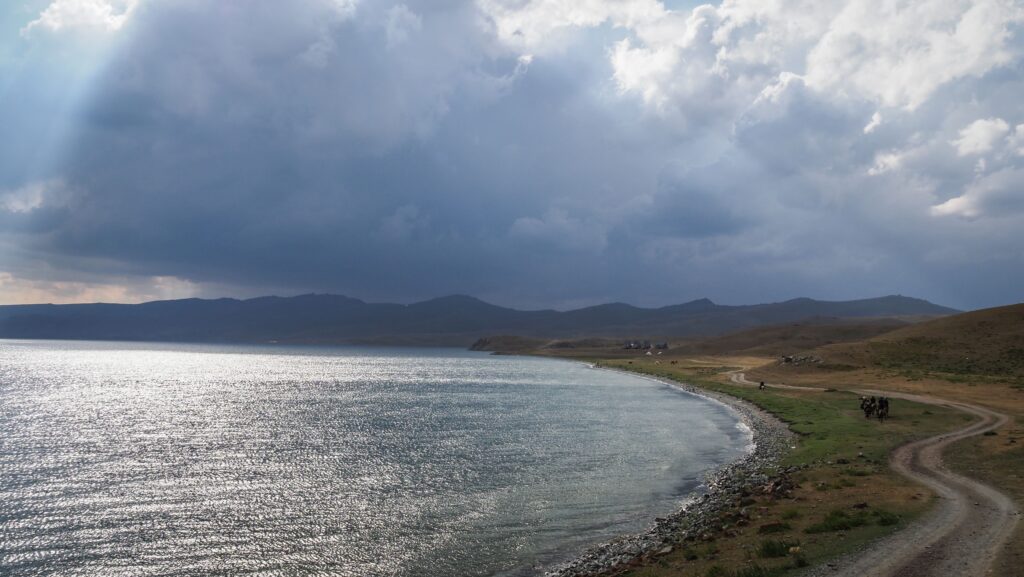
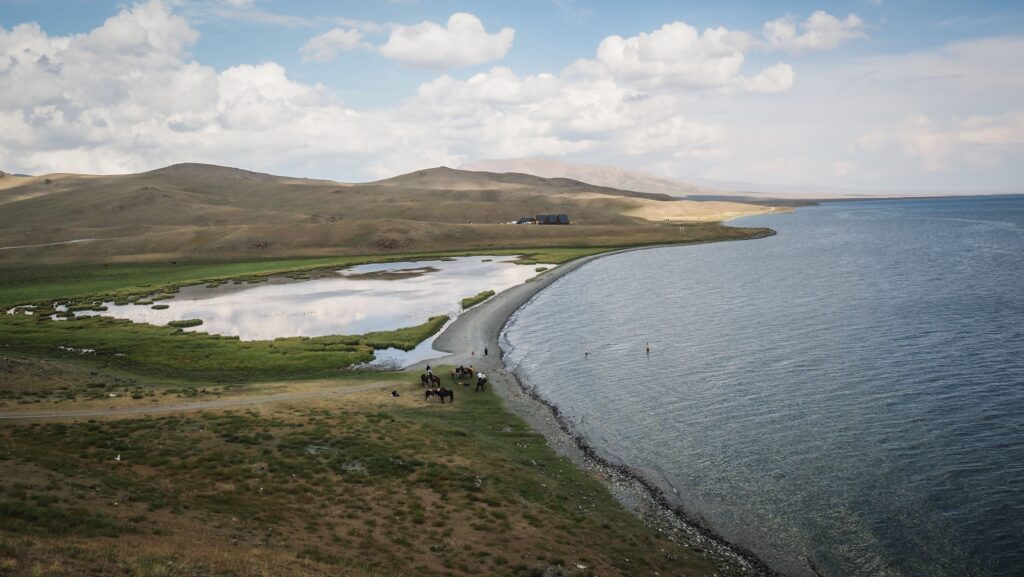
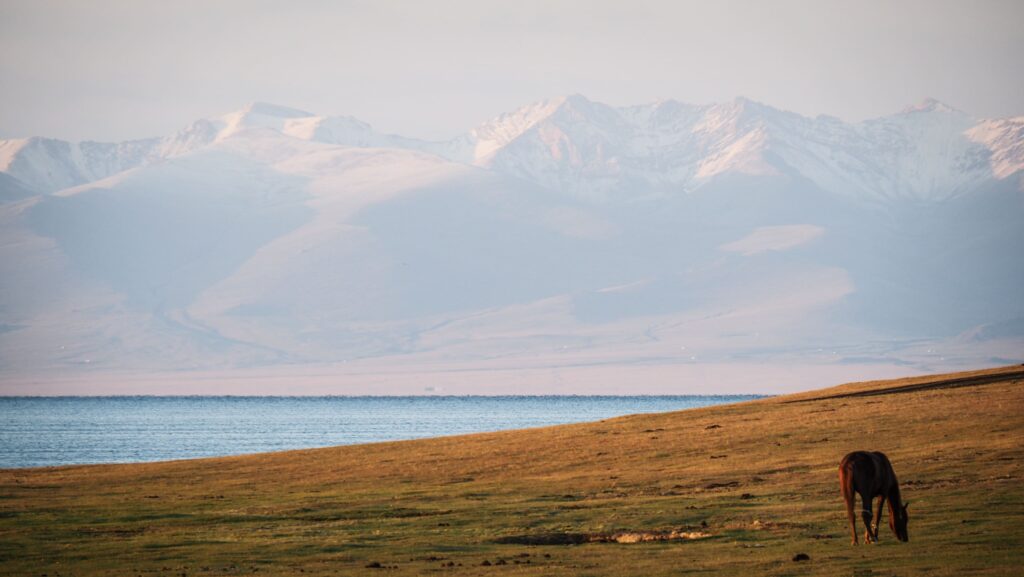
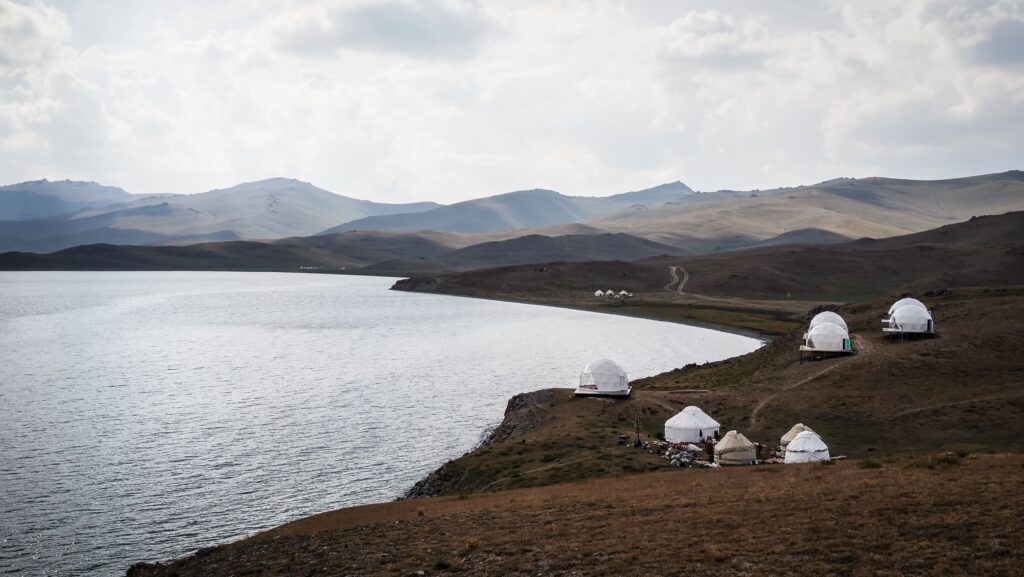
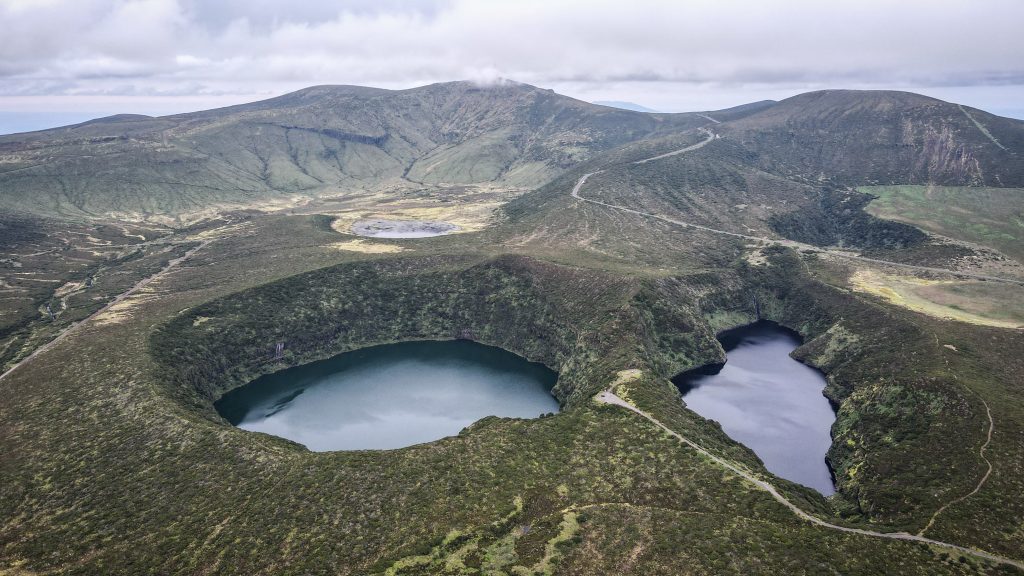
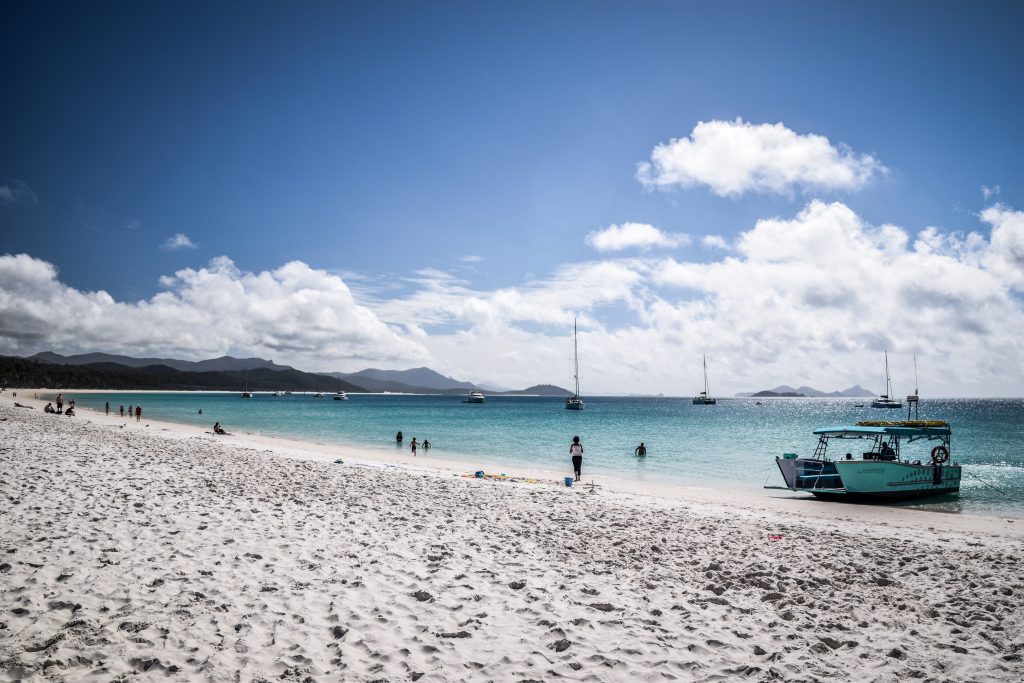
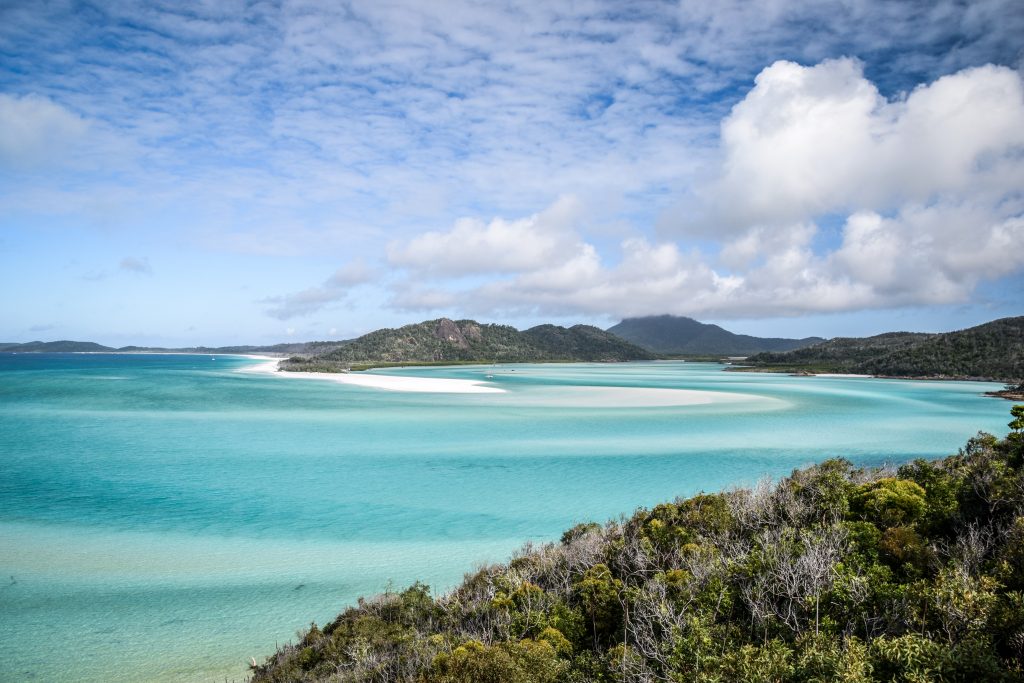
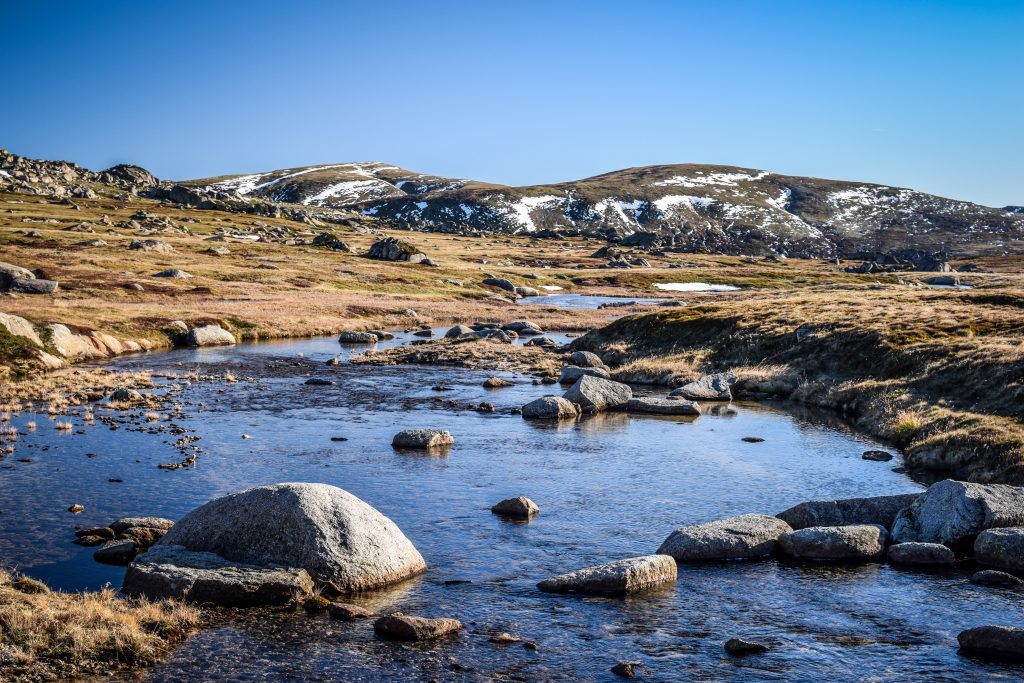
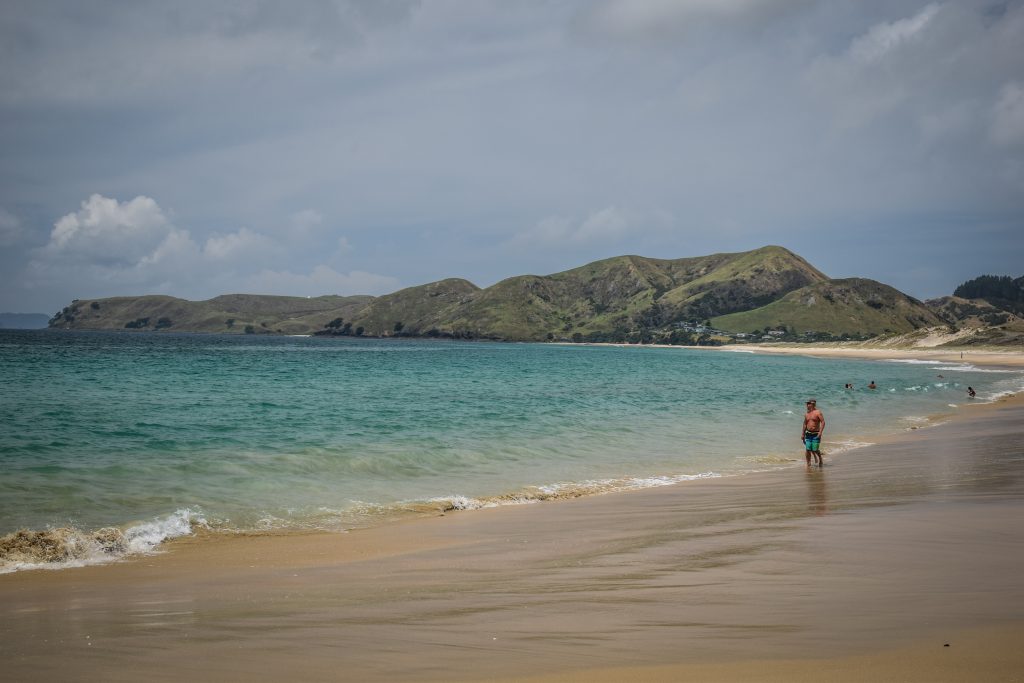
Song-Kul (also spelt Son-Kul) is the second-largest lake in Kyrgyzstan, but its true beauty comes from its isolation and natural surroundings. Sitting at an elevation of approximately 3,016 meters (9,895 feet) above sea level, Song Kul Lake is surrounded by endless grasslands, rolling hills, and dramatic mountain scenery. For travelers searching for authentic nomadic culture, peaceful landscapes, and an escape from busy cities, the lake is one of the most unforgettable destinations in Central Asia.
During summer, local nomadic families move their livestock to the high pastures around the lake, living in traditional yurts just as their ancestors did for centuries. The scenery changes constantly throughout the day. In the morning, the lake reflects snow-covered peaks like a mirror. By evening, the grasslands glow golden under the sunset while herds of horses wander freely across the plains.
Interesting Facts About Song-Kul Lake
It Freezes Completely in Winter
Because of its high elevation, Song-Kul experiences extremely cold winters. The lake usually freezes solid for several months, and temperatures can drop far below zero. During this period, many roads become inaccessible.
Nomads Still Live Traditionally Here
The area around Song-Kul is one of the best places to experience Kyrgyz nomadic culture. Families spend summer months raising sheep, horses, and yaks in the mountain pastures. Visitors can stay in yurts, taste homemade dairy products, and learn about local traditions firsthand.
Horses Are Everywhere
Horses play a huge role in Kyrgyz culture, and Song-Kul is famous for its horseback riding routes. Many travelers explore the lake by horse, crossing valleys and mountain passes with local guides.
The Night Sky Is Incredible
With almost no light pollution, Song-Kul offers spectacular stargazing. On clear nights, the Milky Way becomes clearly visible across the sky, making it a dream destination for photographers and nature lovers.
It Was Once Part of Ancient Silk Road Routes
The region surrounding Song-Kul was historically connected to ancient trading paths crossing Central Asia. Nomads and merchants once traveled through these mountain areas while moving between East and West.
How to get to Song Kul Lake?
By Car
Most travelers begin their journey in Bishkek, the capital of Kyrgyzstan. From there, the trip to Song-Kul usually takes between 5 and 7 hours by car depending on road conditions.
The easiest way to reach the lake is by hiring a driver or joining a tour. If you drive yourself, the easiest and most practical road for a normal 2WD car or shared minibus to reach Song-Kul Lake is generally considered to be the Karakeche Route (Bishkek → Kochkor → Chaek/Jumgal → Karakeche Pass → Song-Kul) from the Jumgal side. It is often described as the most accessible pass for regular vehicles.
Other mountain passes leading to Song-Kul can be steep and difficult for standard cars.
Horse Trekking
For adventurous travelers, multi-day horseback tours to Song-Kul are extremely popular. These trips often begin in towns such as Kochkor or Kyzart and include overnight stays in yurts.
On Foot
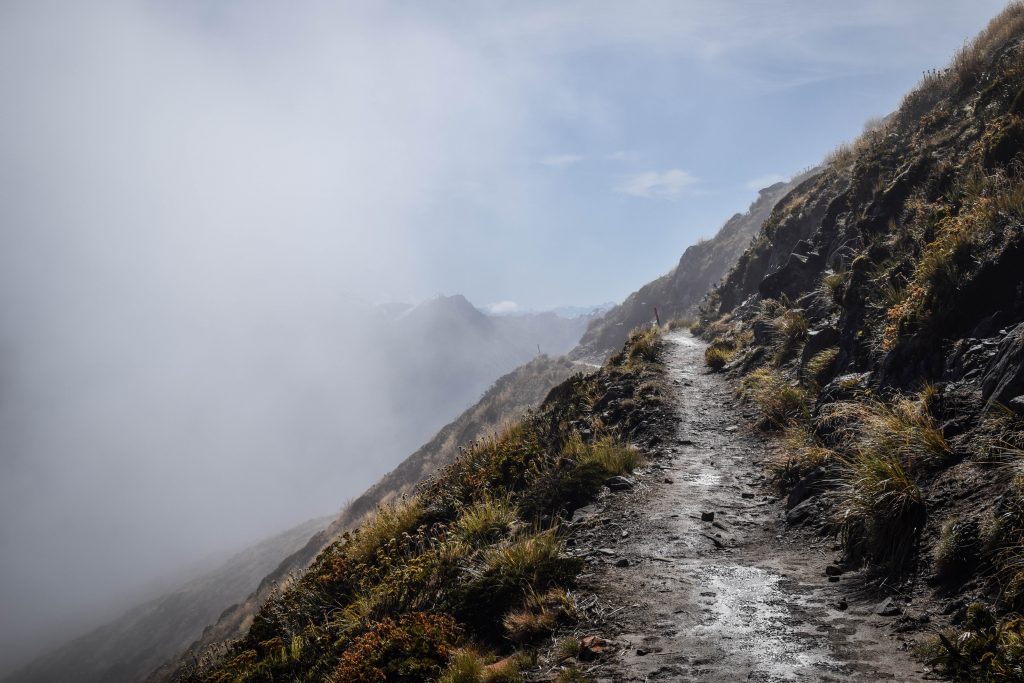
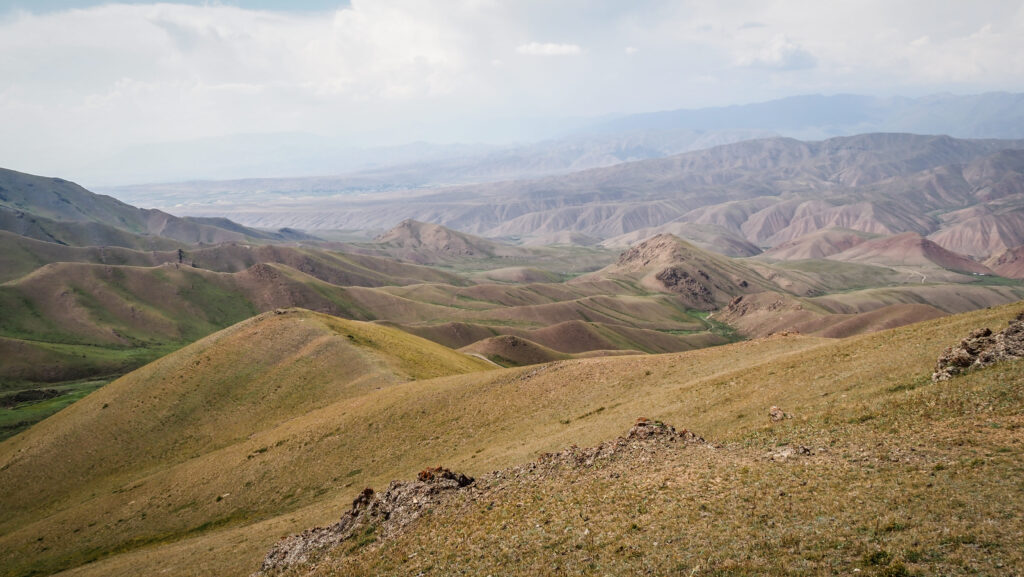
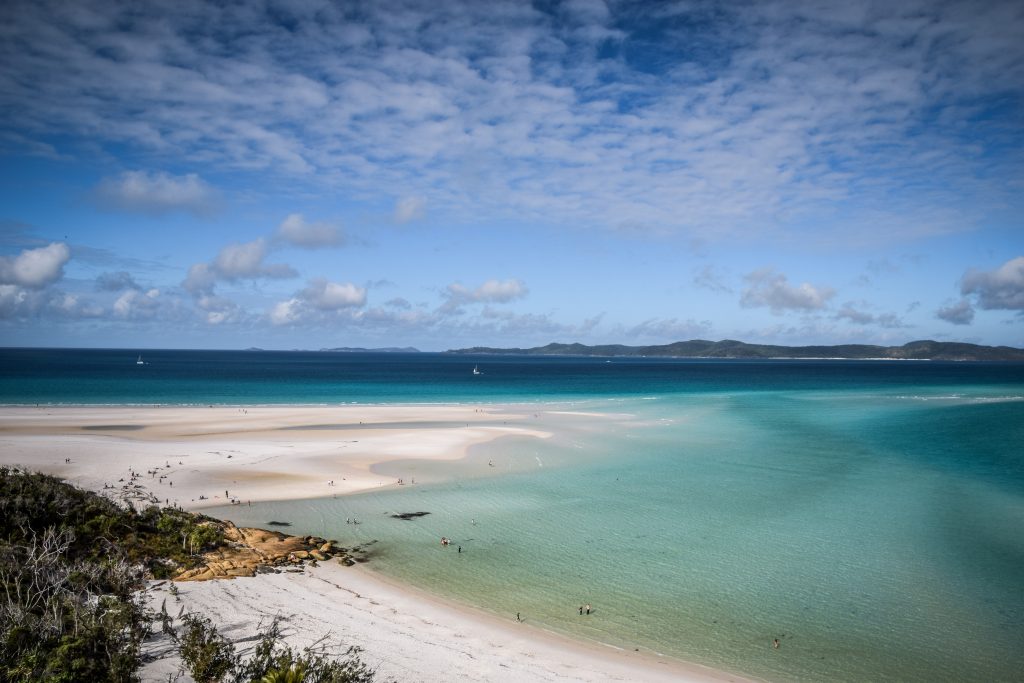
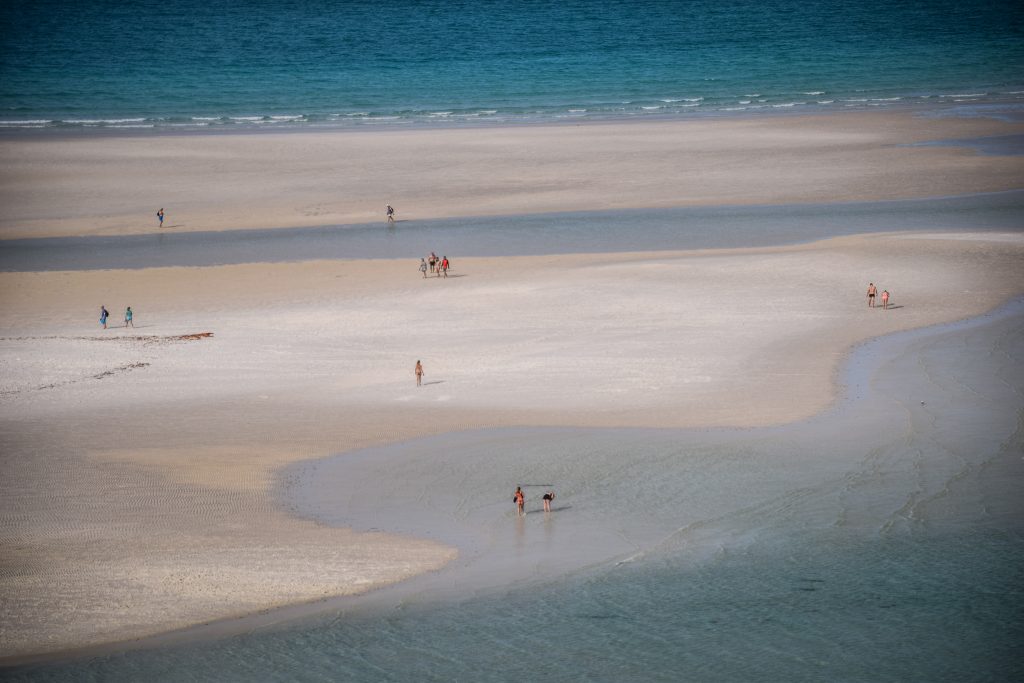
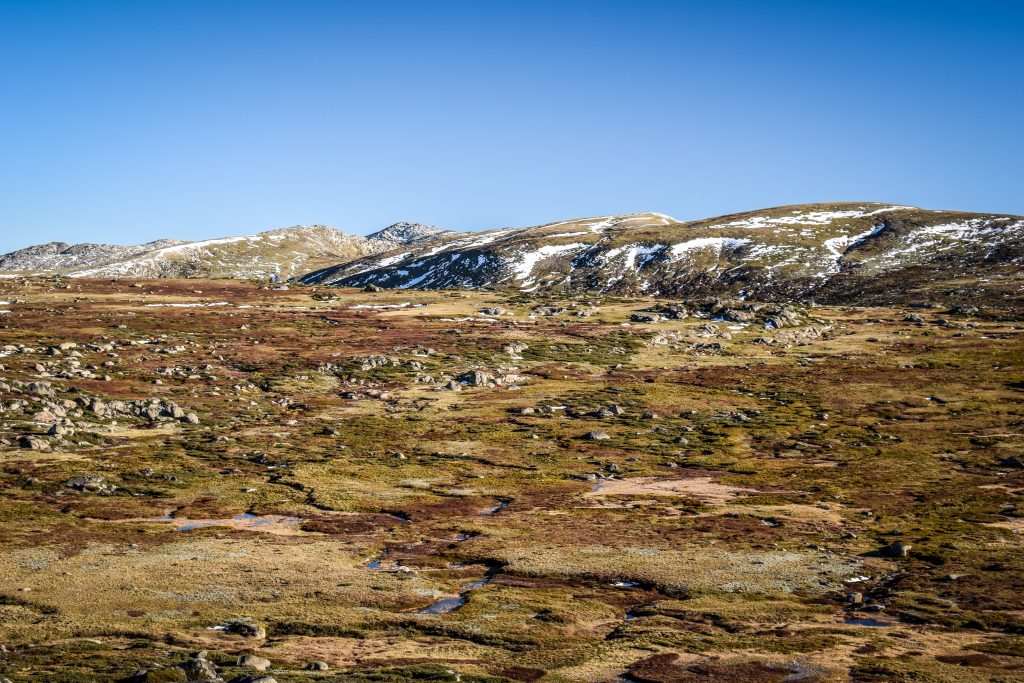
The northern shore of Song-Kul Lake can be comfortably reached on foot from Kyzart in a single day. The route crosses the scenic Tuz Ashuu Pass at 3,233 meters and stretches for roughly 25 kilometers, usually taking between six and eight hours depending on pace and weather conditions.
For the return journey, I chose a different route, hiking over the Jalgiz Kara Pass at 3,326 meters before continuing through Chaar Archa at 3,043 meters and eventually descending to the A367 road, where I managed to hitchhike back to Kyzart. It turned into another long but rewarding day in the mountains, covering close to 30 kilometers in around seven hours.
The best time to visit Song Kul Lake
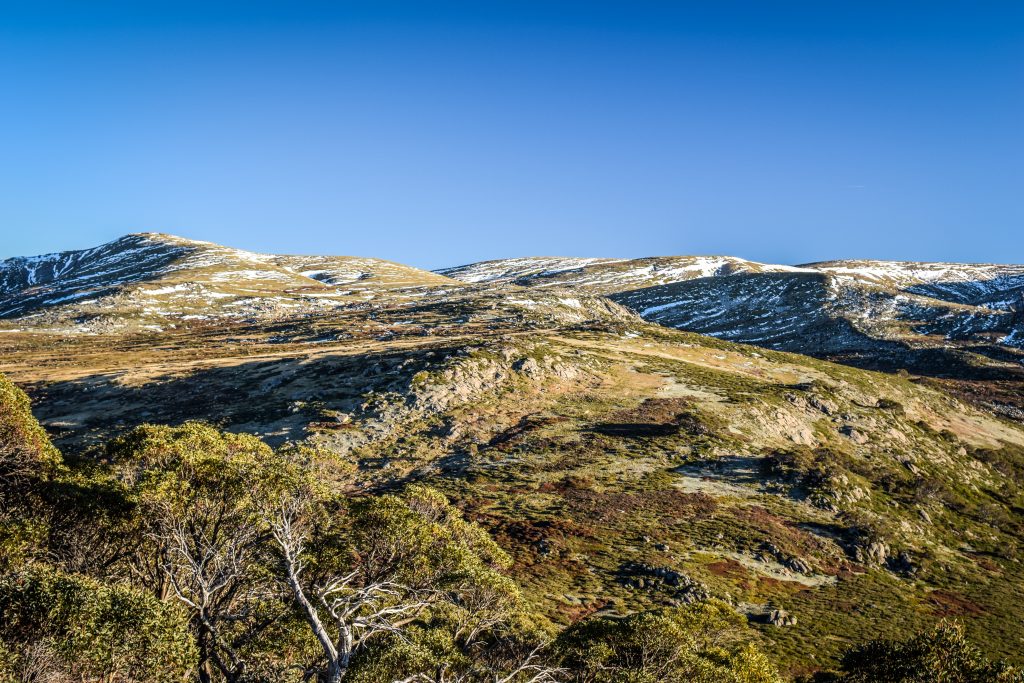
The best time to visit Song-Kul Lake is during the short summer season between mid-June and mid-September, when the high mountain pastures turn green and the remote roads finally become accessible after the long winter. This is the period when nomadic families move to the lake with their livestock, filling the valleys with yurts, horses, and traditional daily life that makes the region feel so unique. July and August are generally the warmest and most comfortable months, offering long daylight hours, clear mountain views, and ideal conditions for hiking, horseback riding, and camping.
Even in the middle of summer, however, temperatures can change quickly at over 3,000 meters above sea level, with cold nights, strong winds, and occasional storms arriving without warning. Early summer often brings lush landscapes covered in wildflowers, while September offers quieter trails, golden grasslands, and crisp autumn air before the first snowfall begins closing the mountain passes again. Outside of summer, Song-Kul becomes an isolated and extremely harsh environment, with heavy snow, frozen roads, and temperatures far below freezing, making travel much more difficult.
Where to spend a night?
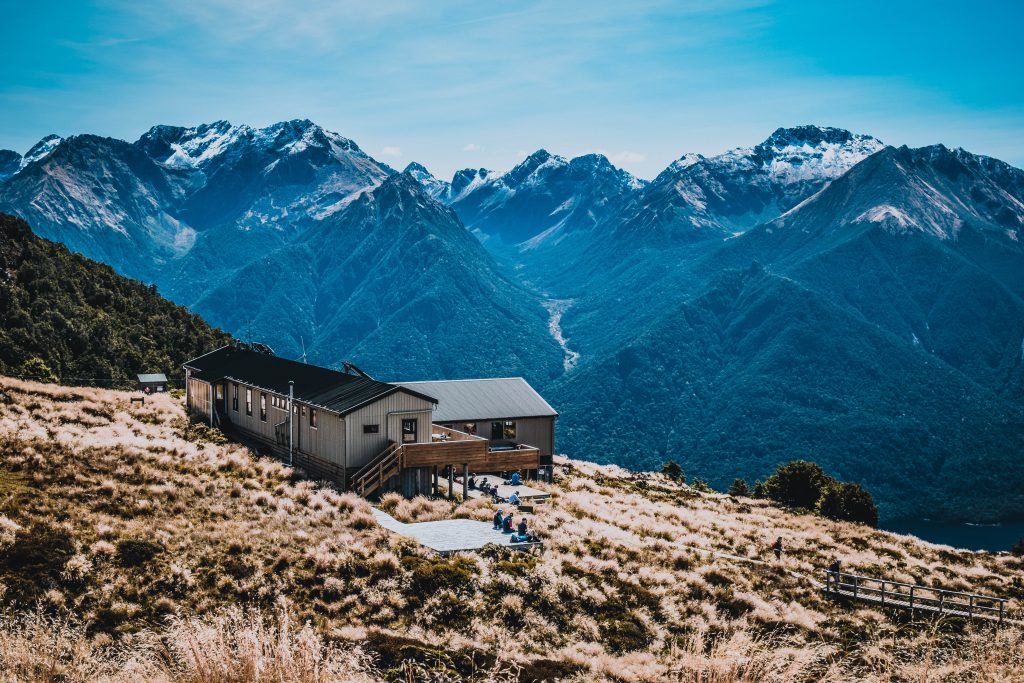
In Kyzart, I recommend Mira Guest House, and on the shore of Song Kul Lake – Yurt Camp Tuzashuu Azamat.
My experience
Day 1
I arrived in Kyzart fairly late in the day, and since the hike to Song-Kul Lake was supposed to take around five or six hours, I knew I had little time to waste. After finding a guesthouse through Google Maps, I stopped briefly to arrange a room for the following night and ask whether I could safely leave my car there.
Once everything was sorted, I quickly repacked my gear and headed toward the lake. The road at first felt endless and rather monotonous. After crossing a bridge, a group of horse riders passed me, and not long after I noticed a car approaching. On impulse, I decided to try hitchhiking, and to my surprise the driver stopped immediately. As it turned out, he was heading exactly where I was going because his parents owned yurts near the lake. It felt like unbelievable luck.
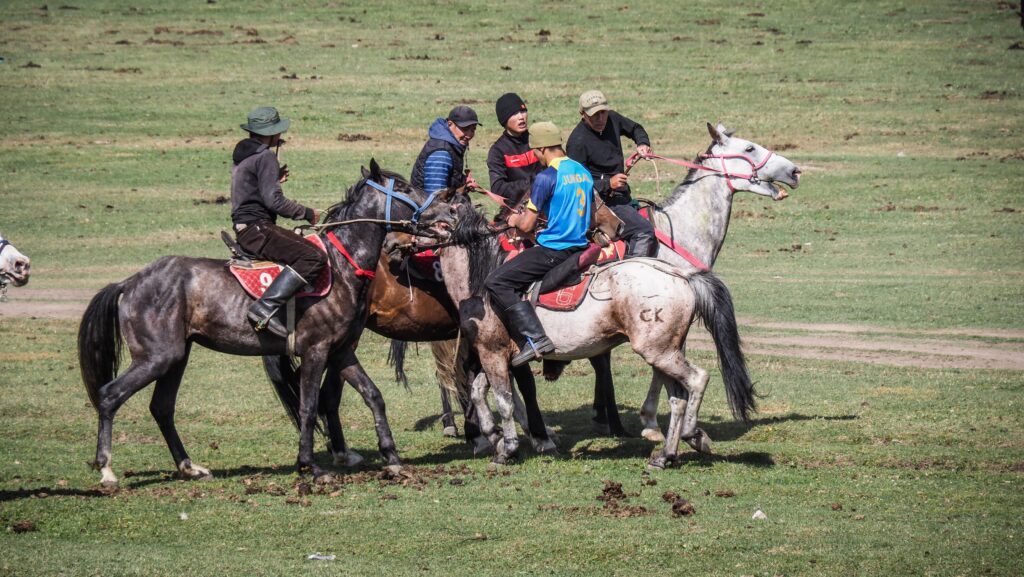
Since the road apparently stayed uneventful until the Tuz Ashuu Pass (3233 m), I was more than happy to save both time and energy. Before reaching the top, we paused for a short break to cool down the overheated car engine, then continued onward until we came across a group of Kyrgyz men playing the traditional horseback game involving a goat carcass. We stopped to watch for a while, and I ended up taking countless photos.

Around that moment, however, the driver told me he expected 1,000 som for the ride. Although he had been friendly throughout the journey, the amount felt excessive and slightly spoiled what had otherwise been such a fortunate encounter. On the other hand, chipping on to the fuel costs while hitchhiking in Kyrgyzstan is perfectly normal.
After arriving at the lake, I wandered down to the shoreline and climbed a small hill for a better panorama. At one point I noticed a man bathing in the freezing water alongside his horse, which felt wonderfully surreal even by Kyrgyzstan standards. As I continued walking along the shore, dark storm clouds began gathering over the mountains, and I started wondering whether I would reach the yurt camp before the rain arrived. Thankfully, I made it just in time. I pitched my tent and then I headed inside the yurt to ask about dinner.
By then the weather had turned cold and extremely windy. Inside the yurt, I met a group of women on a horseback riding tour — mostly Scandinavians along with a few particularly loud and stereotypically British travelers — while I quietly drank tea and observed the lively atmosphere around me.
Shortly before dinner, one of the local Kyrgyz men approached and insisted that sleeping in the tent would be too cold, offering me a bed inside the yurt instead. He told me to pack up my tent and move indoors, which I accepted very gratefully. Dinner was simple but satisfying, much like most meals in mountain yurt camps, and despite the freezing night outside, the thick blankets and my jacket kept me surprisingly warm. In the end, they only charged me for dinner and refused to take any extra money for the bed. It was an incredibly kind gesture.
Looking back, the entire day felt chaotic and unpredictable, with almost nothing going according to plan, yet somehow everything worked out perfectly in the end. Had I not hitchhiked, I almost certainly would have been caught in the storm, and I doubt I would have managed the long return hike to Kyzart the following day. Instead, the day ended with shelter, warmth, and unexpected hospitality.
Day 2
I set off around 6 AM, and the morning was absolutely beautiful. The soft early light covered the landscape, the air was perfectly still, and the mountains across the lake stood out sharply beneath a deep blue sky. It was cold, but pleasantly so, with almost no wind.
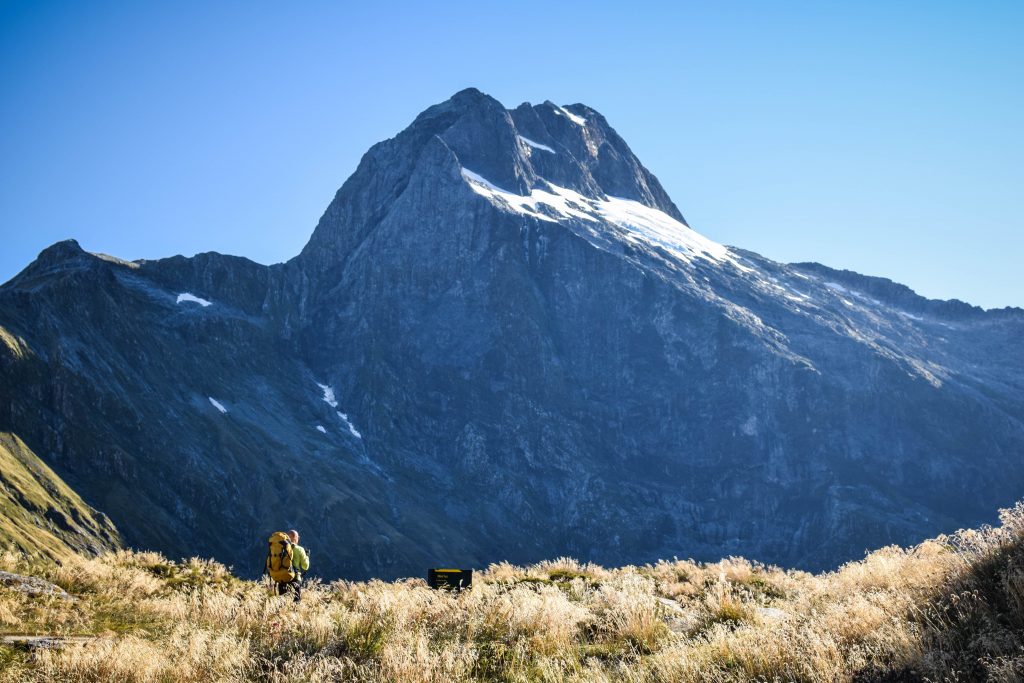
After reaching Jalgiz Kara Pass (3326 m) and beginning the descent, I finally encountered the first group of hikers. Honestly, although the trek is certainly long for a single day, an early start makes it completely manageable, so I was a bit surprised that most people choose to split it into two days and stay overnight in the yurts along the route.
Beyond the yurt camps, the trail climbed again before continuing across a long, mostly flat section along the mountainside. Eventually, the path rose toward Chaar Archa Pass (3043 m), though in general the climbs on this hike felt fairly gentle rather than steep. At the top, I met a man sitting in his car and we exchanged a few words in my very limited Russian.
From there, the long descent toward the road began, and by that point I was starting to feel truly exhausted. Fortunately, I was picked up almost immediately by a truck driver. On the way toward Kyzart, he and his friend stopped by a river for a quick wash, which felt like a very normal mountain-road moment. They later dropped me off at the turnoff for the village, and as I continued walking, another car soon pulled over and offered me a ride the rest of the way. The driver turned out to be a local guide, and he was incredibly kind and welcoming.
What to see and do around Song Kul Lake
Explore the Area on Horseback
Many of the yurt camps around Song-Kul Lake organize horseback rides directly from the lakeshore, making it easy for visitors to explore the surrounding mountains and pastures without needing any previous riding experience. Short rides usually follow the shoreline or nearby hills, while longer excursions venture deeper into the wide alpine valleys and remote grazing areas used by nomadic shepherds during summer. Riding across the open grasslands with herds of horses scattered across the landscape feels like the most natural way to experience Song-Kul, especially in a region where horses remain central to everyday life. Local guides from the yurt camps often lead the trips, sharing hidden viewpoints, quiet valleys, and panoramic mountain scenery that would be difficult to reach on foot. Even for beginners, these rides are usually relaxed and accessible, turning horseback travel into one of the most memorable experiences at the lake.
Watch Traditional Nomadic Games
With a bit of luck, you might come across a game of Kok Boru being played on the open pastures around Song Kul Lake. The traditional sport, played entirely on horseback, is intense and surprisingly physical, with riders battling for control of a goat carcass while galloping across the field at full speed. From a distance it can look almost chaotic, but the game has deep roots in the nomadic history of Central Asia and remains an important part of Kyrgyz culture today. Watching the riders manoeuvre their horses with incredible skill and precision offers a fascinating glimpse into the strong connection between the Kyrgyz people, horses, and life on the steppe.
Visit Ancient Petroglyphs
Beyond the sweeping landscapes and nomadic traditions, the surroundings of Song-Kul Lake also preserve quiet traces of an ancient past. Hidden among the hills and rocky slopes are scattered petroglyphs carved into stone by early peoples who once travelled through these high mountain valleys centuries ago. Many of the engravings portray wild animals such as ibex, deer, wolves, and horses, alongside hunting scenes and strange symbolic markings whose meanings have long been forgotten. Unlike the well-known petroglyph fields near Cholpon-Ata, the carvings around Song-Kul remain largely unnoticed, which makes stumbling upon them feel far more authentic and rewarding. Some require short detours away from the main trails or yurt camps, adding a small sense of discovery to the experience.
Drive Moldo-Ashuu
Moldo-Ashuu Pass is one of the scenic mountain passes connecting the remote highlands around Song-Kul Lake with the valleys further south. Rising above 3,000 meters, the pass offers wide panoramas of rolling grasslands, rugged mountain ridges, and the endless open landscapes that make central Kyrgyzstan feel so wild and untouched. The road crossing the pass is rough and winding, but the journey itself is part of the experience, passing through isolated summer pastures dotted with yurts, grazing horses, and shepherd camps.
From Song-Kul Lake, Moldo-Ashuu can be reached by following the southern road heading toward the Naryn region. In dry conditions, the road can be driven in any car as it is good gravel. The drive from the lakeshore to the pass usually takes a couple of hours depending on weather and road conditions, with several scenic viewpoints along the way.


: Złoty Stok – Głuchołazy")


: the highest volcano on Java")