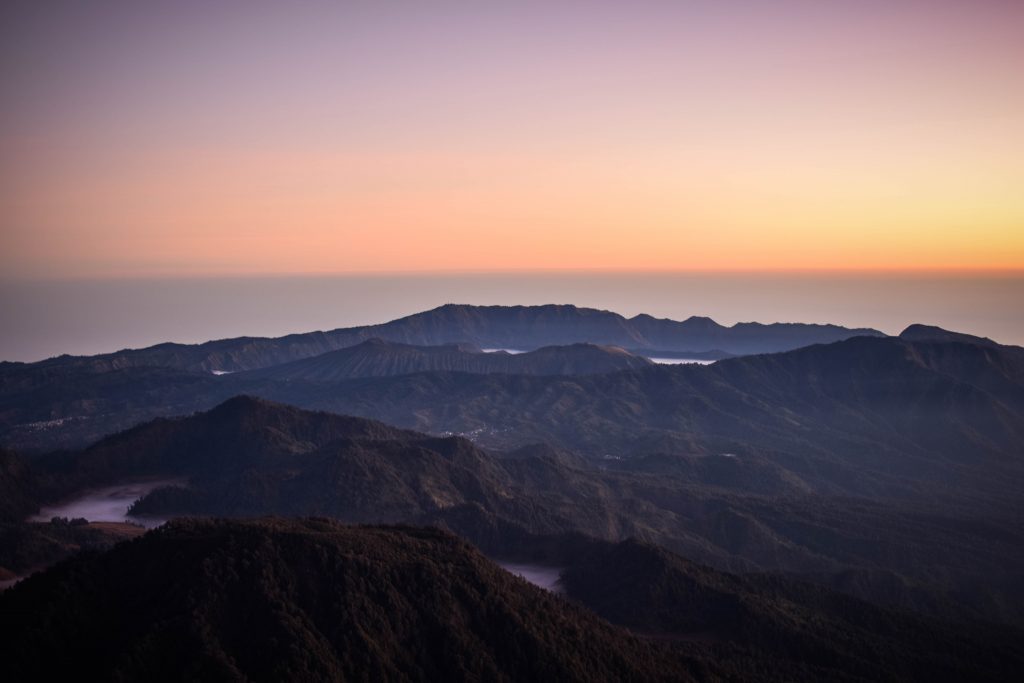
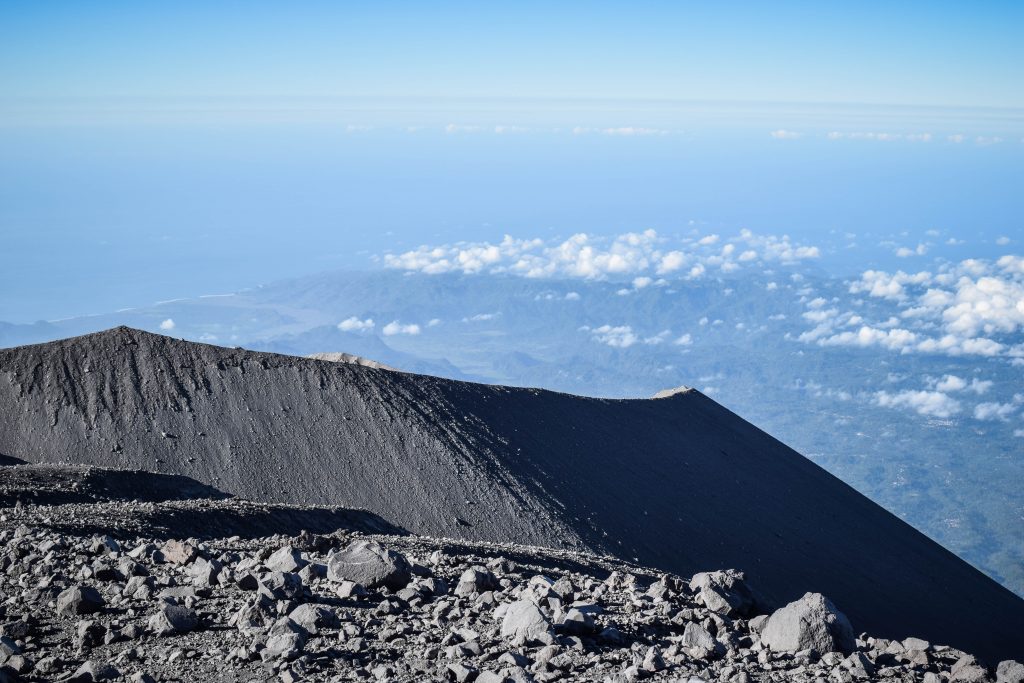
Semeru is a stratovolcano, which with its 3.676 meters above sea level, can be called the roof of Java. The mountain is also known as Mahameru, meaning ‘The Great Mountain’. The name originates from the Hindu cosmology’s mountain of Meru or Sumeru, the place where gods reside.
It’s a popular hiking destination that provides you with a feeling of real adventure. In the end, you are walking on an active volcano! The activity can be noticed many times, especially when you see volcanic ash coming out of the crater at the summit. On the way up the mountain, you start thinking about how it will look up there. Is it even safe?
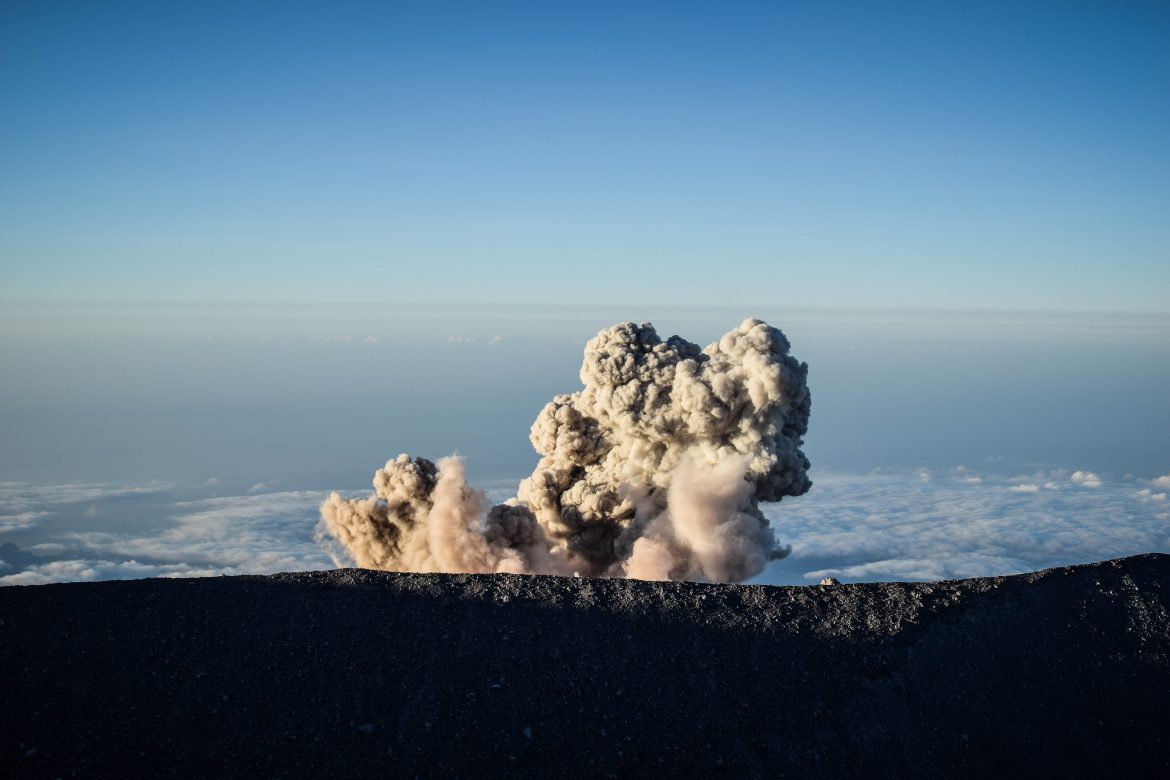
Semeru has a long history of eruptions and can be periodically closed for hikers. I was there in August 2019 and felt perfectly safe. Needless to say, care has to be taken on the last kilometers when walking on the steep and exposed slope and later when wandering around the summit. Most probably you will witness small eruption when volcanic ash goes into the air just a few meters from you but that’s the part of the game and the factor that attracts so many tourists. Just don’t come too close to avoid breathing it in. Everyone wants to have a selfie with a small eruption in the background and it happens every 20-30min!
Everything you need to know before you go
Technical details
- Summit: 3,676 meters above sea level
- Altitude gain: 1,576 meters
- Distance: 42 km return
- Ranu Kumbolo Lake campsite: 2,400 meters above sea level (10.5 km from the starting point)
- Kalimati campsite: 2,700 above sea level (7.5 km from Ranu Kumbolo Lake)
- Final ascent: 3 km one way from Kalimati campsite
- My difficulty rating: medium / hard
Best time to go
The dry season, which is the best time for the hike, starts from late April and lasts until November. During the rainy season from January to late April the trail to the summit may be closed but most importantly going there can be dangerous. It’s also the time to restore the ecosystem of the area.
How to get there?
We did the route Malang – Tumpang – Ranu Pane. The first leg was really straightforward as we ordered a taxi via the Grab mobile app. Just tell the driver to take you to the jeep’s departure point. Both Grab and Gojek are great ways to get around Indonesia. They work in the same way as Uber but very often have more options available. You can literally order delivery of anything you can imagine!
Being the only hikers there, we waited well over an hour for other people to join in order to lower the costs of jeep ride. Unfortunately, no one came. After bargaining, it cost us 150.000 IDR per person. The rule is simple – the bigger the group, the lower the cost per person is. They charge per vehicle and as it was only two of us, we had to pay a bit more.
Required documents
Medical check – must be obtained from the local hospitals or public health facilities 1 day before the hike. It’s an easy procedure – they just check your weight, high, blood pressure and ask about your general condition. I don’t remember the exact cost, but it was around 20.000-40.000 IDR. We did it in Malang 1 day prior to the hike but you may also do it in Tumpang or even Ranu Pane village.
Passport / ID copy – Photocopy of official identity document that is still valid. For hikers who are less than 17 years old, parents’ approval has to be signed and stamped (6.000 IDR fee) together with a photocopy of parents’ passport / ID.
Registration form – confirmation of online registration or the document filled in the office in Ranu Pane.
Bookings and prices
Registration for the permit can be done through the website of Bromo Tengger Semeru National Park. Just follow the online booking registration flow, make a payment and wait for the confirmation email. The national park puts a limit of 600 people entering the trail every day, that’s why in high season it’s better to make the booking and secure a spot. Don’t forget to do it at least 3 days before the start of the hike.
There was a problem with processing the payment with my credit card, so if you have the same issue, just take enough cash and pay in the office in Ranu Pane. Apparently, if you don’t make a payment as soon as 5 hours after registration, it will be canceled. Even though, we didn’t have any problems explaining to the ranger that the payment couldn’t be processed and he accepted cash.
Ticket prices for Indonesians:
Working Day 19.000 IDR per person per day
Holidays 24.000 IDR per person per day
Ticket prices for Foreigners:
Working Day 210.000 IDR per person per day
Holidays 310.000 IDR per person per day
Briefing
After picking up the permit in the rangers’ office, you will be invited to the briefing. They explain the route, location of the campsites and some safety tips to keep in mind. One rule is especially worth remembering: whatever you bring in, bring it out with you. There are no rubbish bins and unfortunately, trash can be found around campsites. Indonesia has a big problem with rubbish and makes sure not to leave anything behind. Simply throw it away in Ranu Pane village.
Itineraries
2 DAYS 1 NIGHT
You will walk 42 km in two days and the second one will be especially tiring. Do it only if you are an experienced hiker in decent shape. We did it this way and it was fine, though one extra day to enjoy nature wouldn’t hurt. The campsite at Ranu Kumbalo Lake is only 3 hours walk away from Ranu Pane, that’s why it seemed unreasonable to stay there for the night and we pushed to the end instead.
Day 1: Ranu Pane – Ranu Kumbalo Lake – Kalimati campsite
Day 2: Kalimati campsite – Semeru summit – Kalimati campsite – Ranu Kumbalo Lake – Ranu Pane
3 DAYS 2 NIGHTS
The most popular and optimal version of the hike, giving you more time on the side of nature, taking all the sights at a slower pace. Good idea if you have more time to spend in the national park.
Day 1: Ranu Pane – Ranu Kumbalo Lake – Kalimati campsite
Day 2: Kalimati campsite – Semeru summit – Kalimati campsite – Ranu Kumbalo Lake
Day 3: Ranu Kumbalo Lake – Ranu Pane
4 DAYS 3 NIGHTS
The very long and chilling version of the hike, for me it would be a bit too long though. But if you are with a group of friends, why not 🙂
Day 1: Ranu Pane – Ranu Kumbalo Lake – Kalimati campsite
Day 2: Kalimati campsite – Semeru summit – Kalimati campsite
Day 3: Kalimati campsite – Ranu Kumbalo Lake
Day 3: Ranu Kumbalo Lake – Ranu Pane
With or without a guide?
Taking a guide is not necessary at all. The trail to Kalimati campsite is very easy to follow, there is a lot of people, small stalls selling food and drinks so it’s impossible to get lost. For the final summit push just follow the lights of other hikers and you will be fine as well.
Equipment
Here is my basic packing list for the hike:
- Camping: tent, sleeping bag, sleeping mat, gas cooker, cooking pot, lighter.
If you don’t have your own equipment, you can easily rent it everywhere in Ranu Pane. - Clothes: thermals, t-shirts, shorts, long pants, warm sweater/hoodie, gloves, hat, socks, underwear, hiking shoes, jacket.
Don’t underestimate the weather. Even if it’s warm and nice in Tumpang or even Ranu Pane, the nights at the campsites will be cold as well as final ascent on exposed terrain. - Headlamp and spare batteries, hiking poles, sunglasses.
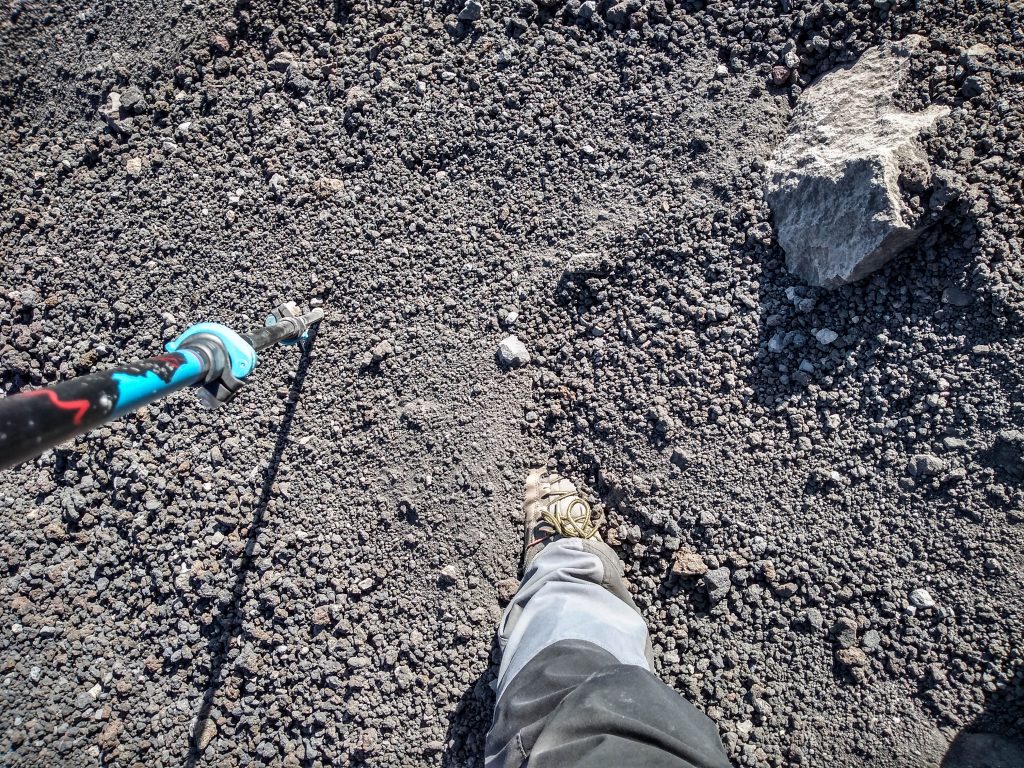
Good light is essential as you will be walking hours in the night. Hiking poles are extremely useful on the last kilometers of the steep summit push so it’s good to have at least one. - First aid kit, basic medications, suncream.
- Food
Don’t take too much. Indonesia won’t leave you with an empty stomach. There are small stalls on the way where you can buy fruits, drinks, snacks. You will support the local community and keep your backpack lighter. - Camera
Accommodation in Ranu Pane
There are many accommodation options in the village and the best is to text them through Whatsapp or just come to the village and look around. We chose Thomas Sanjaya Homestay which was simple but perfectly sufficient. There was even a hot water shower which is not always the case in Indonesia. They also run a small shop for those willing to buy some extra noodles, cookies or rent a sleeping bag and gas cooker. The nights can get really cold in the region, giving us a feeling that next night in the tent for sure won’t be too warm!
On the trail – 2 days 1 night
Day 1: Ranu Pane village – Ranu Kumbolo Lake – Kalimati campsite (15km, 5-6h)
Stage 1: Ranu Pane village to Ranu Kumbolo Lake (3-3.5h)
Around 7 am the guesthouse started to be busy with climbers getting breakfast and preparing for departure. The breakfast didn’t surprise – it was a simple nasi goreng (fried rice) with egg. I could say a lot about nasi goreng but let’s just underline that it is absolutely the most popular meal for budget travelers and I had it nearly every day 🙂
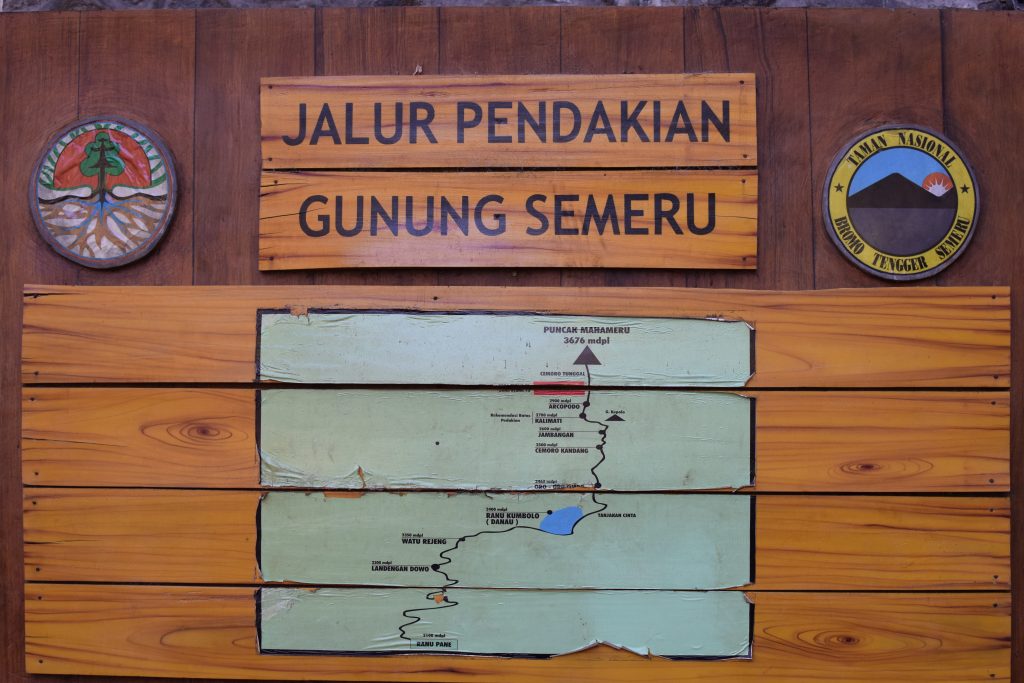
At around 8 am we were already on the way. First, following asphalt road to the gate of the national park where our permits were checked and then passing through cabbage fields into the forest. Surprisingly, I realized that taking so much food with us was absolutely not necessary. Why? There are warungs (little stalls) on the way! They sell fruits, cakes, drinks and of course fried rice or fried noodles. You can make a stop there and refill your energy, supporting local people running a rather challenging business. They have to descent back to the village every day and then go up again in the early morning, very often simply carrying products on their backs.
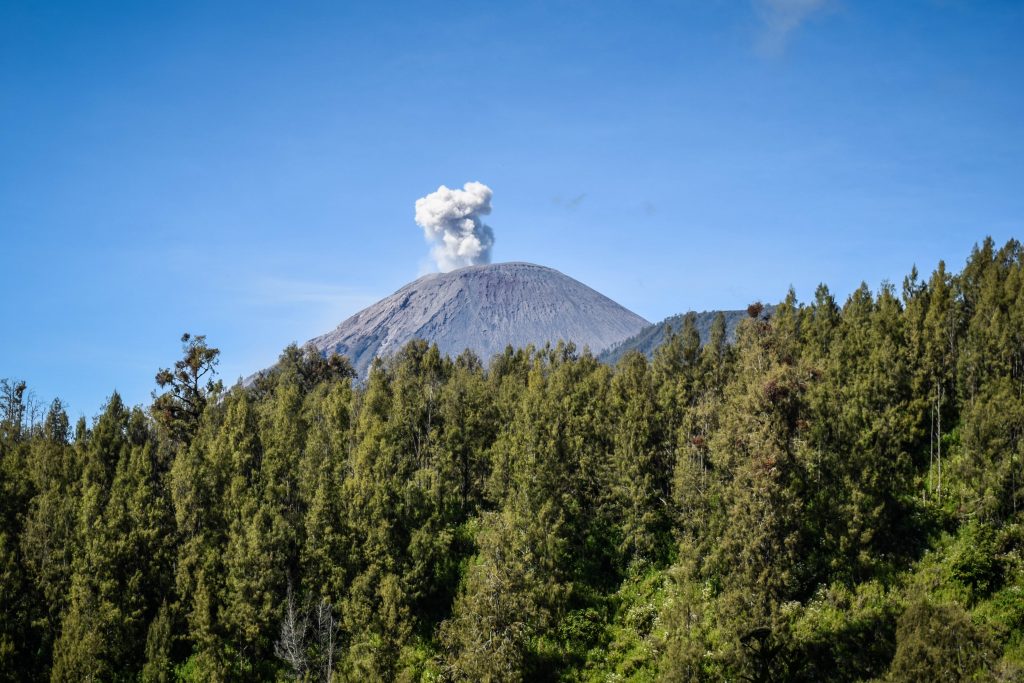
Mt Semeru still looked very far away and we admired its graceful shape from the distance when suddenly the cloud of volcanic ash appeared growing just at the summit! It looked totally amazing and it was the first time for me to actually see a small volcanic eruption. It has a long history of eruptions and since 1967 it is in a state of near-constant activity. Small eruptions can happen even every 20 minutes! While it’s an additional advantage that boosts your adrenaline, for your own safety you should never go off the hiking trail.
After 3 – 3.5 hours since departure from Ranu Pane, we arrived at Ranu Kumbolo Lake. There is a beautiful campsite there at the lakeside and obviously some warungs as well. Swimming in the lake isn’t allowed as the water is used for drinking and cooking. I regret a little bit that we didn’t stay there for an extra night. Next time!

Stage 2: Ranu Kumbolo Lake to Kalimati campsite (2-2.5h)
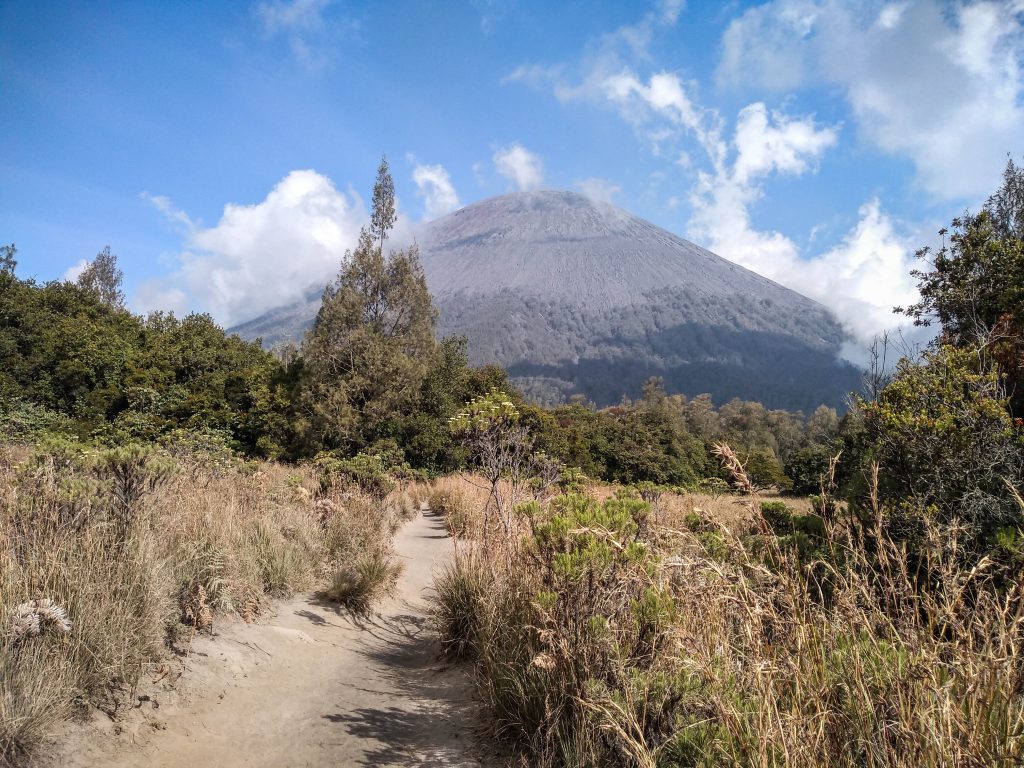
After a lunch break for cooking instant noodles and relaxation at the lake, we continued along much more steep part of the trail leading through forest and grasslands to Kalimati campsite. Here the backpack started to be really heavy and I was glad to have my trekking poles for extra support. Before, we could see Mount Semeru only occasionally, but now it’s getting closer and closer.
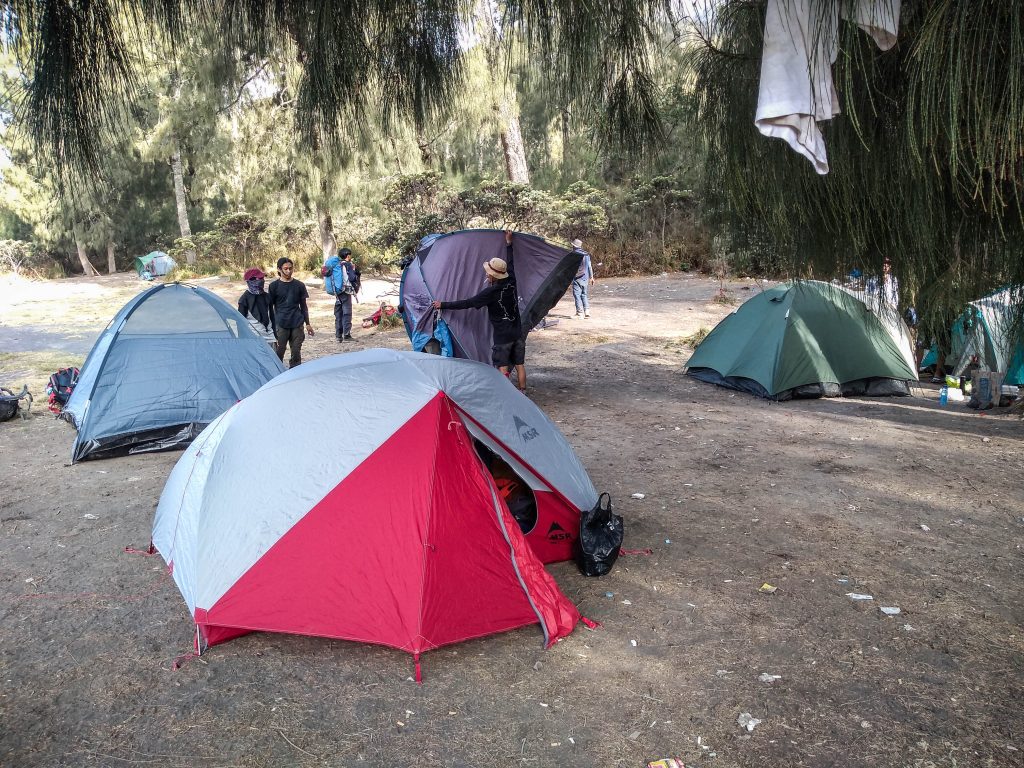
Around 2 – 2.5 hours later I was already setting the tent. The campsite was full of friendly hikers, everyone busy with cooking. If you are short on water, there is a source around 15 min walk from the campsite. Just ask locals for directions.
Having in mind that the night will be short, we tried to get some unstable sleep before the alarm woke us up at midnight.
Day 2: Kalimati campsite – Semeru summit – Kalimati campsite – Ranu Kumbolo lake – Ranu Pane
Stage 1: Kalimati campsite to Semeru summit (4-5h)
The nights at Kalimati campsite can get really cold and the best is to have your own sleeping bag as the rented ones are rather thin. Good idea is to have a thermal layer as well.
We started preparing our breakfast to warm up and feel some energy boost. Most of our things stayed inside the tent and we departed carrying a small backpack with water, snacks, a camera and an extra layer of clothes. Most of the people hit the trail between 00:00 – 01:00 am, so did we. There was a group saying that they want to depart as early as 10:00 pm but I think it’s way too early. Reaching the summit too early leaves you with nothing else to do than wait and get cold. Leave at midnight if you are slower and want to see the sunrise from the summit. If you are faster or it’s enough for you to see the sunrise on the way (which is awesome anyway), then 01:00 – 01:30 am would be enough.
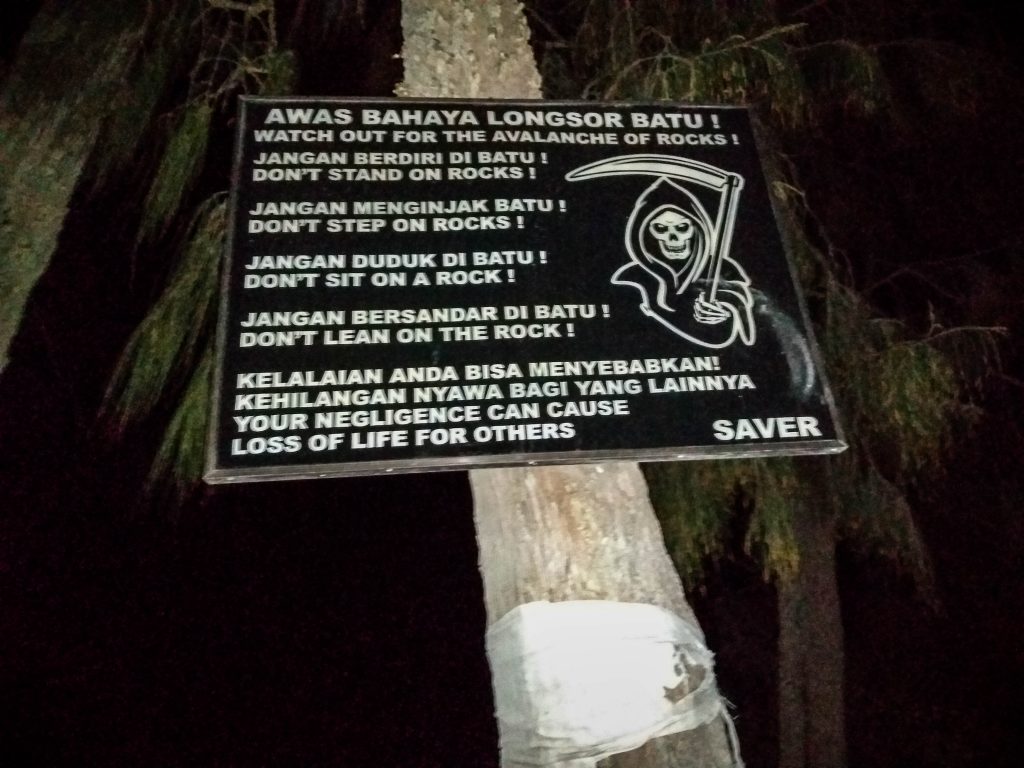
I could imagine that the trail is difficult to follow if you go solo, but there were plenty of other hikers getting ready at the same time so we simply followed them. With everyone equipped with head-light, it looked like a moving dotted line in the middle of dark night.
From the campsite, we went into the forest but it didn’t take long to reach infamous volcanic ash and start of the crazy long and slow ascent. So glad that I had my hiking poles! With every 2 steps up, you pretty much slide 1 step down. It’s steep, it’s tiring, it’s cold and it may be very windy due to exposed terrain. You also have to be careful of loose stones rolling down the slope as people walk in front of you. Maybe it’s better that we walked in the darkness? At least we pushed forward not knowing how far we are from the summit.
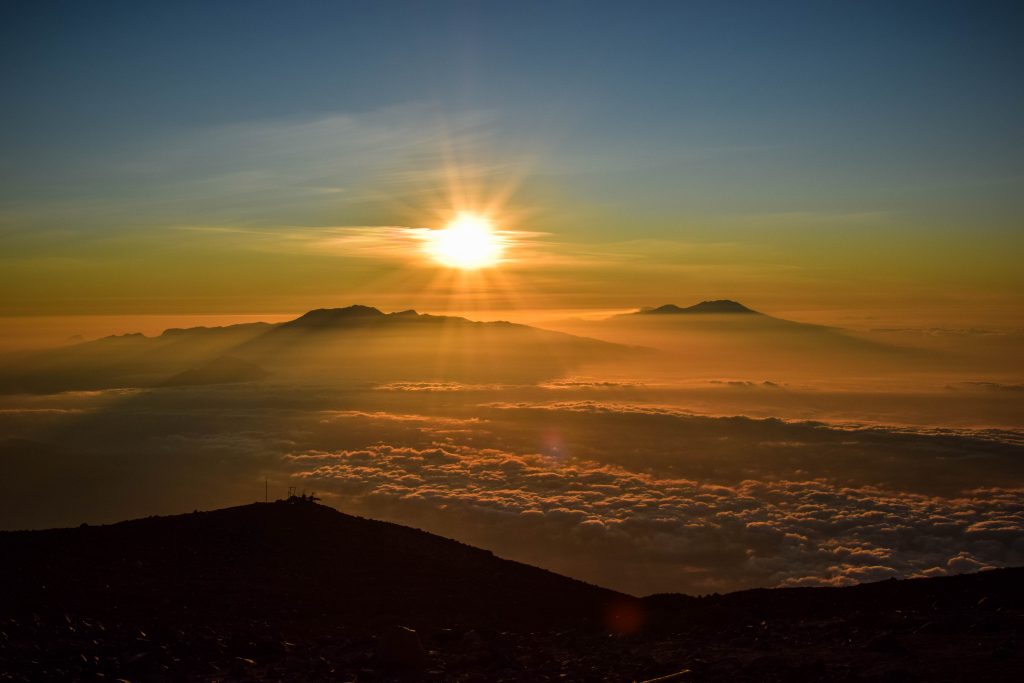
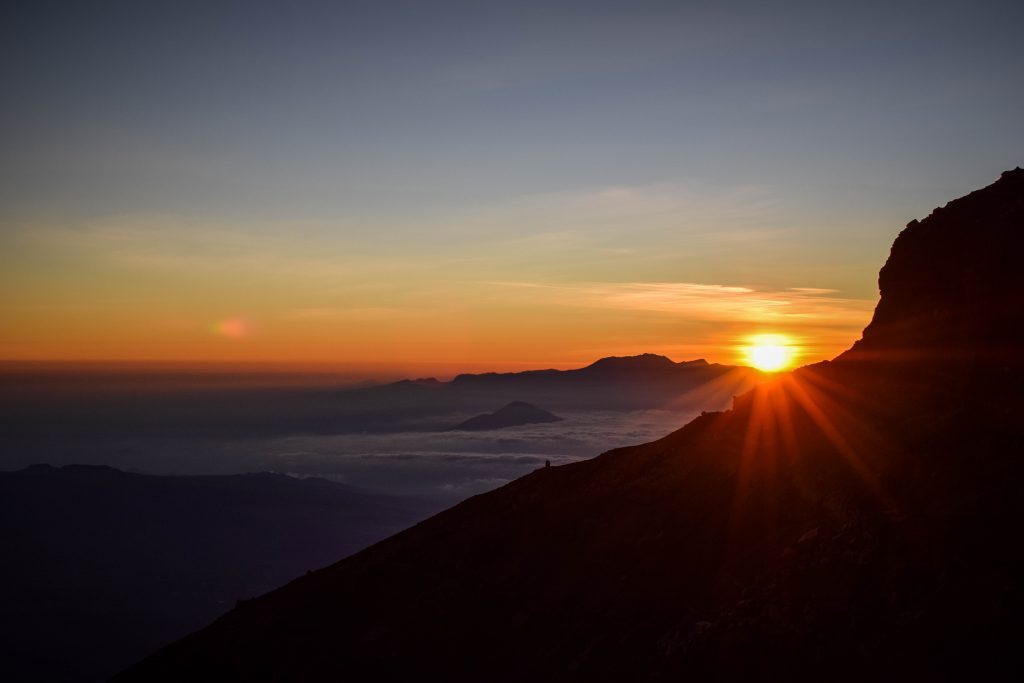
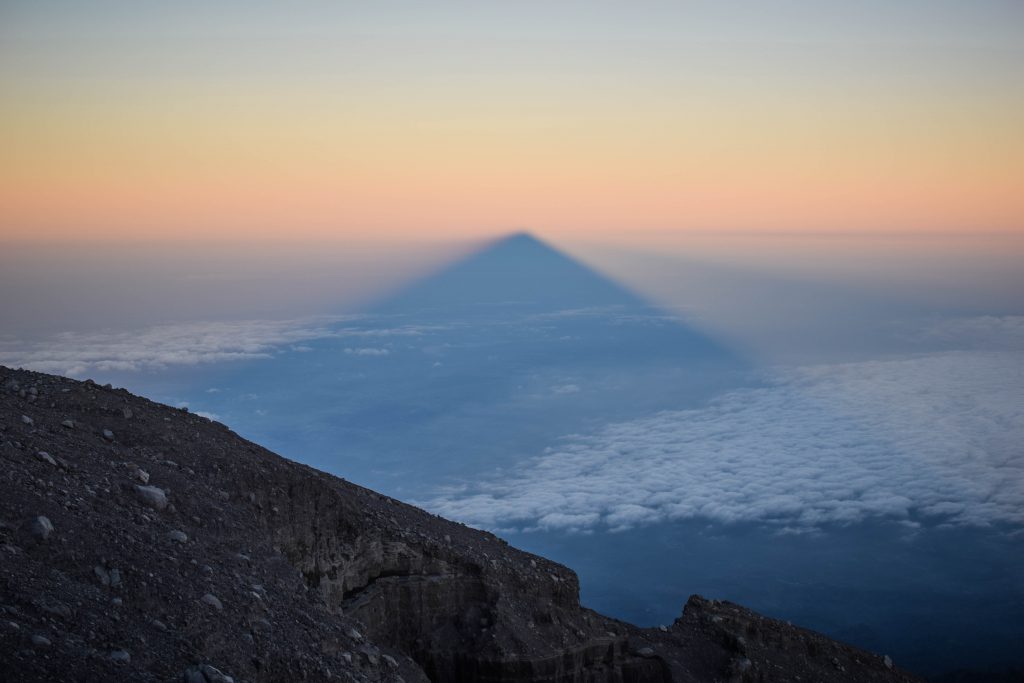
Ok, I don’t want to scare you out! It’s definitely not easy but it’s doable. Just pace yourself properly and take breaks if you are running out of breath.
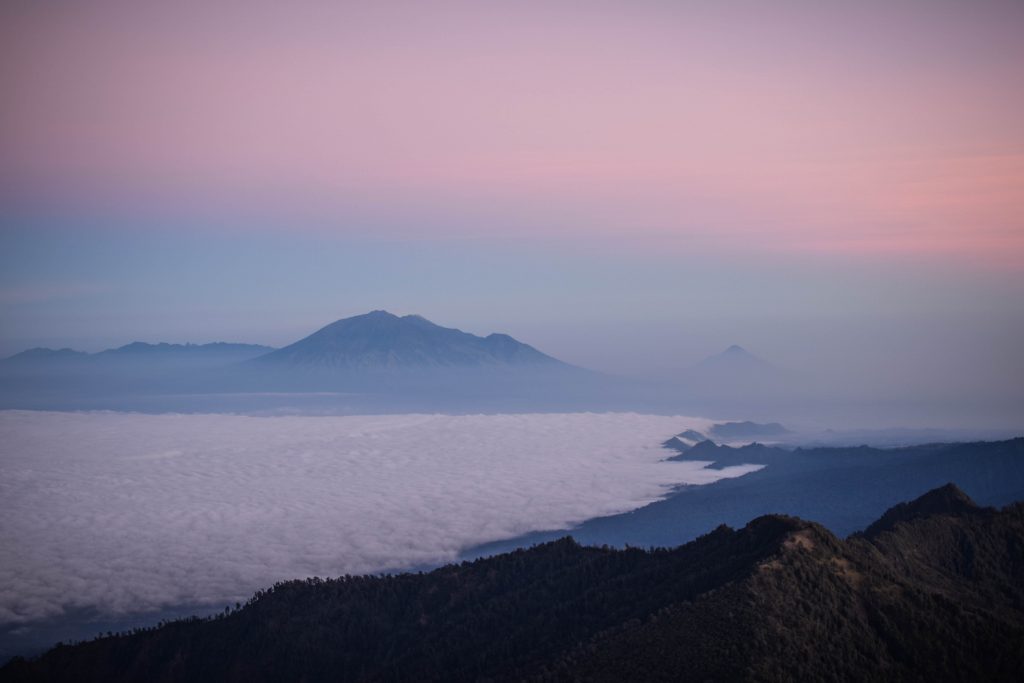
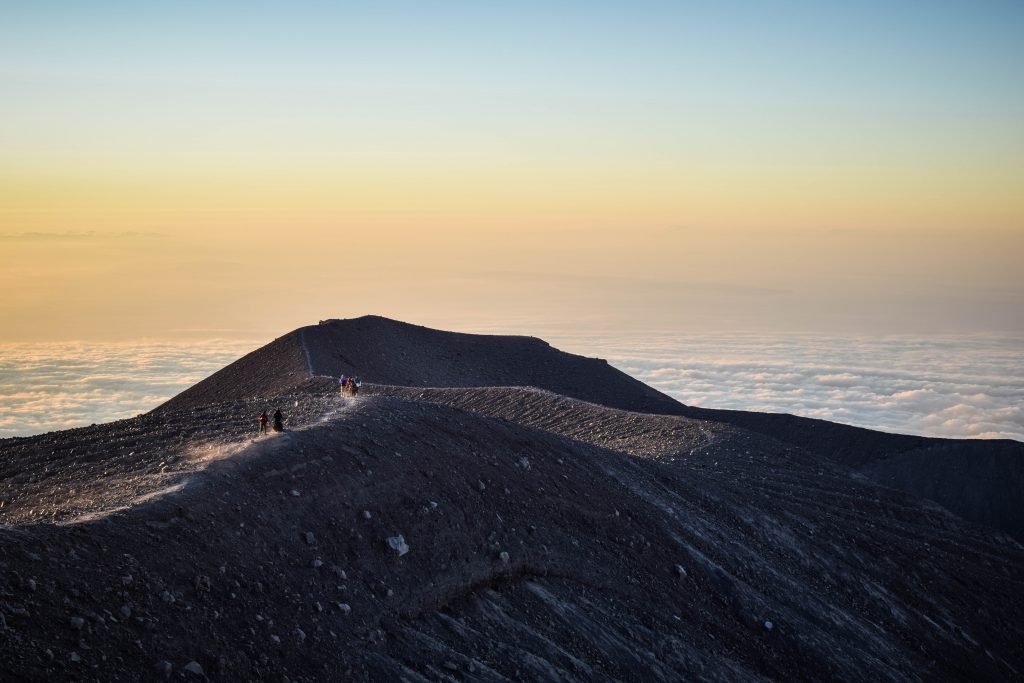
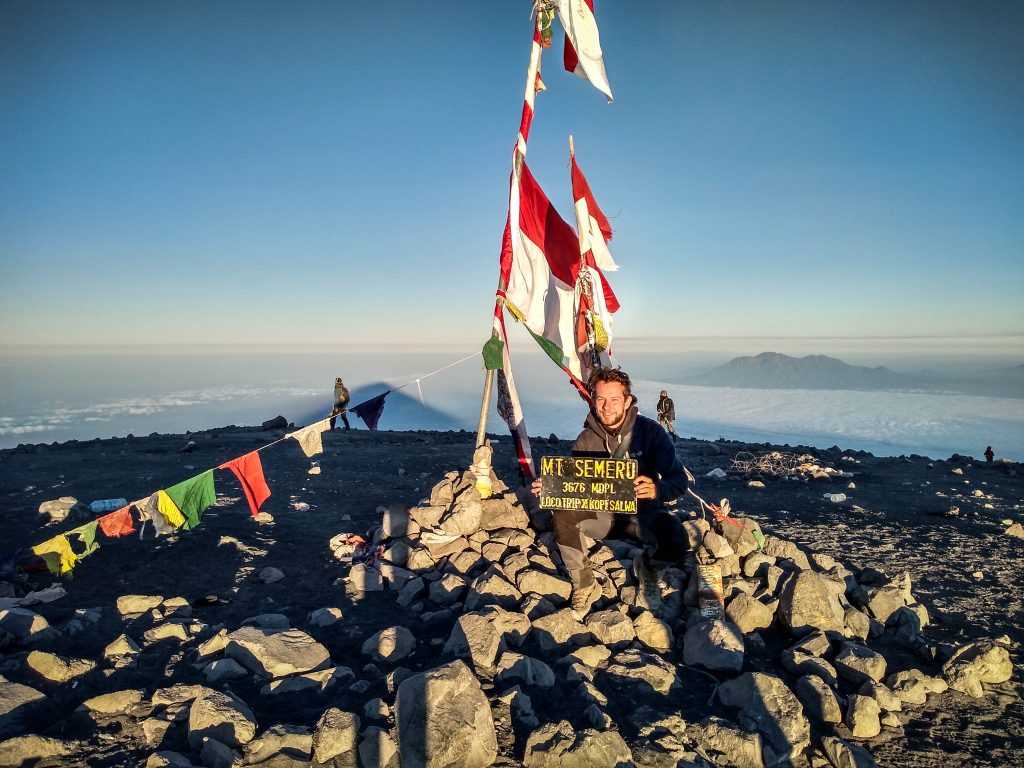
The summit is flat and there is a lot of space to take nice pictures and absorb the views. It’s worth following the trail along the ridge closer to the crater. Being the highest mountain on Java, panorama from Semeru’s top is simply spectacular. We also had a nice chat with a group of Indonesians that treated us with warm ginger drink and a soup! Having something warm in hands when resting on the summit after long and tiring ascent was exactly what we needed.
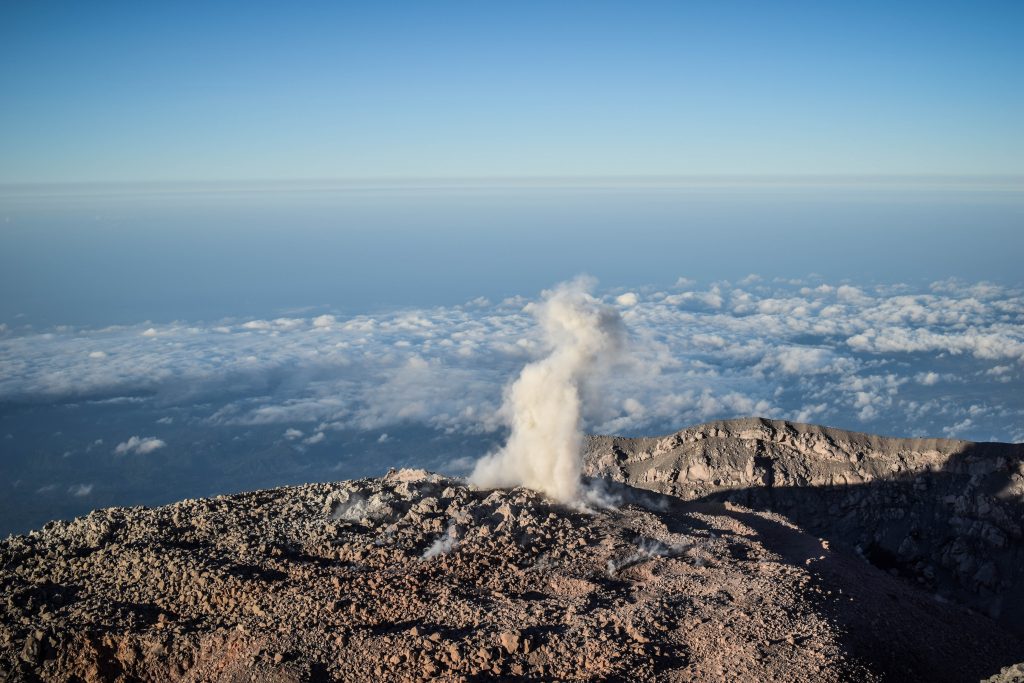
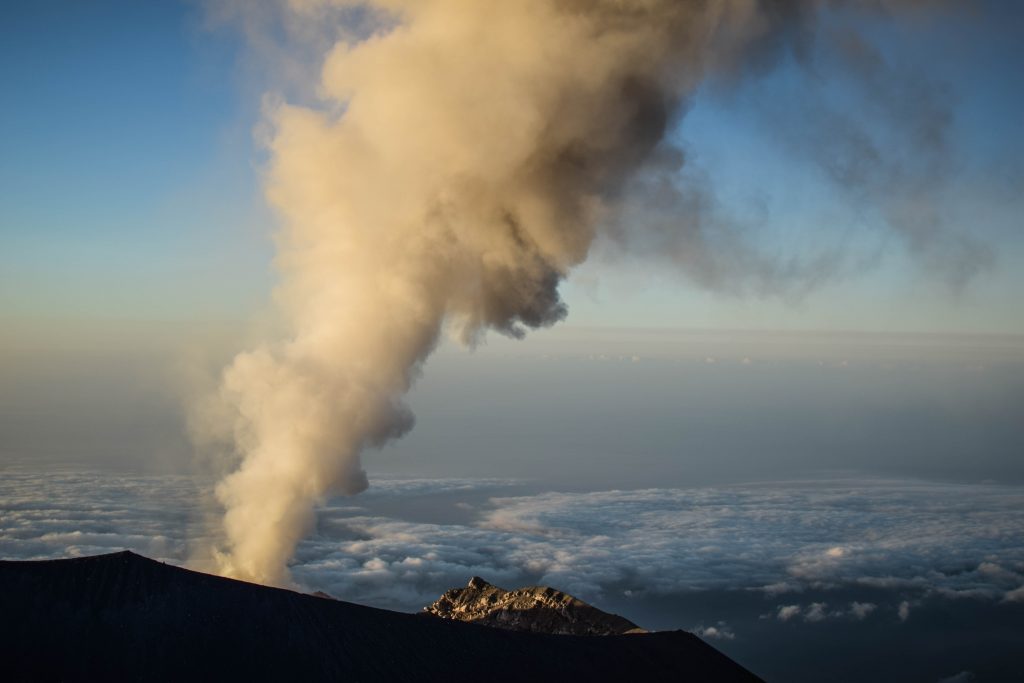
But the best point was witnessing 2 small eruptions that happened just in front of us. Exactly the same style as we saw the day before but this time we were only a few meters away. The cloud was growing and taking its shape, hanging in the air and slowly drifting away. The whole spectacle reminds of frequent volcanic activity and the power of nature in Indonesia. In the case of Semeru, eruptions like that usually happen every 20-30 minutes so just hang around and wait for it. Be ready for one of a kind pictures opportunity!
Stage 2: Semeru summit to Ranu Pane village (6-8h)
After conquering the summit in 5 hours, the way down to the camp took us… less than 1.5 hours. Using heels and sliding all the way down is the most effective and fastest way to descent. When turning around, it was hard to imagine that we really went up this steep trail in the middle of the night.
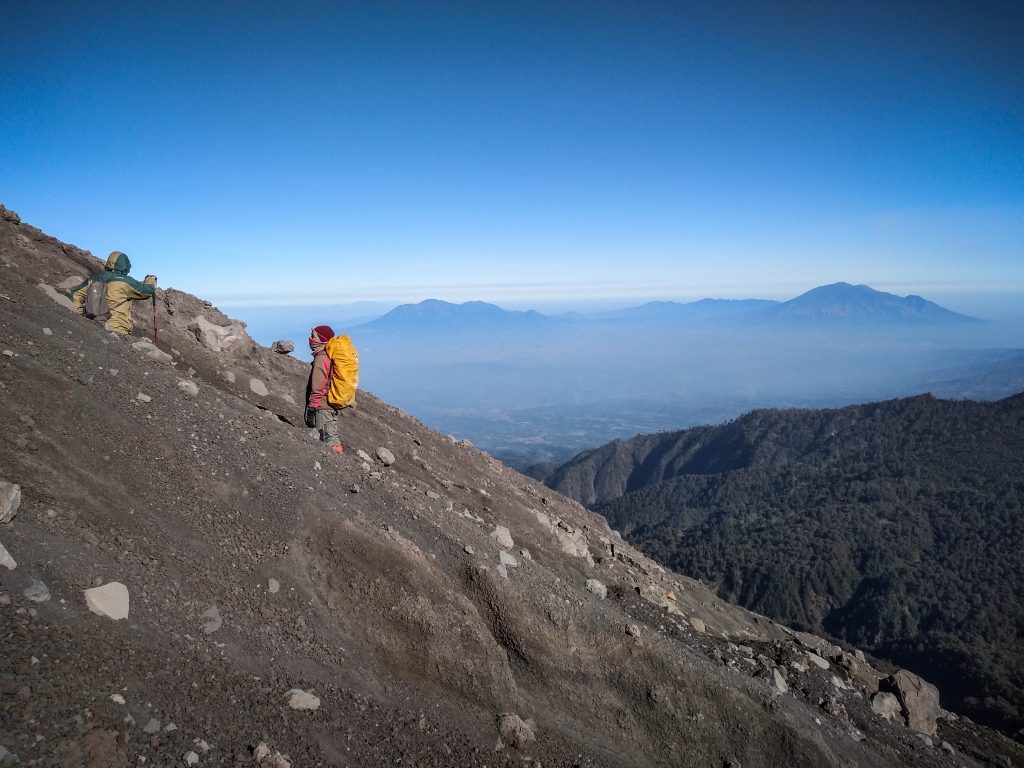
We did an hour break to cook breakfast, pack all the things and then continued way back to Ranu Pane. After reaching Ranu Kumbolo Lake I started to feel really tired and made breaks more often to take off the backpack and let my shoulders rest for a while. We arrived at the village totally exhausted but extremely satisfied.
The last step was to organize jeep transportation back to Tumpang and from there taxi to the hotel in Malang. As always in Indonesia, negotiate your price and try to join a group of other hikers to split the costs. We couldn’t find anyone and after tough haggling, the driver took us for 200 IDR / person.

