Introduction
Hiking 1 of 10 New Zealand’s Great walks will bring you close to the best thing this country has to offer. Its nature. But be warned! It’s addictive and most likely the first of your Great Walks won’t be the last. Many people get pulled in by the idea and complete them all. So did I.
It’s a perfect opportunity for beginners in multi-day hiking to test their limits. You will be away for 2-4 days having a glimpse on backcountry experience but you don’t need any hardcore survival skills. Breath-taking scenery will reward even the worst weather. And when you can be alone on a track for quite some, you will certainly meet great people on campsites and in huts.
Before you go, make sure you are well prepared and packed all the essentials!
The art of packing
Packing for long-distance hikes can be a pain, especially for beginners. In the end, we consider many items as essentials that may be useful on the way. But once it’s all packed, we quickly realize the backpack is way too heavy. Believe me, the weight of each extra item on your back will matter when you ascend another hill.
It’s hard to avoid first-timer mistakes and I did learn some lessons on my own skin as well. To be honest, with every next hike, I’m taking less and fewer things. Consider my packing list for New Zealand’s Great Walks but also observe and learn from your own experience.
The list describes the suggested equipment for Great Walks in the summer season. Needless to say, equipment is necessary for harsh winter conditions.
Food
There is nothing that you can buy on the track, therefore whatever you take you with, it needs to last for the entire duration of the hike. To be on the safe side, it’s even recommended to take a supply for an extra day, in case of an unexpected injury or difficult weather conditions.
After a long day of the walk, you want to set up your tent and eat something warm as soon as possible. Prepare high-energy value meal that you can easily heat up. Freeze-dried food is a good idea as it just requires boiling the water, but it’s expensive.
For the first hikes, I used the food produced by Backcountry Cousine. The selection is really big and the meals are tasty but to be honest, I had to buy the bigger pack with a portion for 2 people to be really full. A meal costs around 10-15 NZD.
Whatever you take, the rule is simple. Eat the heaviest stuff first and keep the lightweight meals for last days.

Breakfast:
- Bread
with jam, honey or peanut butter - Instant
cereal with fruits or porridge - Biscuits
with jam - Powdered
milk - Banana
- Tea
or coffee
Lunch:
- Bread
- Cheese
- Salami
- Humous
- Ready to eat sausages
- Instant soup
- Nuts and dried fruits
- Tea or coffee
Dinner:
- Instant rice or pasta
- Tinned tuna or chicken
- Instant soup
- Freeze-dried meal
- Tea or coffee
Snacks:
- Chocolate
- Muesli bars
- Biscuits
- Nuts
- Frooze Balls
Equipment
Only if you camp:
- Tent
I’m using MSR Elixir 2-Person Lightweight Backpacking Tent. It’s made for 2 people but light construction should satisfy solo travellers as well. It did satisfy me and extra space was awesome! - Sleeping mat
I’m using Sea to Summit Comfort Light Insulated. It’s a 3 season sleeping mat with R-Value 4.2 warmth.
For campsites and huts:
- Backpack with a waterproof cover
40-60L should be enough for a multiday hike. - Waterproof bag
Used as extra protection inside your backpack to put electronics and spare clothes inside. - Sleeping bag
It can get cold no matter what time of the year so 3-4 seasons sleeping bag would be perfect. In mid of February, the temperature on Kepler Track dropped to 2C in the night so I was happy my sleeping bag comfort rating was 0C. It’s much warmer if you sleep in a hut, though you still need a sleeping bag as there are only bunk beds with mattresses. - Drinking bottle 1-1.5 L
Water is always available next to the huts and campsites. It’s rainwater, fine for drinking without treatment. If you have doubts, boil it first or use the Sawyer water filter. - Cooking pot
I’m using MSR PocketRocket 2 Mini Stove Kit which proved to be great size and quality. - Gas stove
Sometimes provided in huts, check in advance. - Fuel
Sometimes provided in huts, check in advance. - Plastic cutlery
- Cup
- Sharp survival knife
- Cleaning set
- Matches / lighter
- Light camera or phone with a camera
- Power bank / spare camera battery
- Bin bags
Whatever you bring in to the national park, you have to bring it out and throw away when you reach civilization. - Hut/campsite tickets
These have to be picked up at DOC visitor centre before you depart. - Map
Can be found at DOC visitor centre as well. - Earplugs
Useful especially in bunkrooms in huts.
Clothing
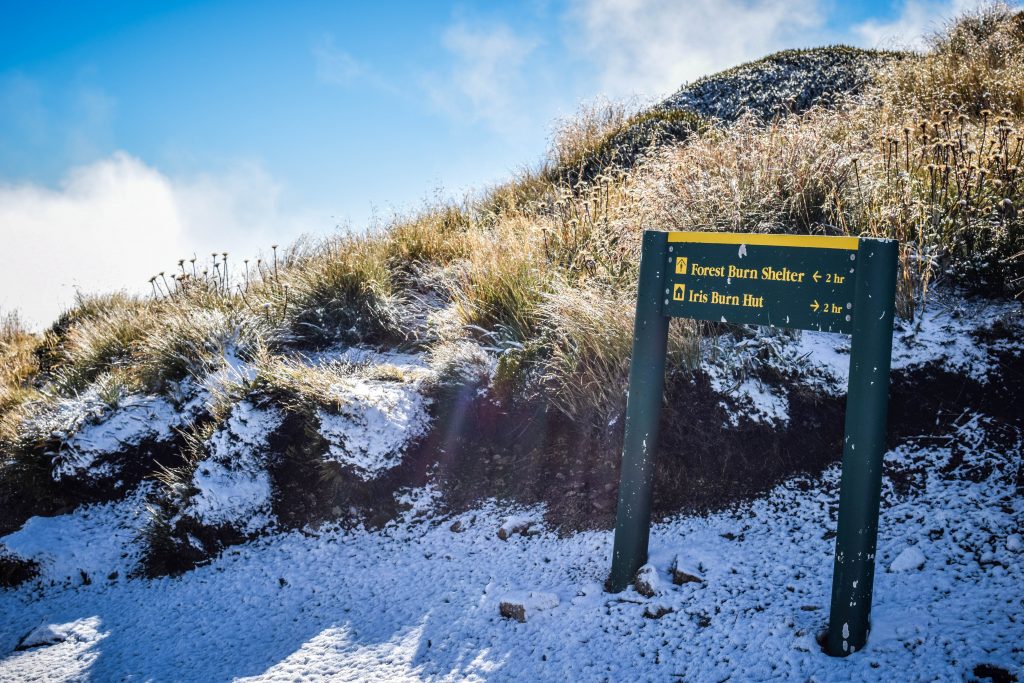
It rains quite often in New Zealand, therefore you need to be prepared for changing weather conditions. Not to mention the fact that in February I experienced snow on Kepler Track. Warms and waterproof clothes are essential to increase your comfort on the trail.
- Boots that are comfortable and well broken in
Shoes are the most important element of your clothing, especially when hiking in the mountains with a heavy backpack. Your comfort and safety depend on them. Make sure that they are top-class shoes that you trust. For all Great Walks, I used La Sportiva TX5. Even though it took quite a while to break them in, they are extremely light, comfortable and provide great stabilization for my feet. - Raincoat with hood
- Trousers
- Waterproof over trousers
- Jumper or sweater
For cold mornings and evening or even for sleeping in case your sleeping bag is not warm enough. - T-shirt (at least 2)
- Long sleeve shirt
- Pair of thermals
- Shorts
- Buff
It’s light and can be worn on the head, neck or wrist. - Flip flops / lightweight shoes for a campsite
You will want to let your feet rest from heavy boots and feel more comfortable while hanging around campsite or hut. - Hiking socks
I recommend taking an extra pair. Nothing is worse than wet feet. - Underwear
- Hat
- Gloves
Rather for mountain tracks only. - Swimwear
May be useful especially on Abel Tasman Track or Rakiura Track. - Extra clothes for sleeping
- Sunglasses
Toiletries
- Toothpaste
- Toothbrush
- Wet tissues
- Toilet paper
- Hand sanitizer
- Soap
There are usually sinks with rainwater next to the huts so you can use them for basic needs. - Small quick-dry towel
May be useful especially on Abel Tasman Track or Rakiura Track.
Safety
- Flashlight (headlight is the best)
- Spare batteries
- First aid incl. antiseptic, pain killers, bandages, blisters kit, personal meds
- Insect repellent
- Sunscreen
- Spare matches / lighter in a waterproof container
- Spare set of warm clothes
- Whistle
- Personal documents (ID, passport) in a waterproof bag
I wouldn’t say that personal locator beacon is really needed on Great Walks. The trail is well marked and it would be difficult to get lost. Before you go, just tell someone about your plans and how long you plan to be on a trail.
Do you have your favourite items that you take with you on multiday hikes? Let me know in the comments!