
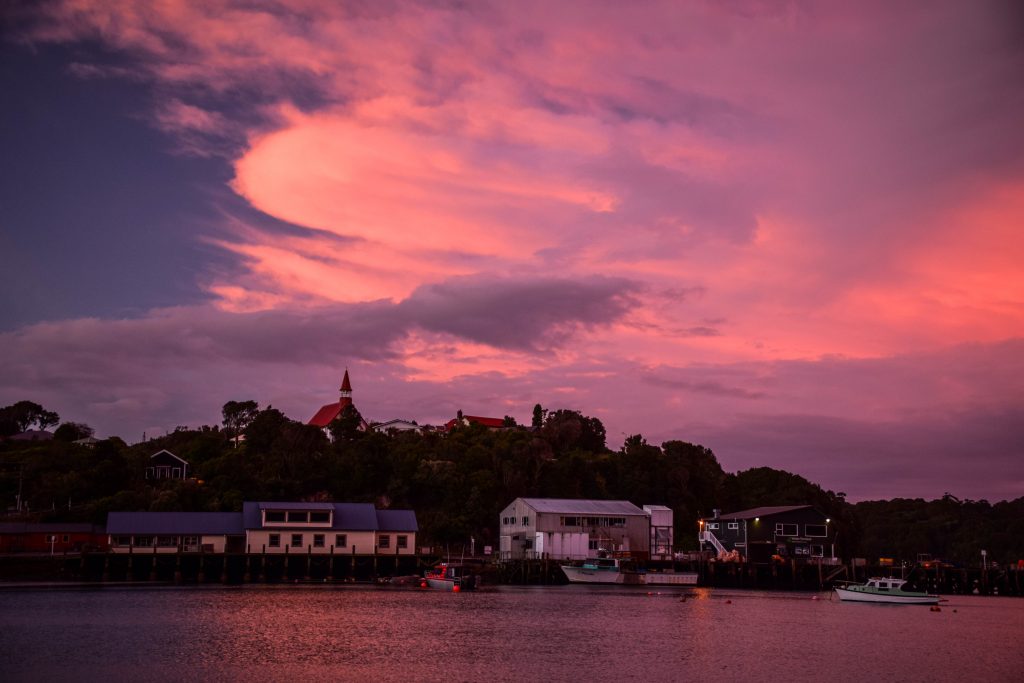
Introduction
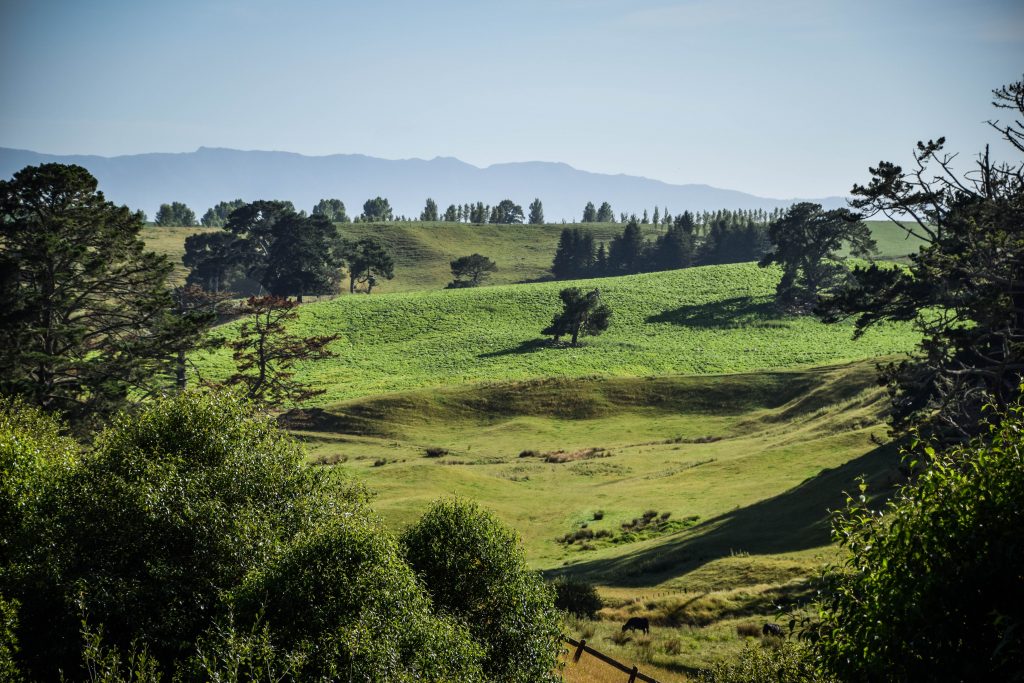
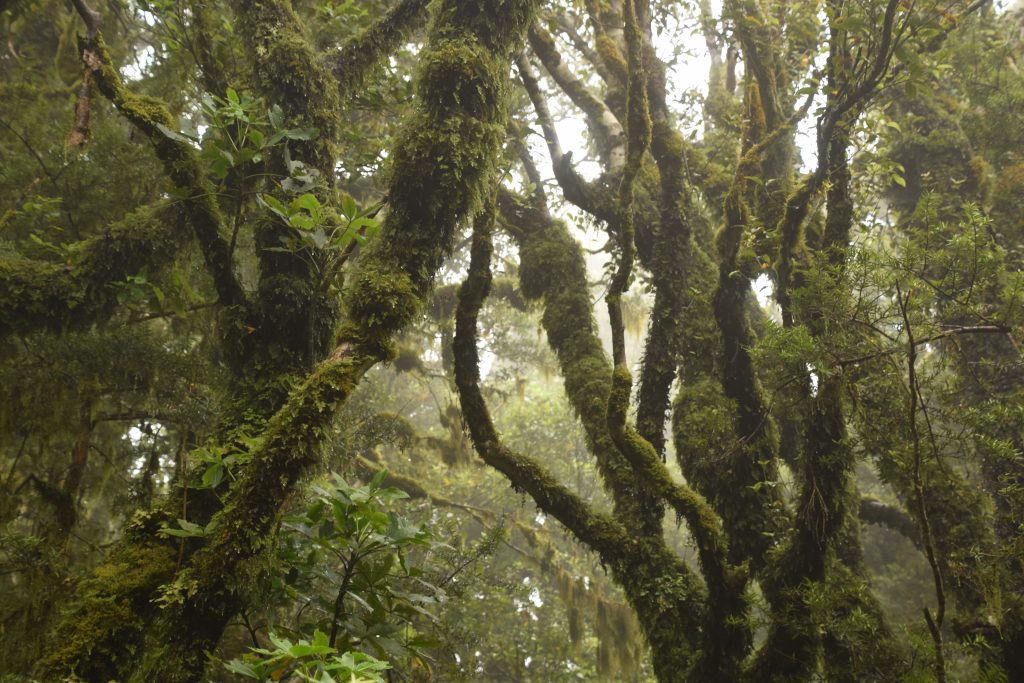
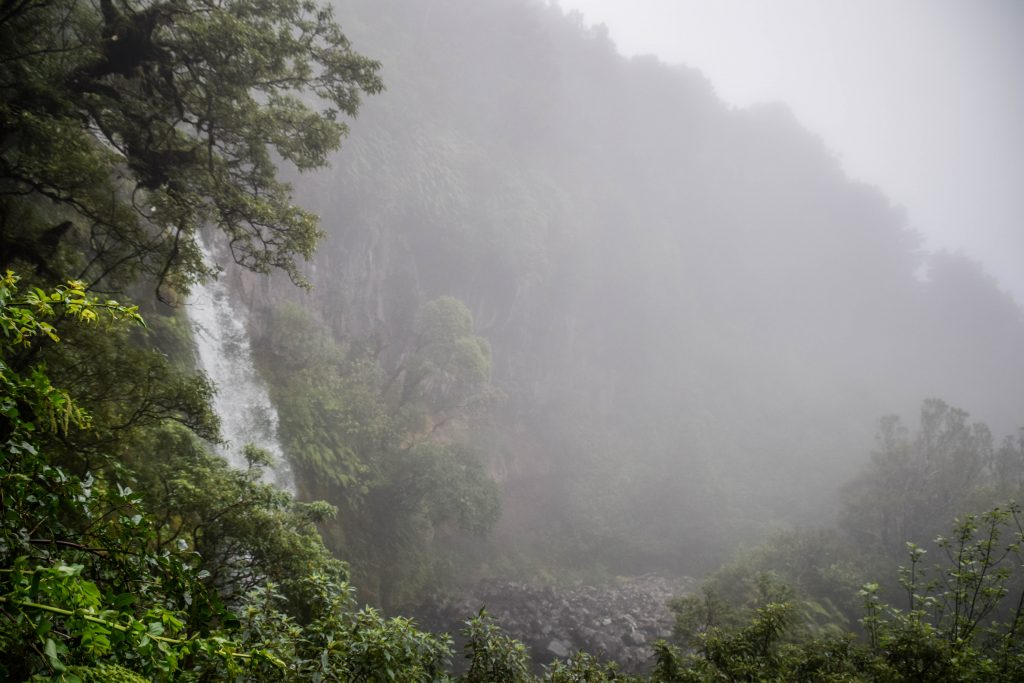
The story began when Sir Peter Jackson and his crew were searching for a possible location of The Shire that meets detailed descriptions from J.R.R. Tolkien books. They took a helicopter to fly above the green hilly landscape of New Zealand’s North Island to find exactly what they were looking for.
Apparently, Mr Alexander who was the owner of the farm informed the crew that there is a rugby game going on and they should come back later. Needless to say, they came back and made a deal.
At first, the movie set was not built with the intention to act as a tourist attraction after filming is over. Temporary materials were used and the whole thing was dismantled after The Lord of The Rings trilogy was made. But the growing popularity of both books and movies made first tourists flocking to see the place. For the filming of The Hobbit, permanent materials were used and everything was left at it’s place. Today approximately 17 per cent of international visitors come here, bringing about 78m NZD to the Matamata-Piako district annually.
I’m not an ultimate fan of The Lord of the Rings or The Hobbit but after watching movies and reading books it was really cool the see the place with my own eyes.
In a hole in the ground, there lived a hobbit. Not a nasty, dirty, wet hole, filled with the ends of worms and an oozy smell, nor yet a dry, bare, sandy hole with nothing in it to sit down on or to eat: it was a hobbit-hole, and that means comfort.
J.R.R. Tolkien, The Hobbit, or There and Back Again
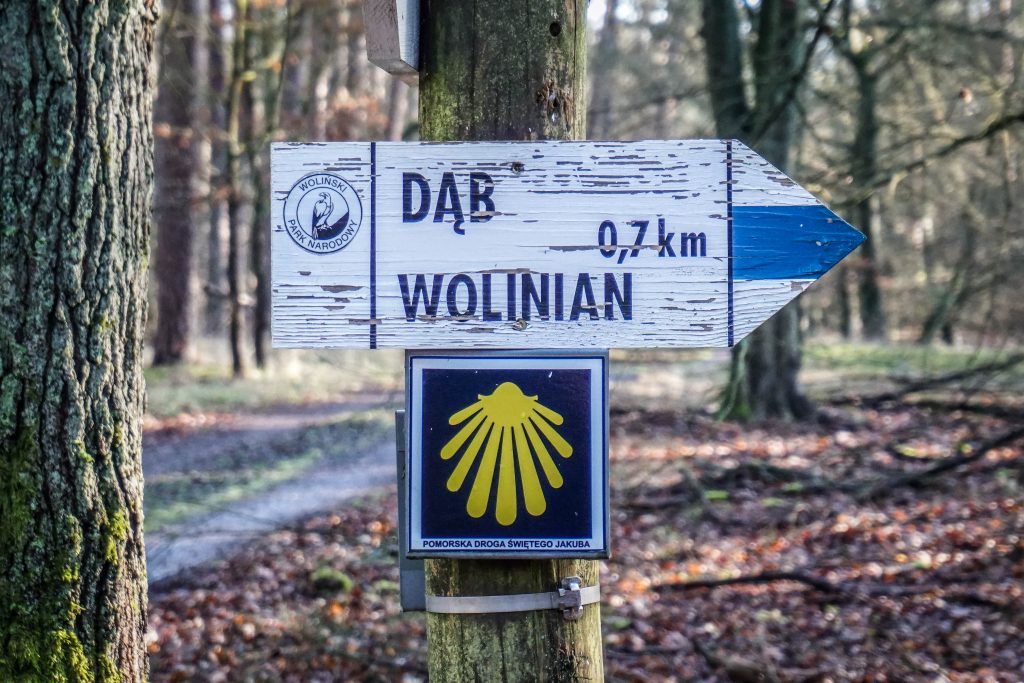
Bookings and prices
Entrance to Hobbiton Movie Set is with guided tours only, which last about 2 hours.
The place is popular. No, wait. Extremely popular! It’s one of a few places in New Zealand where you can be sure to meet organized tours flowing out of huge buses and running towards the entrance armed with cameras in their hands like there is no tomorrow. Therefore, it’s not surprising that a big part of the tickets goes to them.
To avoid disappointment or losing precious time waiting, I strongly recommend booking the tickets online. Once doing that, opt for one of the first or last tours available. Organized tours usually come a bit later after breakfast and depart earlier to reach their next destination in time for dinner.
The tours cost 89 NZD for Adult and 44 NZD for Kids (9-16 years old).
If 2 hours guided tour is not enough, you may want to join 4 hours long Evening Banquet Tour. You will witness the atmosphere of the place dusk and get the chance to feast like a hobbit, though it comes with a much higher price: 199 NZD for Adults, 162 NZD for Kids (9-16 years old) and 104 NZD for Young Children (5-8 years old). Book ahead.
How to get there?
Hobbiton Movie Set is usually visited by tourists approaching from Auckland, Coromandel Pennisula, Hamilton or Rotorua. Wherever you are driving from, it’s easily accessible and you should have no problems finding it. Just don’t forget to keep left 🙂
If you have self-contained vehicle, there is a nice and cheap parking at Firth Tower Museum in Matamata.
If you don’t have your own vehicle, there are tours departing from several bigger cities, such as Auckland, Rotorua, Matamata and others.
Let’s play the hobbit!
I was heading from Coromandel Pennisula full of great memories from the coast and expecting further positive feelings after a visit to Hobbiton Movie Set. The landscape changes and I could feel the spirit of the countryside when getting closer to Matamata and parking my van for the night in picturesque parking next to Firth Tower Museum.
Luckily, a few days before I came across the information that it’s worth buying the tickets to Hobbiton Movie Set online. I’m an early bird so secured the first free timeslot available at 8:30 am. When I stepped outside at 7:30 am, the fresh air made me awake instantly. To avoid being late for the tour, I quickly made my bed and departed full of positive vibes. It was just a 20 minutes drive to reach The Shire’s Rest so I had plenty of time to eat my breakfast and enjoy morning sun which was slowly warming me up.
Our group boarded the green coach bus, tickets were scanned and journey to the Shire began. Our guide Lola introduced herself as well as the driver and then we watched a short welcoming video with Peter Jackson himself.
The whole organization of the tour was top-notch. The route, scenery, hobbit holes, gardens. Not to forget our extremely knowledgable guide sharing all the interesting facts about the movie set. I had the feeling that she treats the job like her dream and that positive vibes helped everyone to dive into the atmosphere of the place.
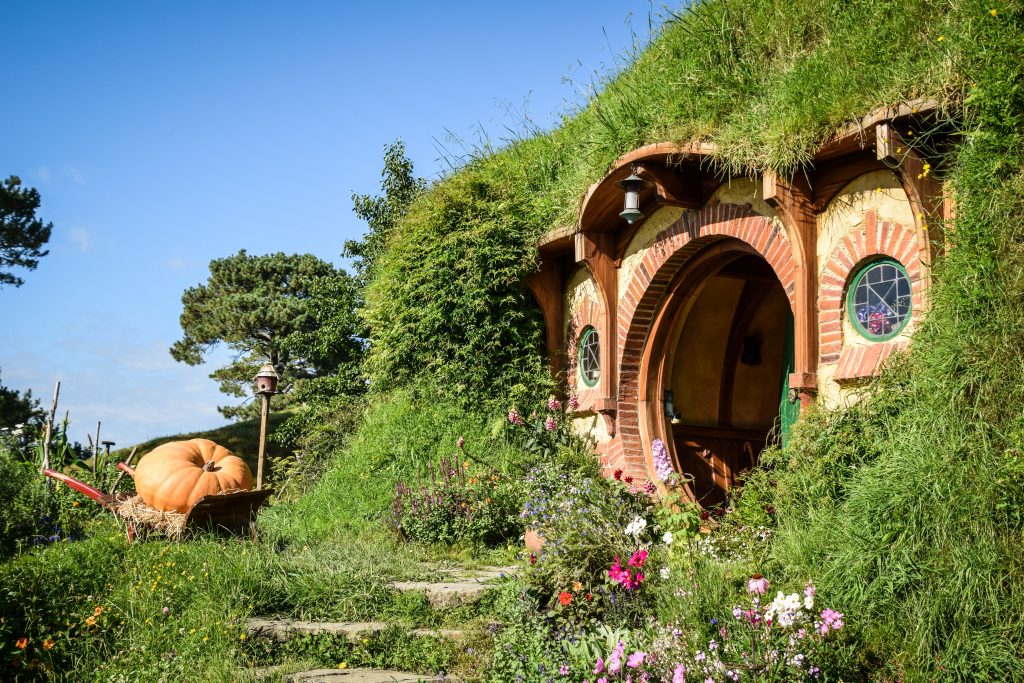
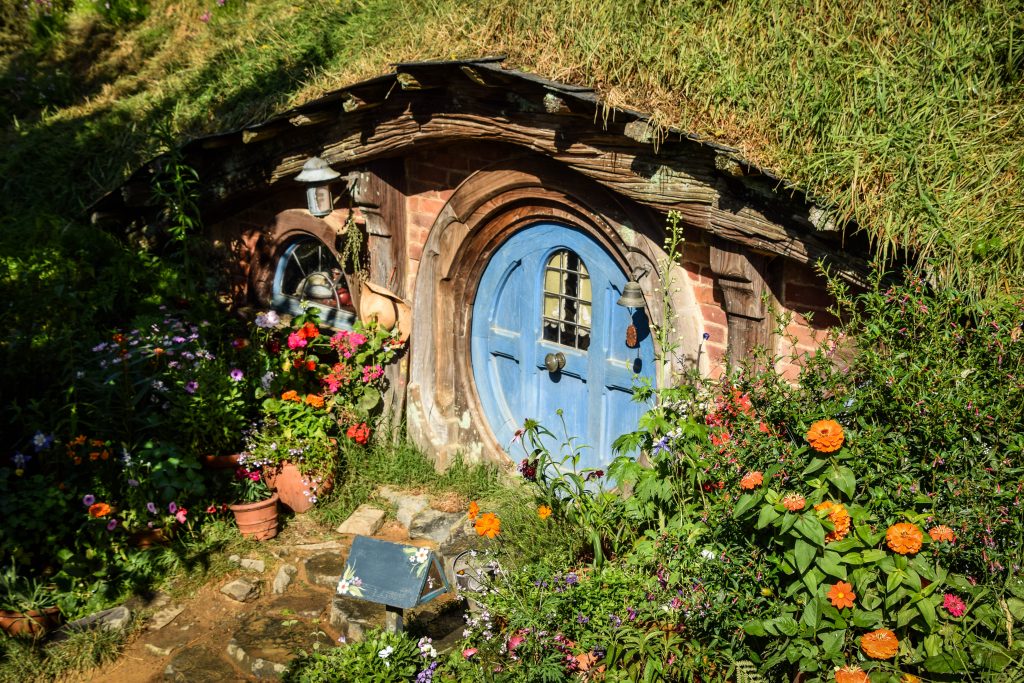
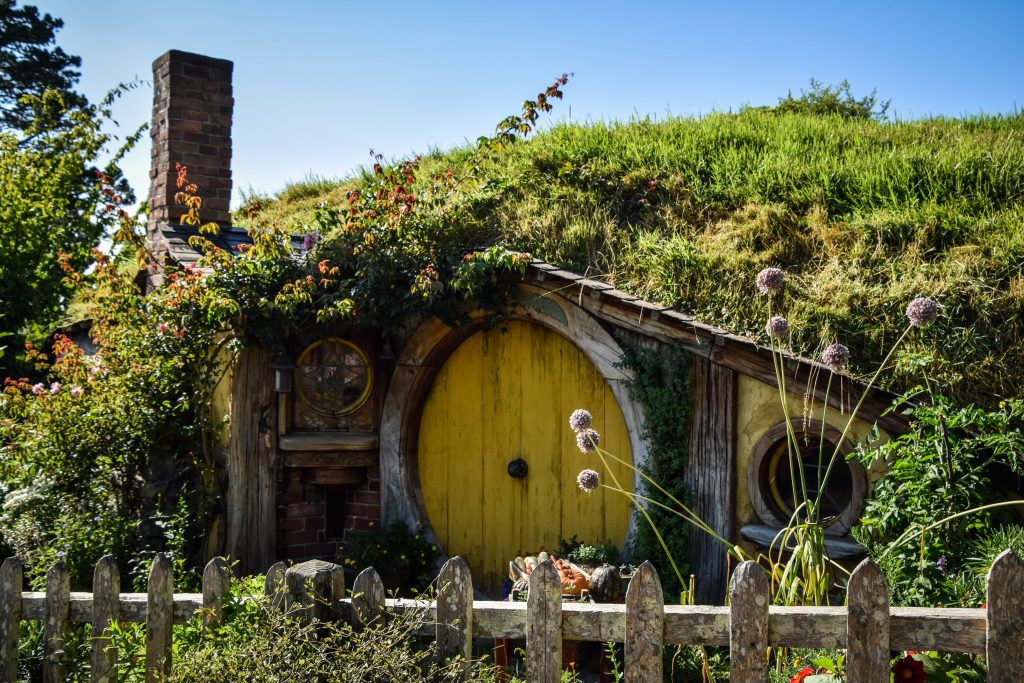
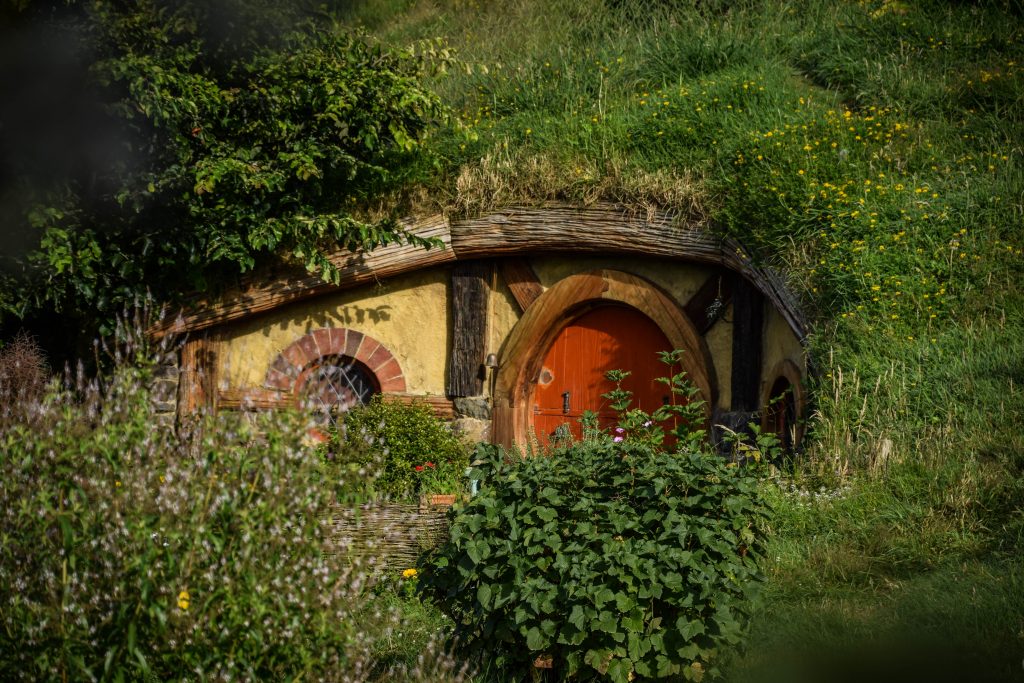
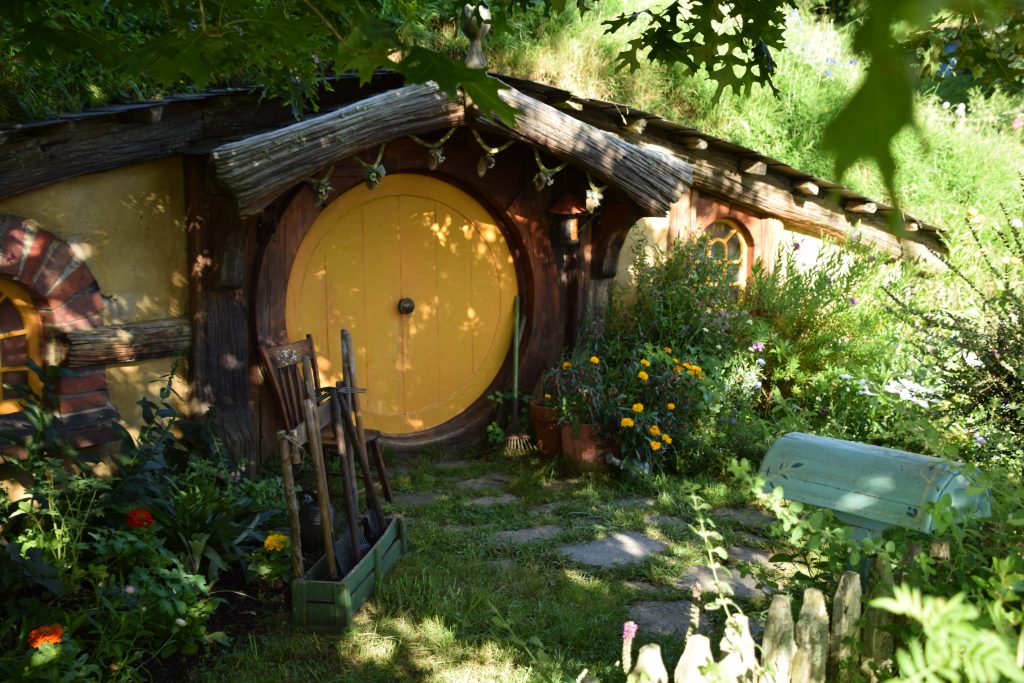
It was a pity that most of the hobbit holes are the facades and only one of them is open to go inside and take pictures when standing in the round entrance, which obviously most tourists do. It creates a bit of a traffic jam but on the other hand, gives a chance to take some more shots of the area or chat with the guide.
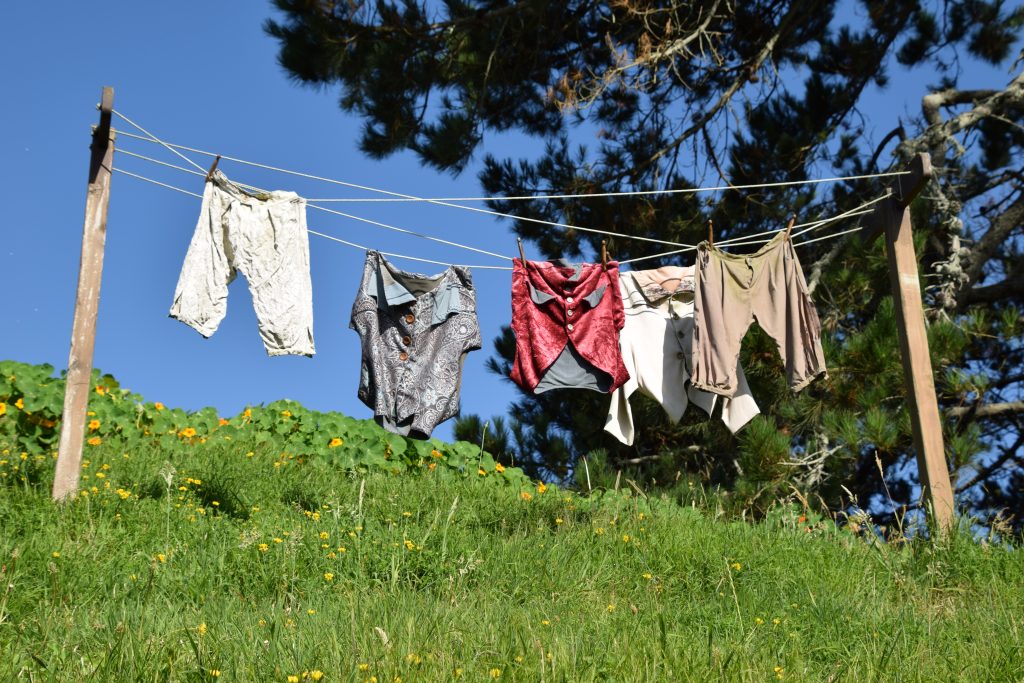
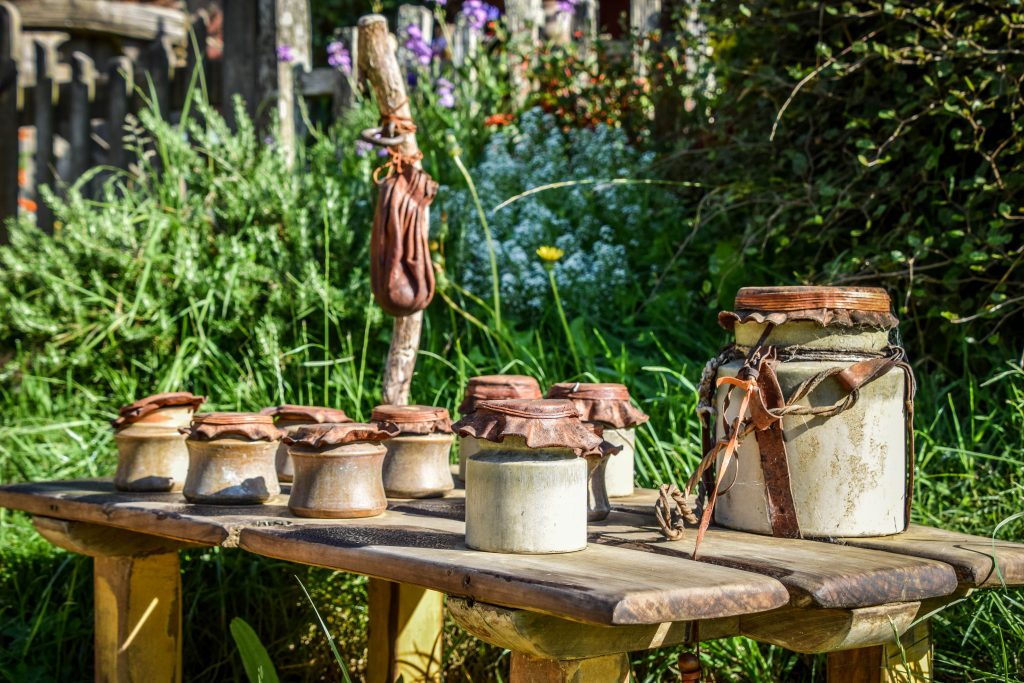
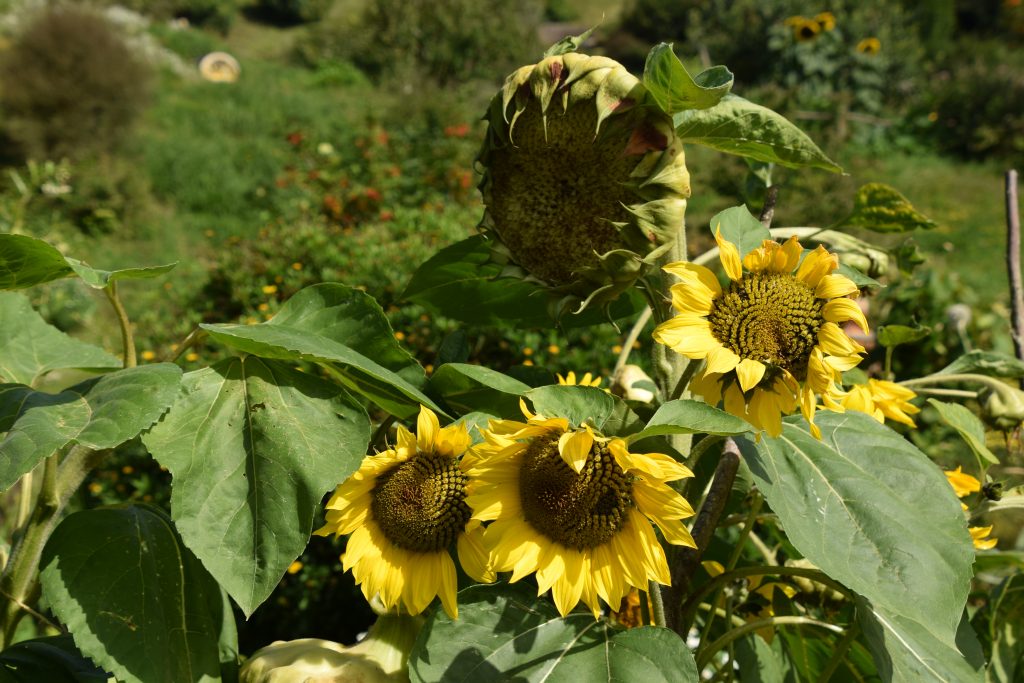
Pay attention to all the details around hobbit holes as well as the gardens as they are simply impressive. Small Hobbit’s clothes hanging on the strings, jars with honey, scarecrows and many more.

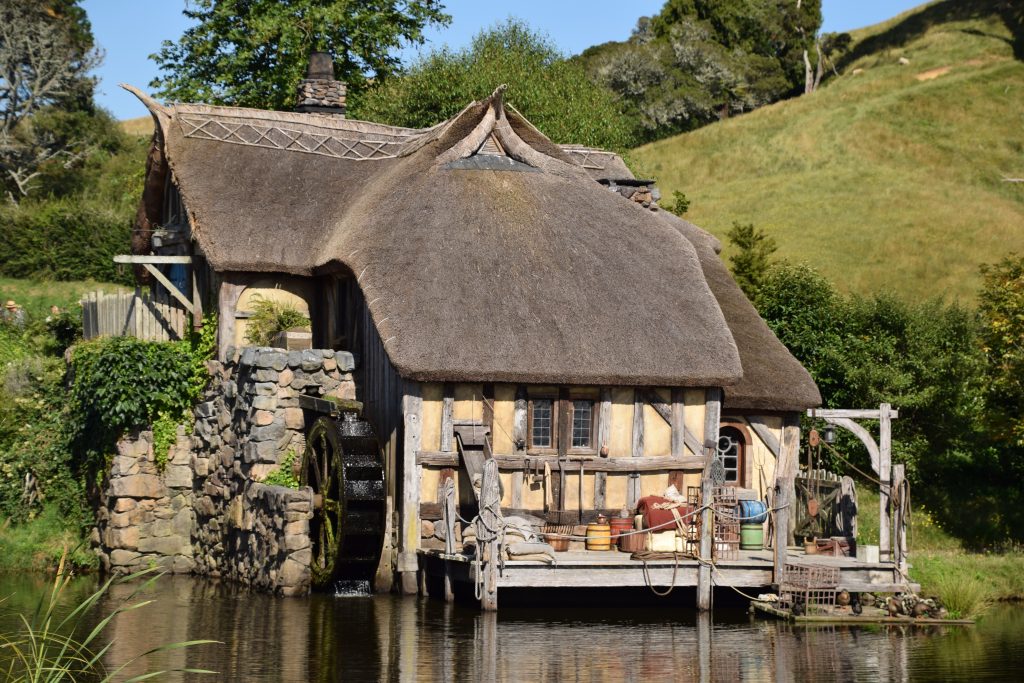
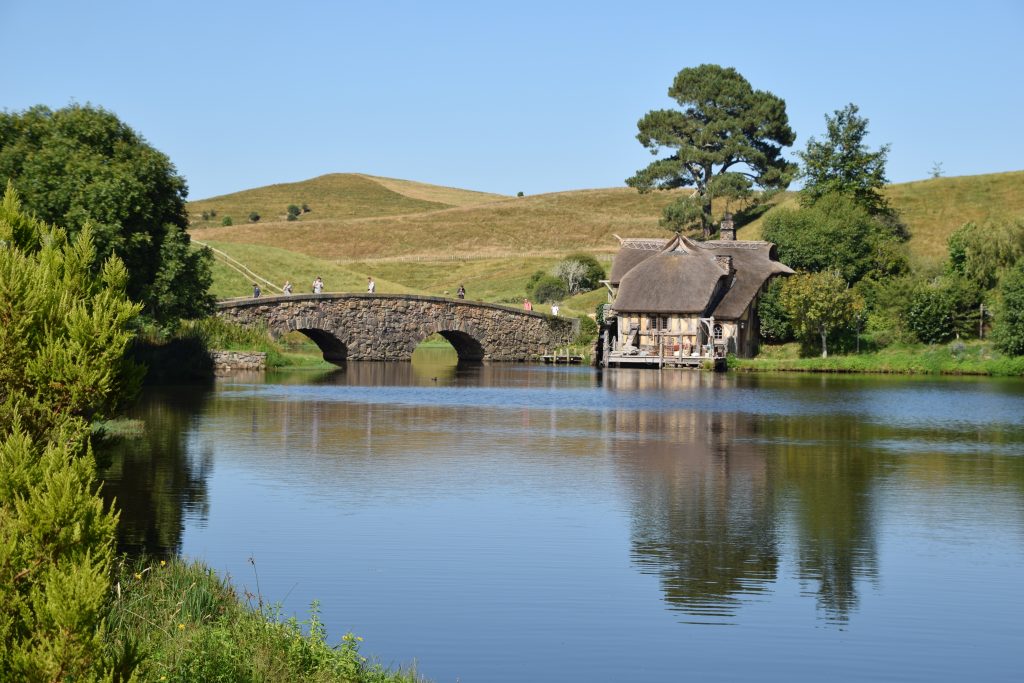
The last stop of the tour was the visit to the Green Dragon Inn. Southfarthing beverages such as apple cider, ginger beer and two ales are available and one drink is included in the entrance ticket. It was really nice to cool down and think again about what I just saw and experienced.
To sum up, the visit to Hobbiton Movie Set was definitely worth doing and if I come back to New Zealand one day, I could easily imagine doing it again. It was a beautiful sunny day in a wonderful Middle Earth location 🙂
What could be improved?
Sometimes the pace was too fast and I had to make the choice of either listening to the guide or focusing on taking pictures as another group was already not far behind. If you listen to the guide, you need to stay somewhere at the front of the group but then it’s getting difficult to take a shot without people on it.
The free time at the Green Dragon Inn could be extended beyond 20 minutes that tourists usually have there to rest and enjoy the drink. It’s a really nice area just by the water so I could easily imagine chilling here a bit longer or at least be given a choice.
Last but not least, I would add a decent visit to the interior of a hobbit hole with the opportunity to take pictures.
In the second half of the day I made my way to Royal Botanic Gardens in Hamilton but that’s the story for another post.
Interesting facts about Hobbiton Movie Set
1. It’s located on a working farm
The movie set covers the are of 4.8 hectares and is located on an actual 500-hectare working sheep farm belonging to the Alexander family. Russel Alexander is the general manager of Hobbiton Movie Set Tours with Peter Jackson owning about half of it.
2. Built and re-built
The Shire was dismantled after filming The Lord of the Rings finished and was re-build, this time for good, to make The Hobbit movies.
3. Is it a place for real fans only?
Not at all. Almost 40% of the visitors haven’t seen the movies and they say it was an awesome tour anyway.
4. People were paid for walking
It sounds like a good job description, doesn’t it? To make the tracks look more authentic and worn out, staff members were hired to walk on top of the houses and around washing lines. I could imagine myself doing that!
5. Fake houses and trees
There is only one hobbit hole with open doors and visitor groups usually queue to take a picture there. Every tourist gets that very same shot and there is absolutely nothing unique about it. Check hashtag #hobbiton on Instagram and you will know what I’m talking about. What about other houses? Most of them are just facades as the interior scenes were filmed in the studio in Wellington.
Other fakes relate to trees. The oak “growing” above Bag End looks real but in fact, is made from fiberglass and has silk leaves. In Tolkien’s book, there is a description of kids playing under the plum trees. You won’t find ones in Hobbiton though. For filming purposes, those were replaced by apple and pear trees which are smaller. Real fruits and leaves were stripped and replaced with fake plums. In the end, probably it didn’t look too good as the scene was cut out from the movie.
6. Scale and right perspective
The hobbit holes were built to different scales, depending on the high of the actor being filmed. Shots with a tall guy such as Gandalf were made at 60 percent scale and the ones with hobbits at 90 percent.
7. Perfect gardens
The plants, flowers, grass – everything looks fresh and very organized thanks to several gardeners working here full time and making sure it catches an eye.
8. Frogs didn’t want to comply
The population of the frogs in this area was huge and they clearly wanted to mark their territory by being loud. The direction Peter Jackson had to take decisive steps. Frogs were removed from the filming location and reintroduced after the job was done.
9. Discrimination of white sheep
Even though there were plenty of local sheep on the farm (over 13.500 to be precise), Peter Jackson didn’t decide to use any of them because of their white faces. Black-faced sheep were brought to the place and appeared in the movie.
10. Sunset which happened to be a sunrise
Do you remember a scene with Bilbo and Gandalf sitting facing a sunset? Another fake as the location faces east 🙂 Therefore, the crew was filming at the sunrise instead and edited in post-production. In the first cinema version, you could have seen birds flying backwards. Later on, it was fine-tuned!
11. Drink to look authentic
Filming of Bilbo’s birthday party was desired to look so authentic that actors were allowed to drink as much as they wanted. Unfortunately, they didn’t know that Peter Jackson supplied a beer containing only 1 percent of alcohol. It’s called Sobering Thought and can be purchased onsite.
12. Treat yourself too
Southfarthing beverages are available at the Green Dragon Inn. Those are an apple cider, ginger beer and two ales. One glass is included in your entrance ticket so don’t forget to make use of it!


: the highest volcano on Java")


