Introduction
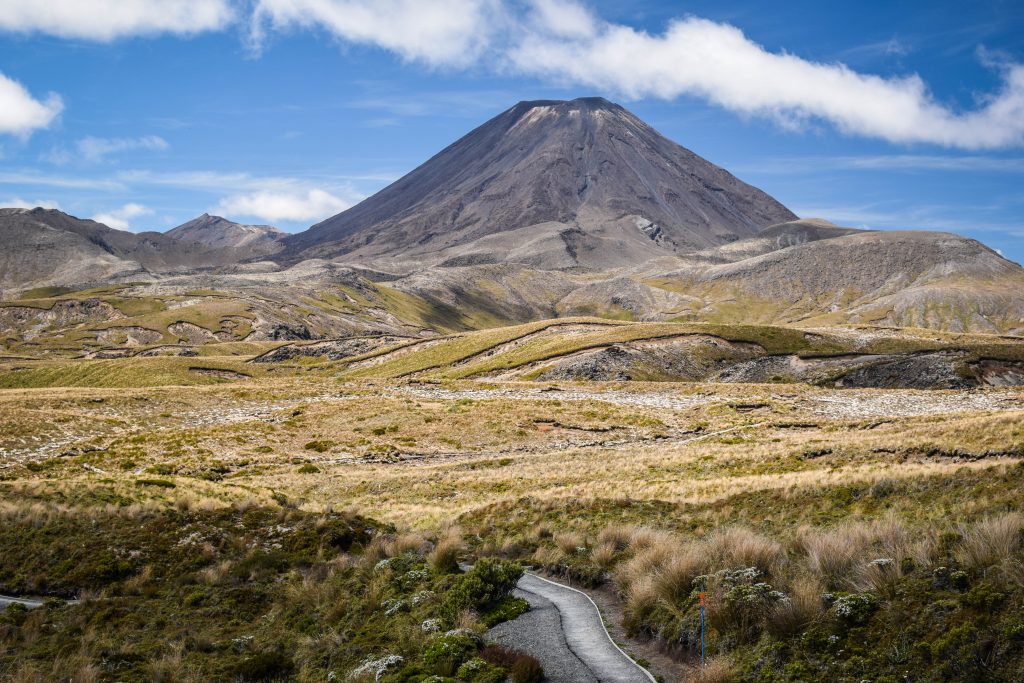
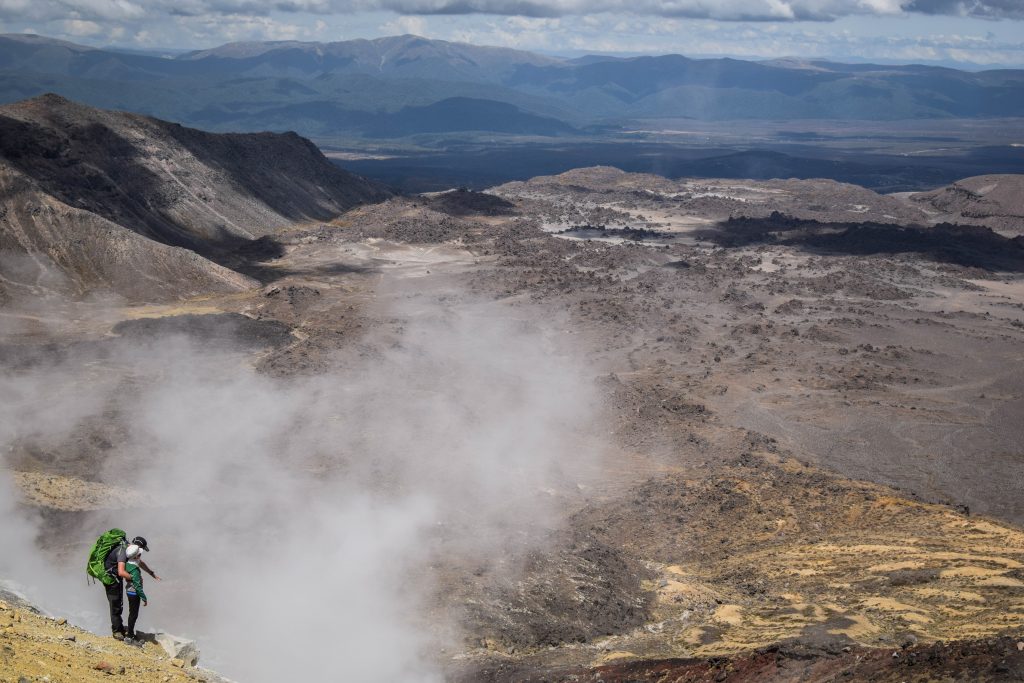
Due to limited time, most travellers focus only on visiting New Zealand’s North and South Islands, excluding the third biggest Stewart Island/Rakiura from their itineraries. At first, I didn’t plan to visit the island and hike Rakiura Track either. However, after my first Great Walk – Tongariro Northern Circuit, I totally fell in love with long-distance treks. I instantly thought I want to have them all in my collection of memories from New Zealand.
Rakiura Track is the shortest and certainly the easiest of all Great Walks. It’s a 32 km loop in the Eastern part of the island. Department of Conservation (DOC) suggests 3 days itinerary but the track can be done by an average hiker in 2 days without a problem. Some do it in 1 day, even though I don’t recommend that option as it will be extremely rushed.
The big benefit (especially when heading from Fiordland) is that Rakiura Track is the cheapest Great Walk to do and the easiest to organize. I booked the campsite just 1 day in advance which would be highly unlikely on any other Great Walk.

Rakiura National Park
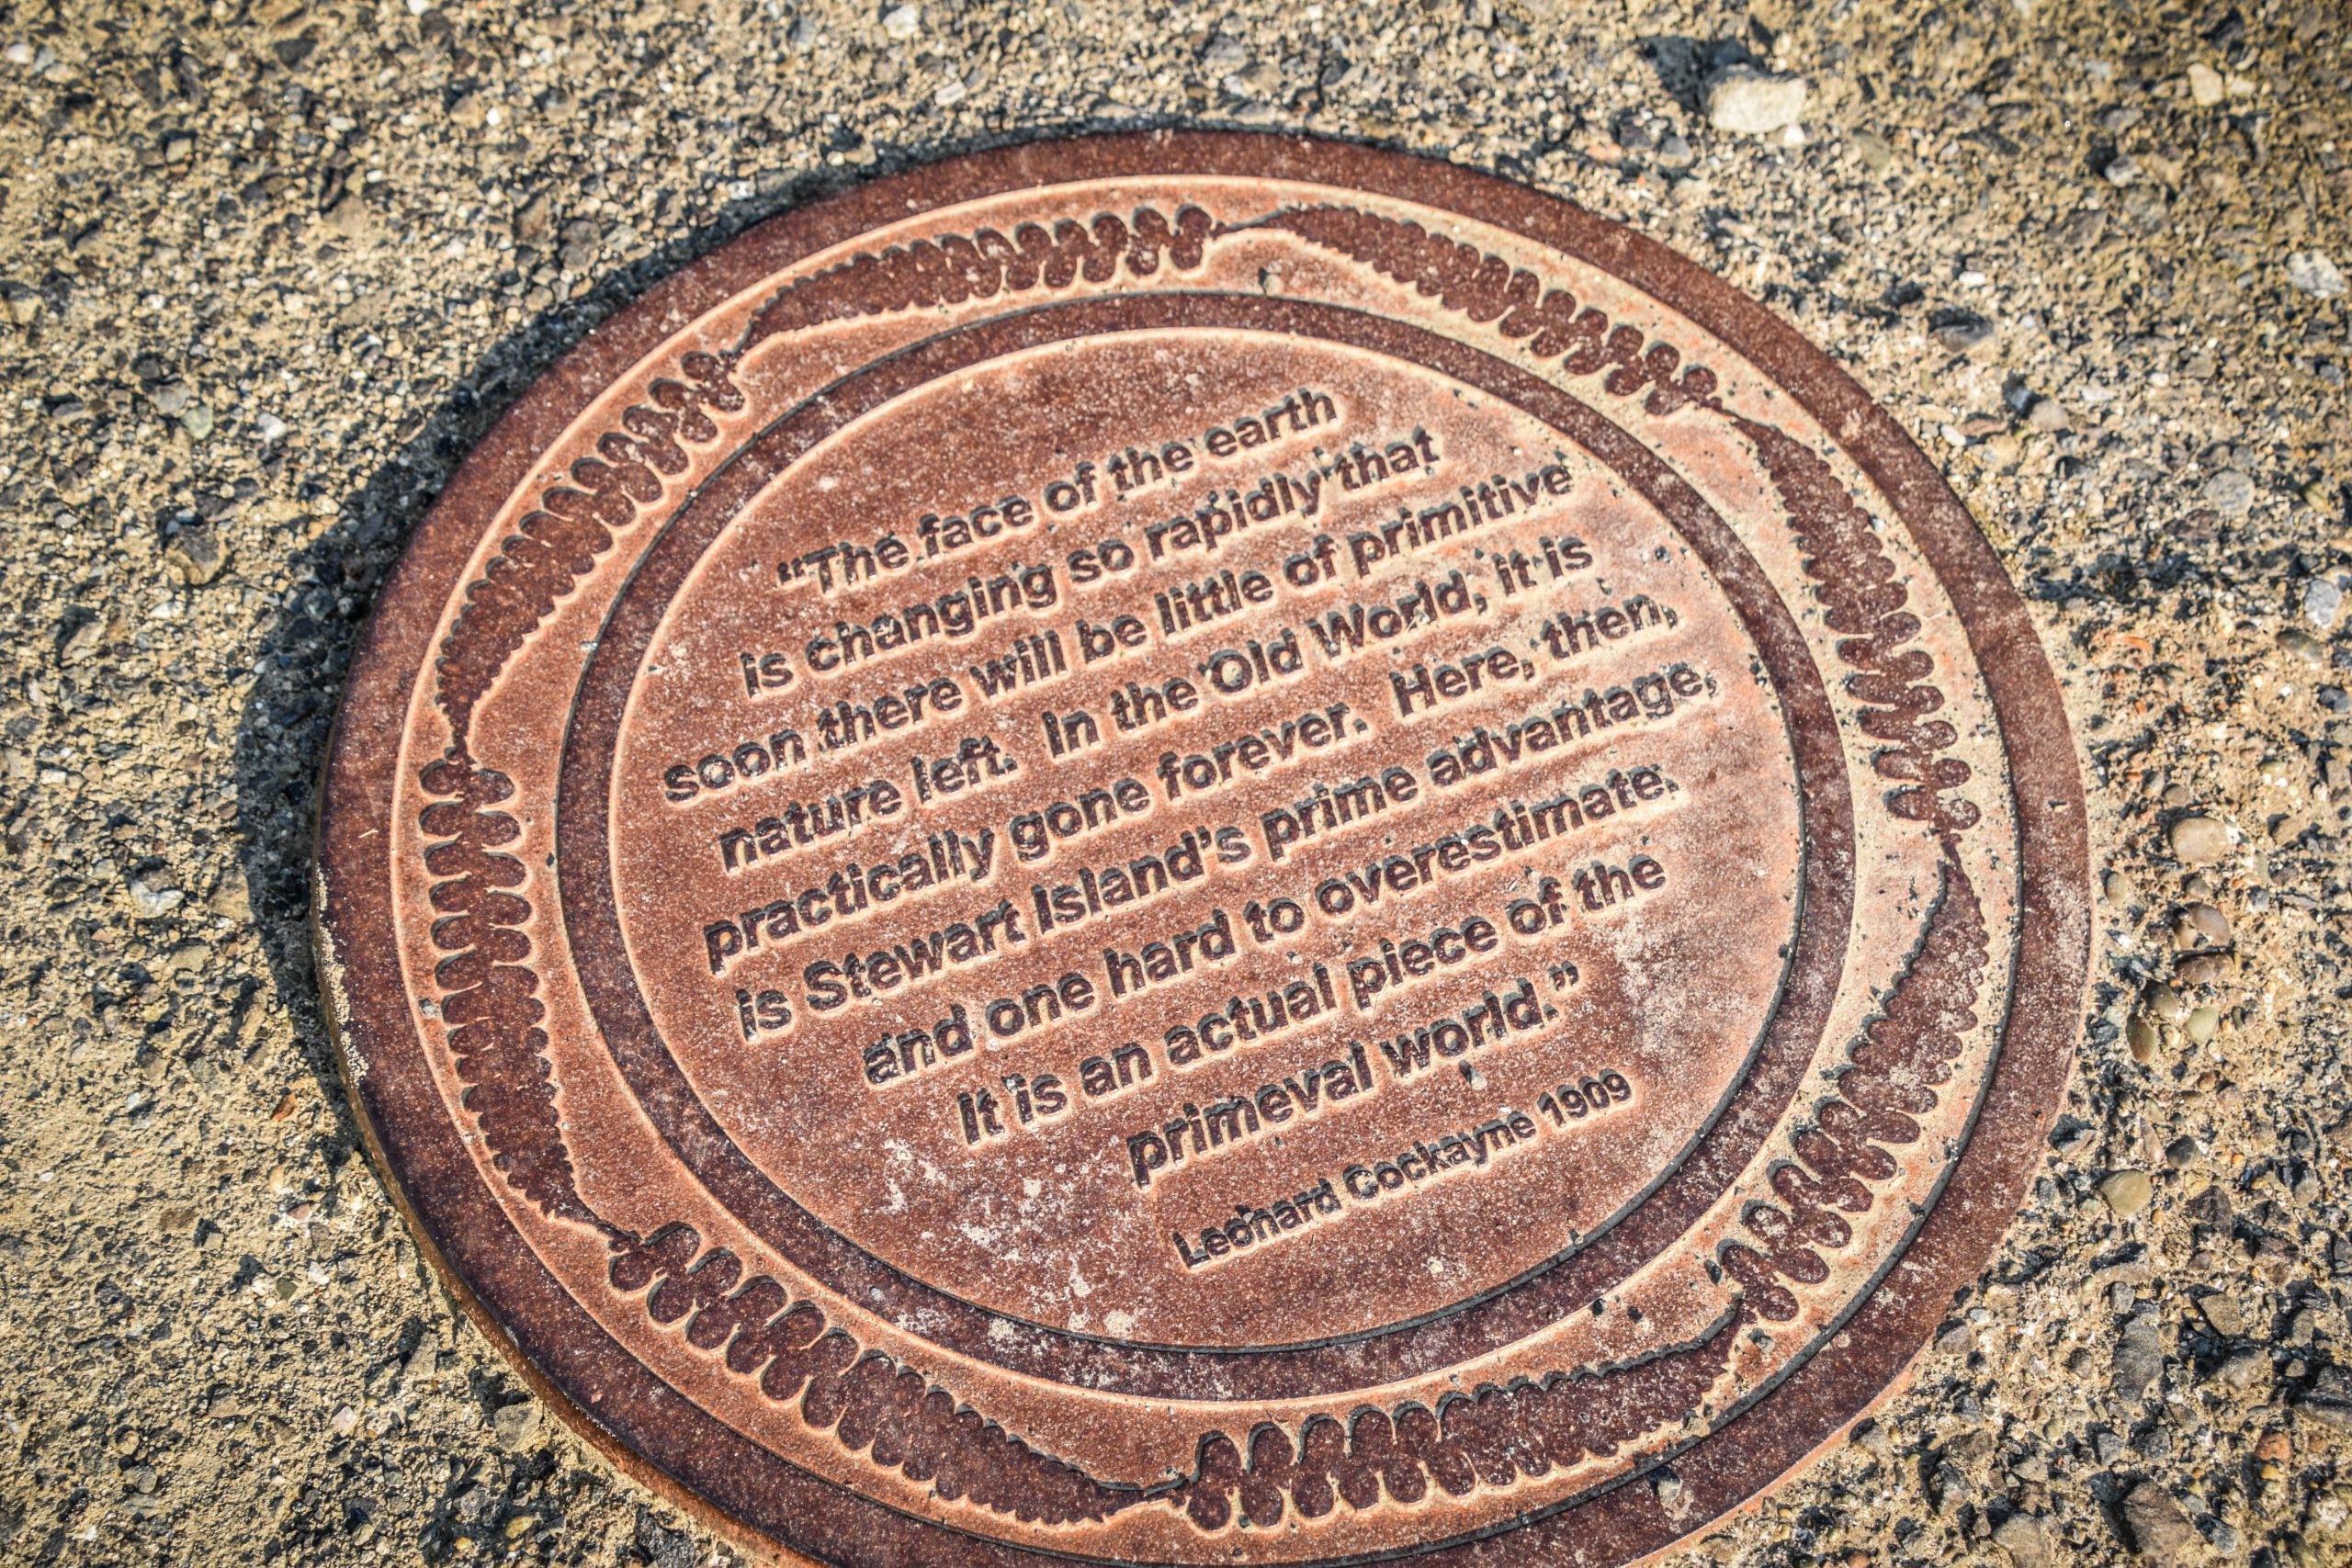
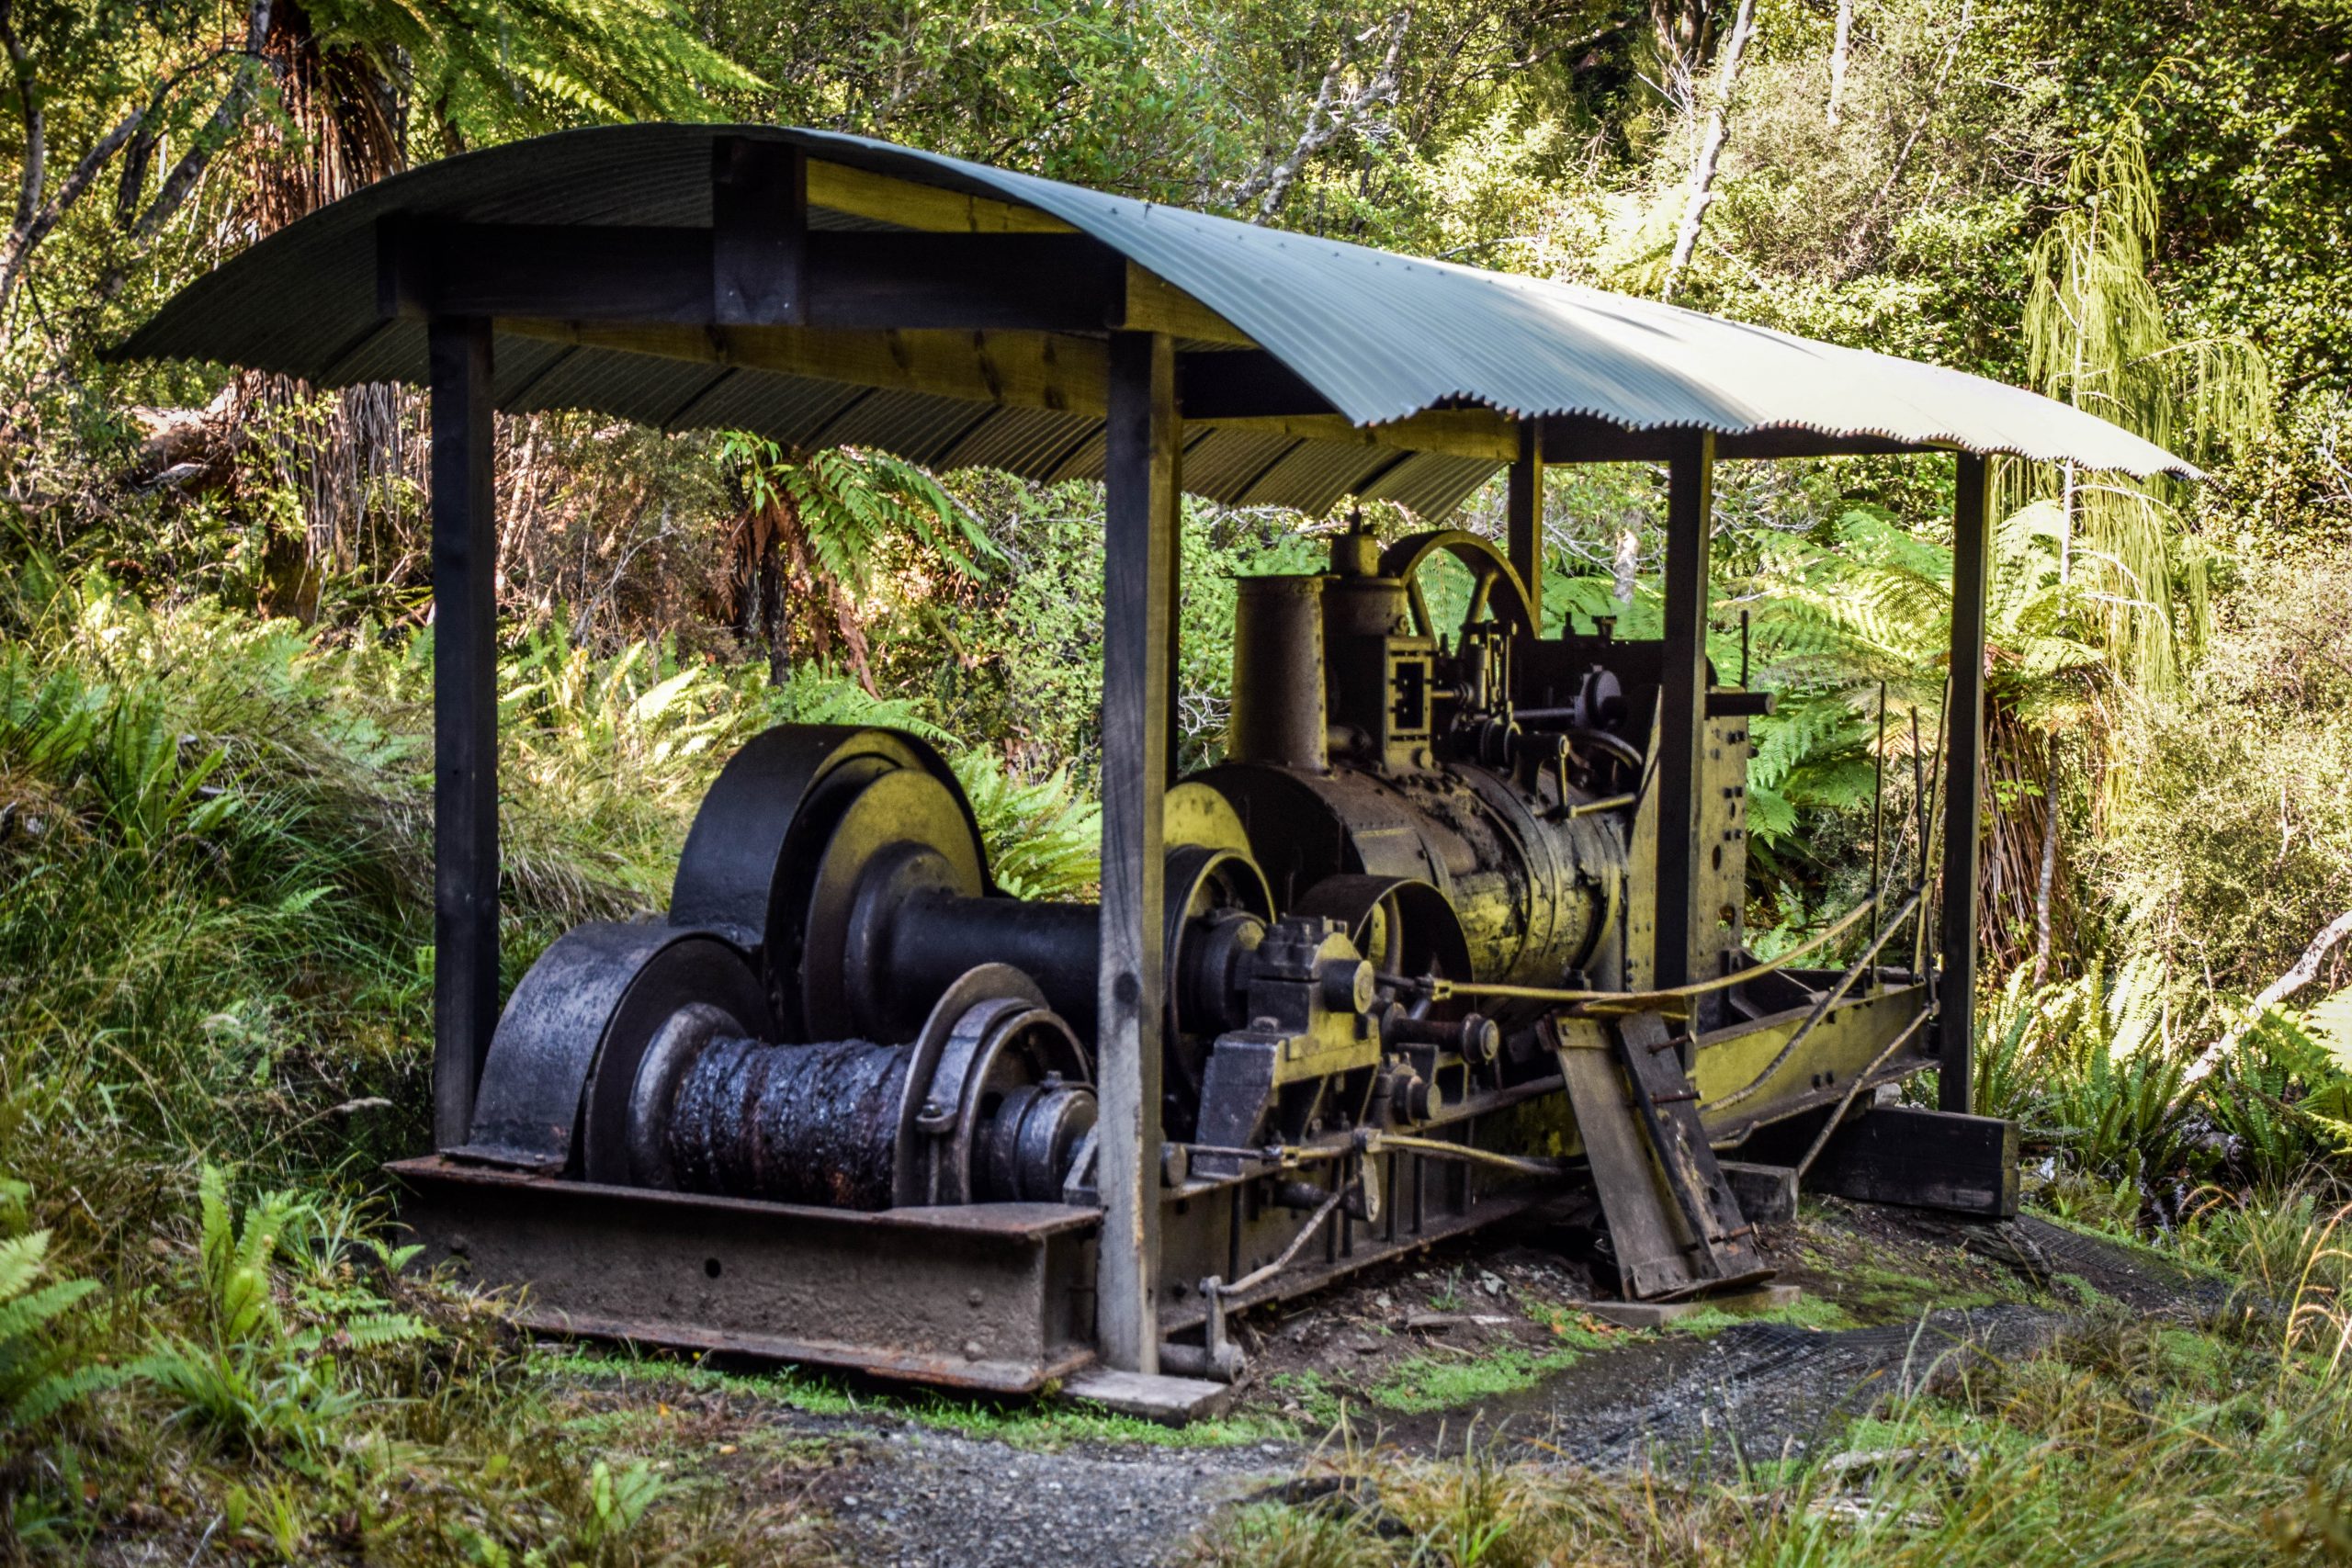
The park was established in 2002 and is made of over 80% of the island’s territory. On the track, you will encounter information boards about early Maori settlements especially around Maori Beach and Port William as well as relicts of sawmilling industry which lasted until 1931. Some parts cross the Maori land which has been shared for the public use by the courtesy of its owners.
How to get to Stewart Island?
There are 2 options to get to Stewart Island: ferry or plane.
Ferry service is operated by Stewart Island Experience. Depending on the season, it goes 2, 3 or 4 times a day. The crossing takes 1 hour and regular ticket costs 89 NZD one way or 159 NZD return. Always make a booking in advance. I didn’t and the ferry that I planned to take the next morning was fully booked. There is free parking just in front of the terminal in Bluff. The crossing can be quite bumpy, so better get your meal not before but after the arrival to Oban.
Flights are operated by Stewart Island Flights and leave Invercargill 3 times per day. It’s definitely faster (20 minutes) and more scenic way to arrive in Oban. As usually in New Zealand, it comes with the price and will hit the budget significantly with 130 NZD for a one-way ticket or 220 NZD return.
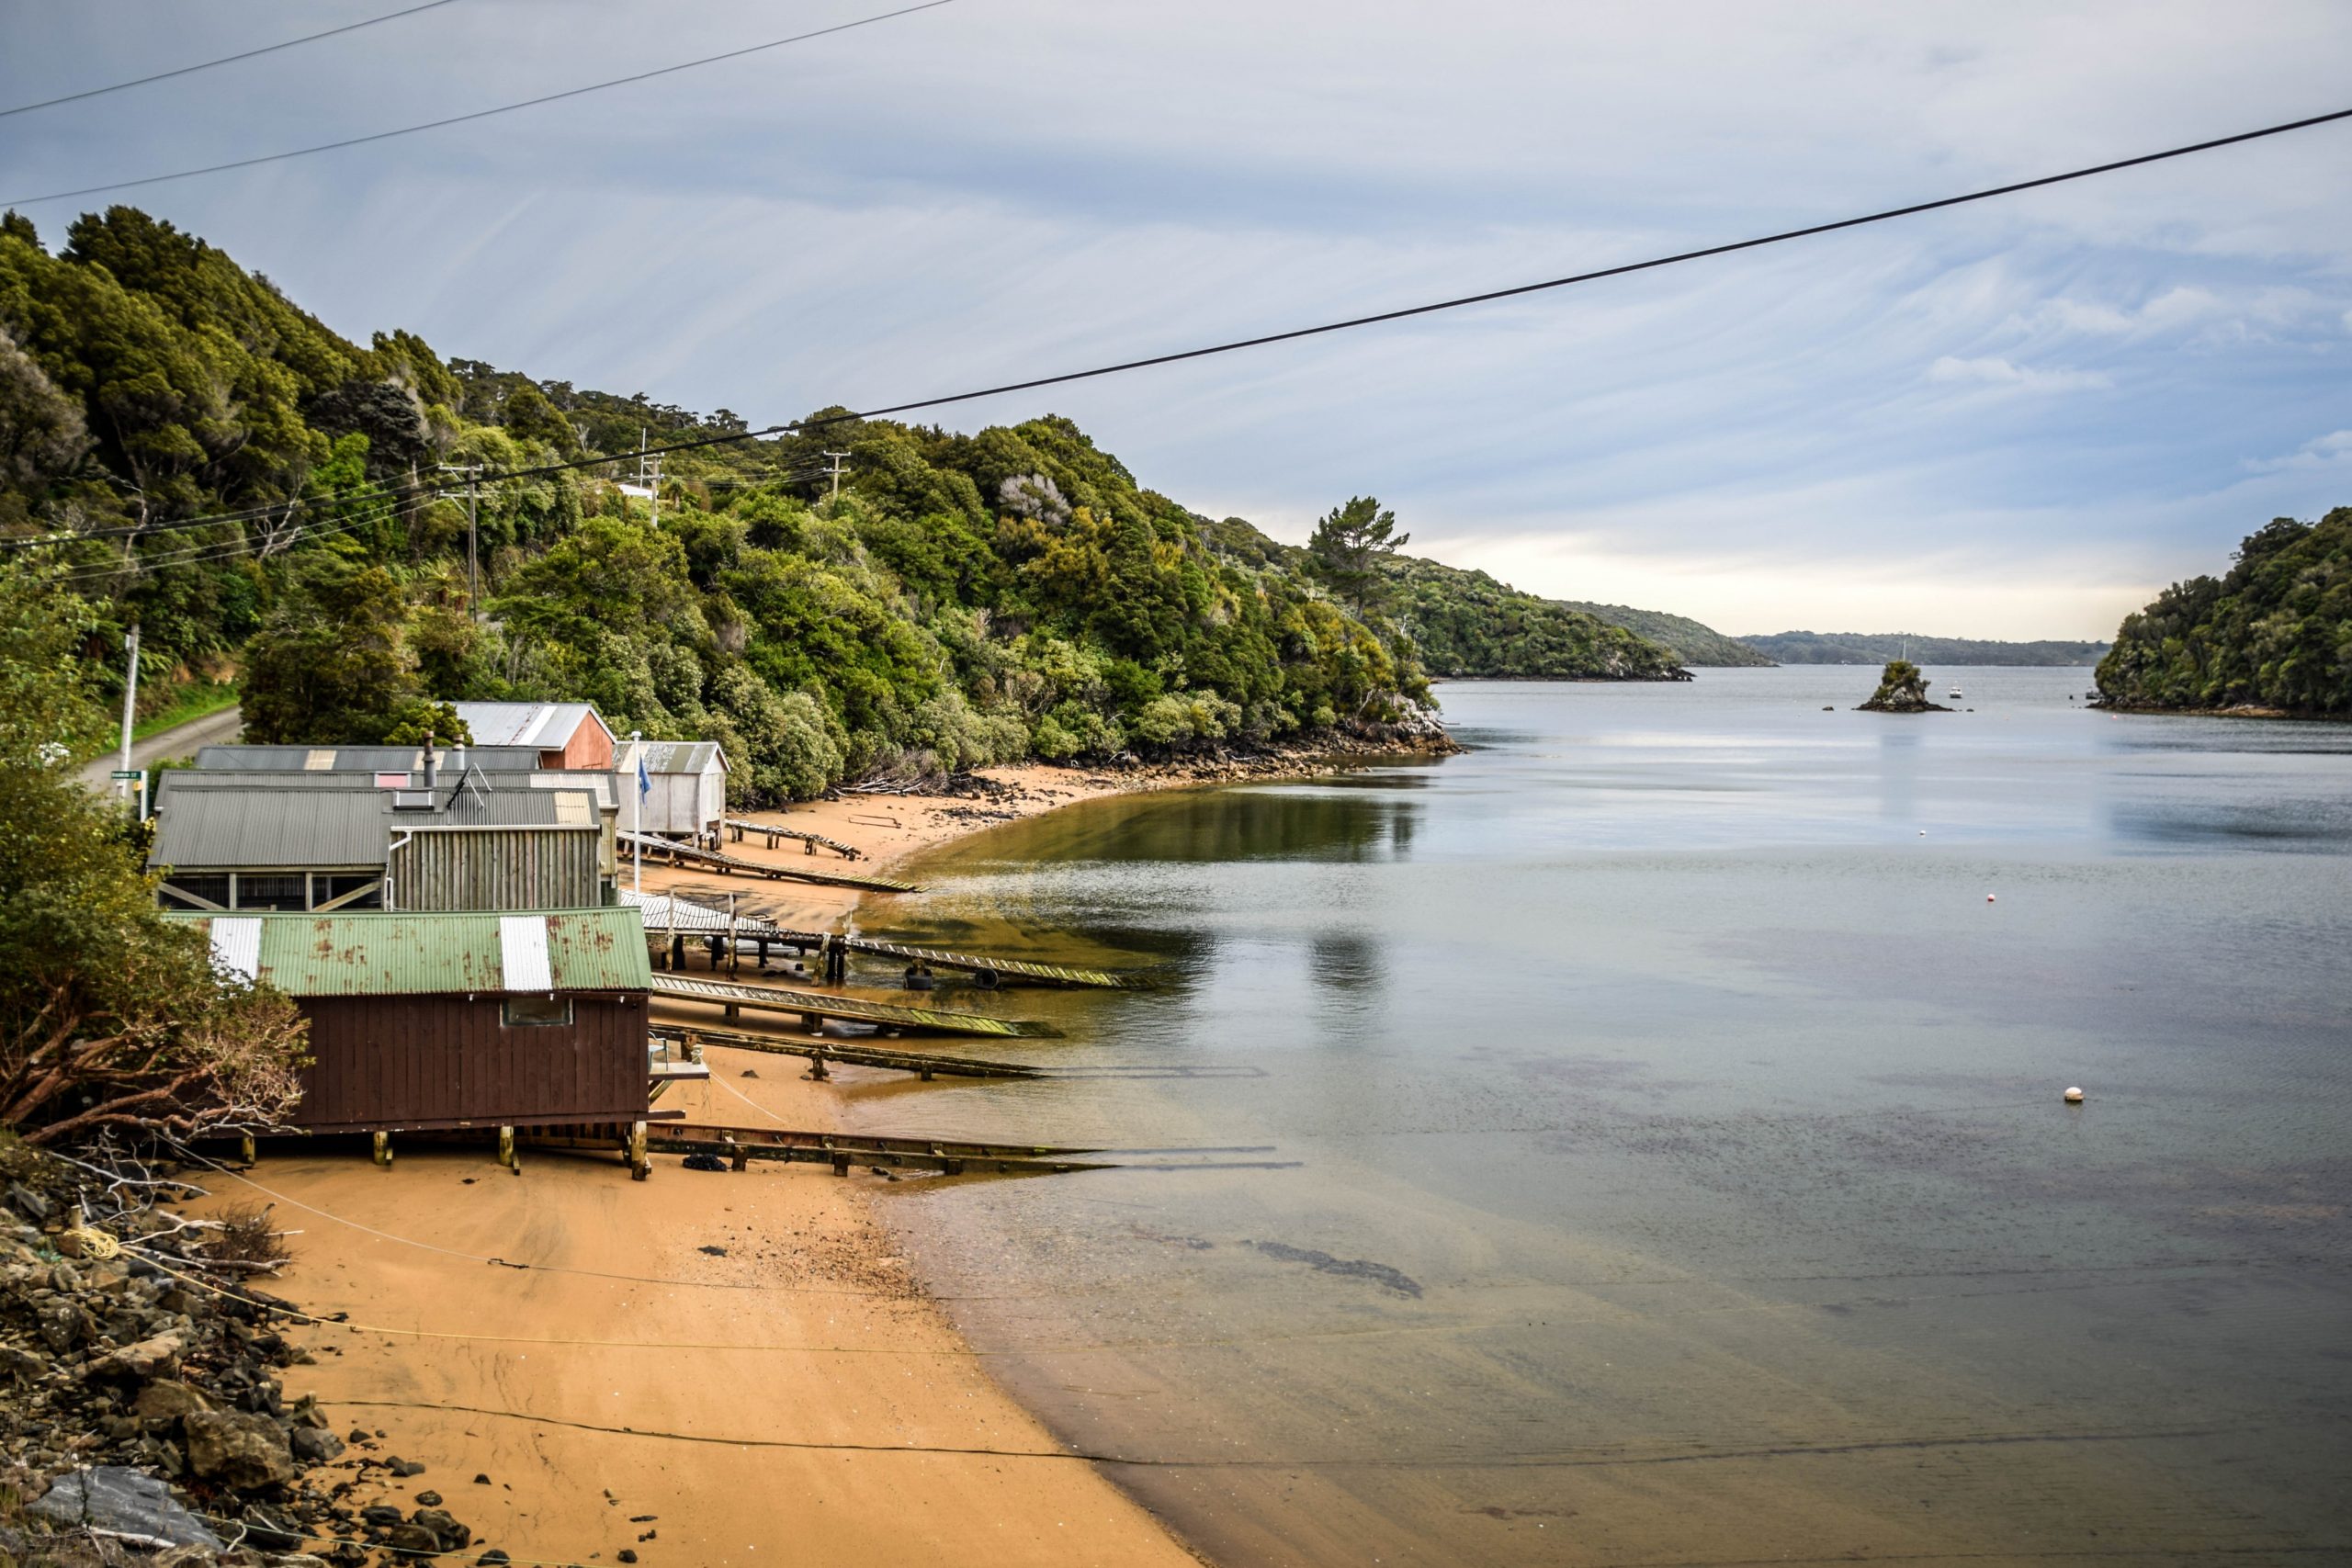
Overnight in Oban
If arriving in the afternoon, it’s worth to spend the night in Oban and start the track the next morning. Bunkers Backpackers Hostel is an excellent choice.
Clockwise or anticlockwise?
There is not much difference in which direction you start the hike. Deciding for 2 days itinerary, it’s up to you if longer and harder part should be done on the first or the second day of the hike.
If starting in the anticlockwise direction, make your way from Oban towards starting point at Lee Bay (5km). Otherwise, your starting point will be at the Fern Gully Road end (2km from Oban).
Weather
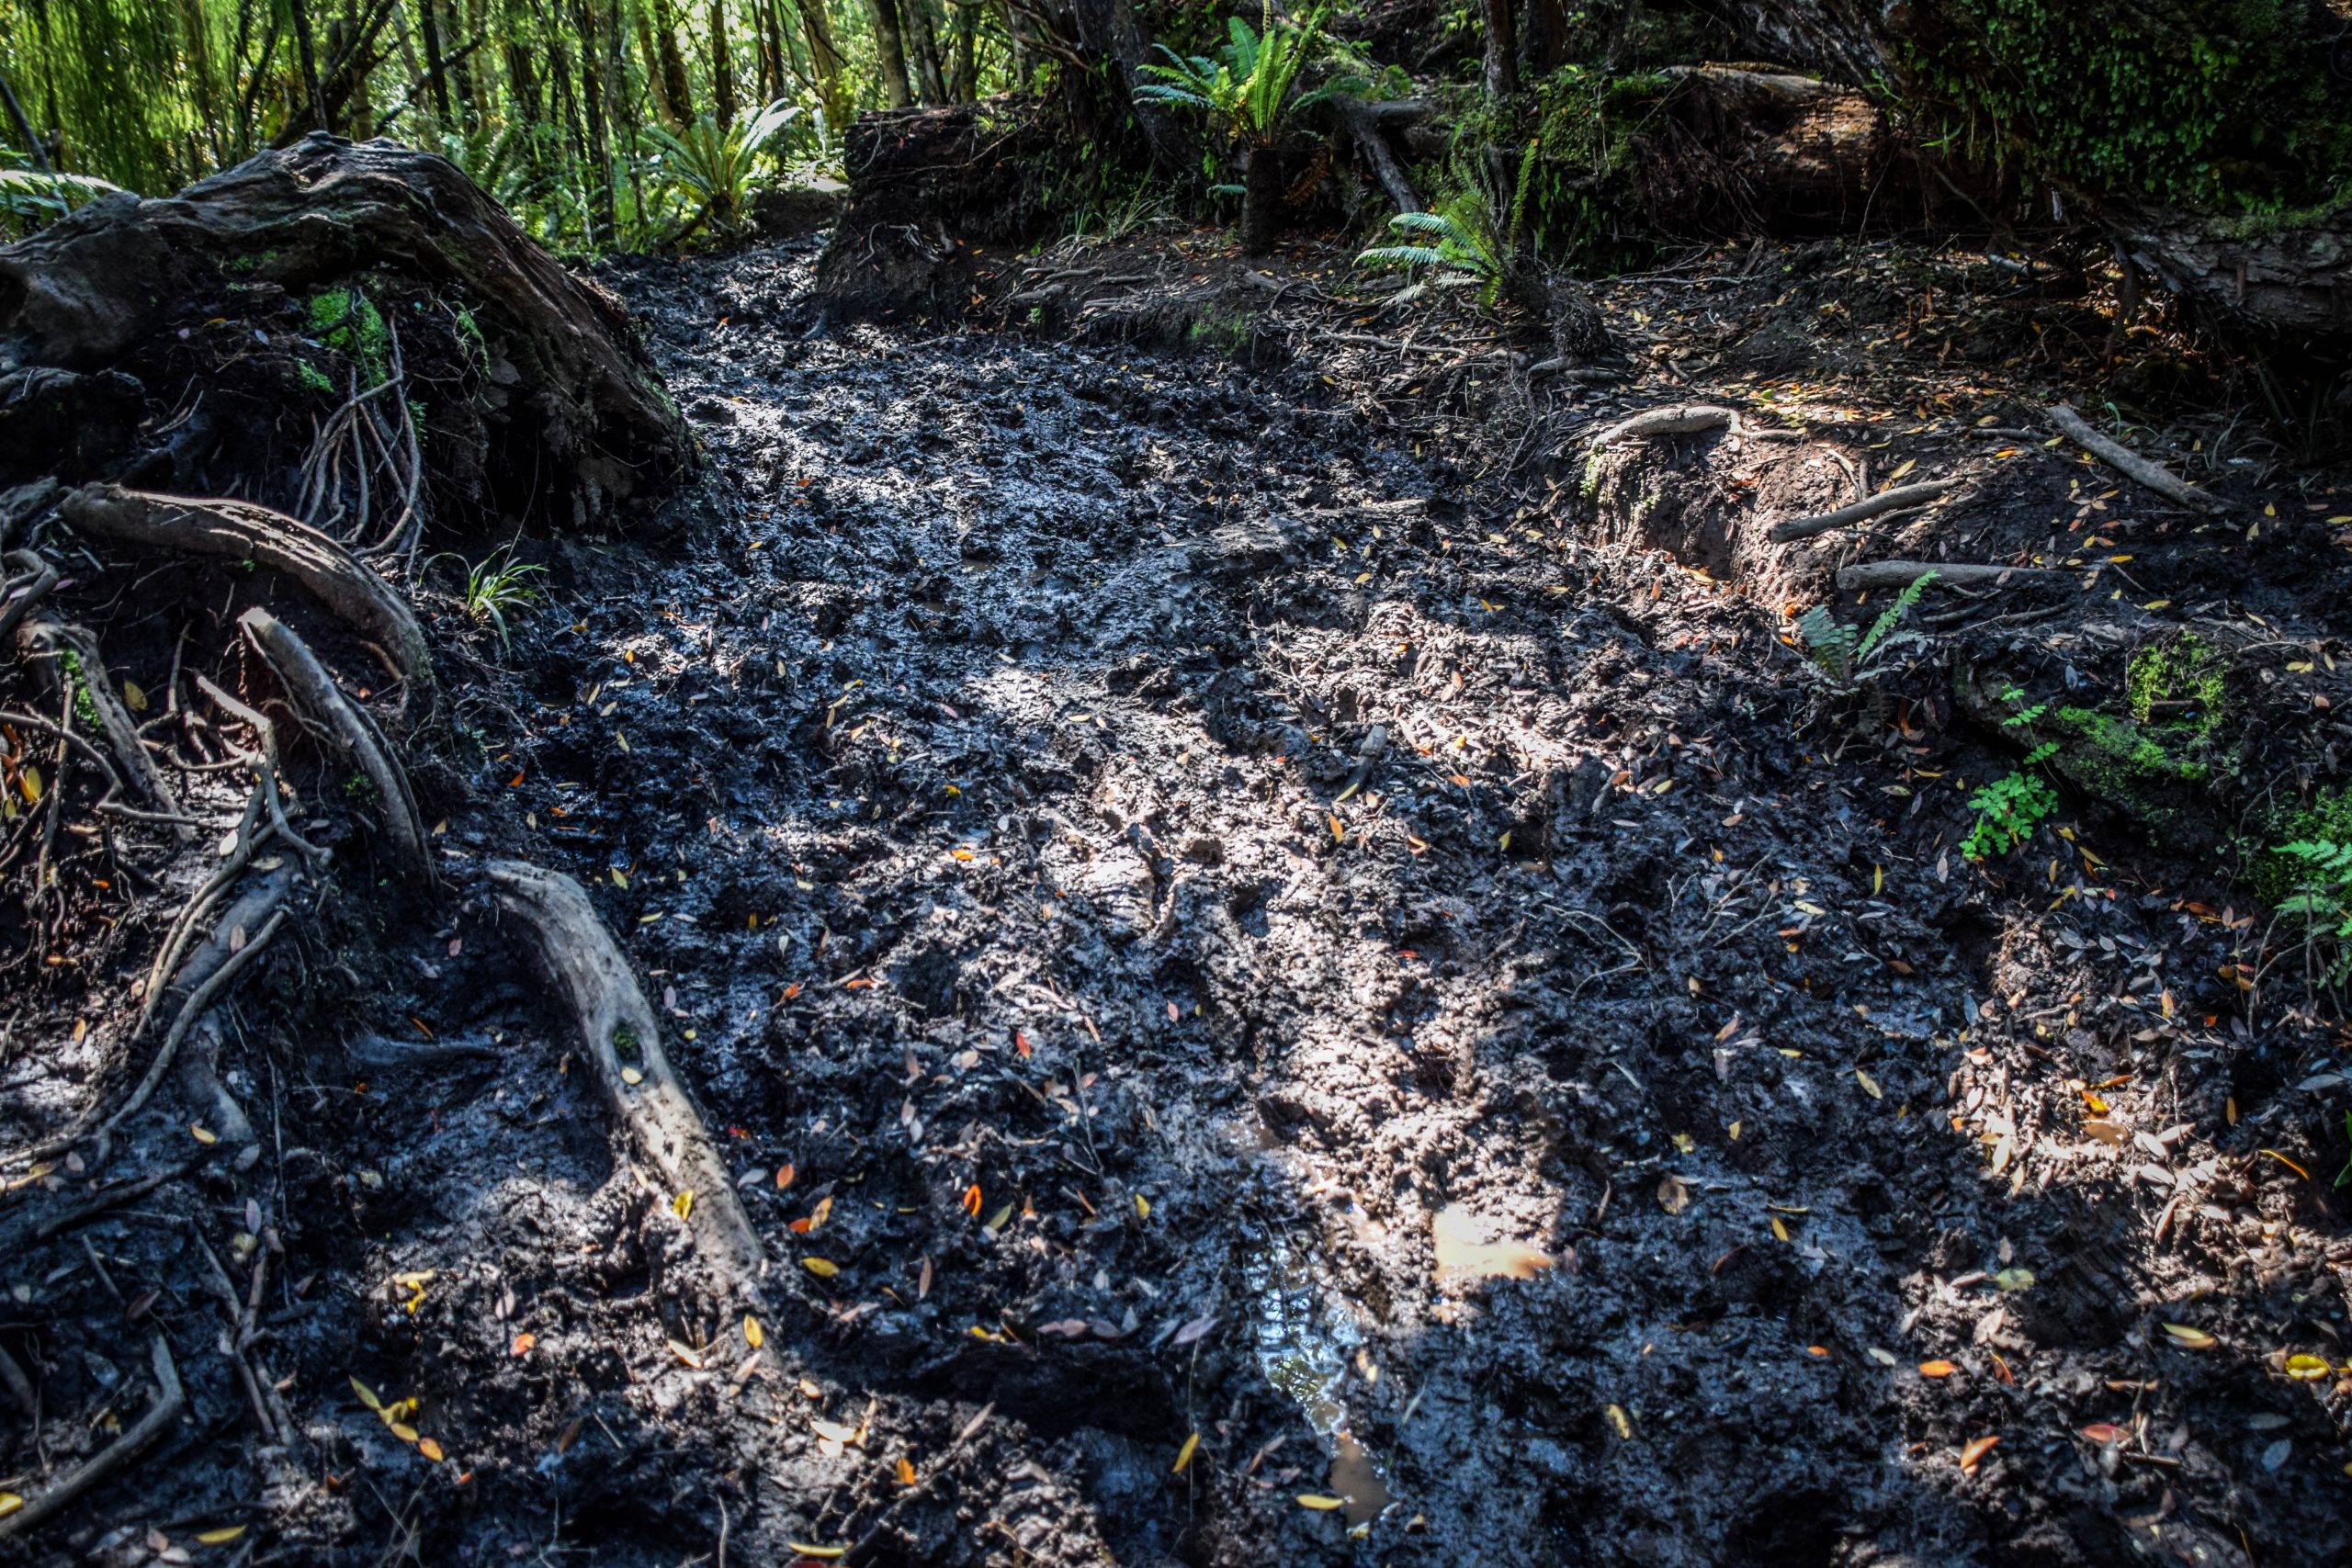
Due to its location, Stewart Island/Rakiura is exposed to even more changeable weather than the rest of New Zealand. It’s best to monitor the conditions on MetService. Strong winds and heavy rains are known on this track and can occur at any time of the year. After rains, be prepared to walk in deep mud. It’s worth dropping by to DOC office to reconfirm the weather conditions and ask for recommendations.
1,2 or 3 days?
Technically it is possible to do the track in one day, however, it would be a very long and very tough day. Start at sunrise is essential and you will finish around dusk, with not too much time for breaks along the way.
More popular versions are the ones over 2 or 3 days.
I did the track in 2 days and it was optimal time, giving the chance to have a break, take in all the sights and camp in the middle of the forest with the best chance in New Zealand to spot a kiwi in natural habitat.
3 days would be a bit too much for me, nevertheless, if you prefer to take your time, do sunbathing and picnicking on the way, then it’s a great opportunity.
Huts and campsites
The Great Walk season on Stewart Island/Rakiura begins usually at the beginning of October and lasts until the end of April. Bookings for huts and campsites are required year-round.
Booking can be done at the Department of Conservation website. Once on the island, don’t forget to drop by to DOC office in Oban to pick up the tickets and re-check weather conditions.
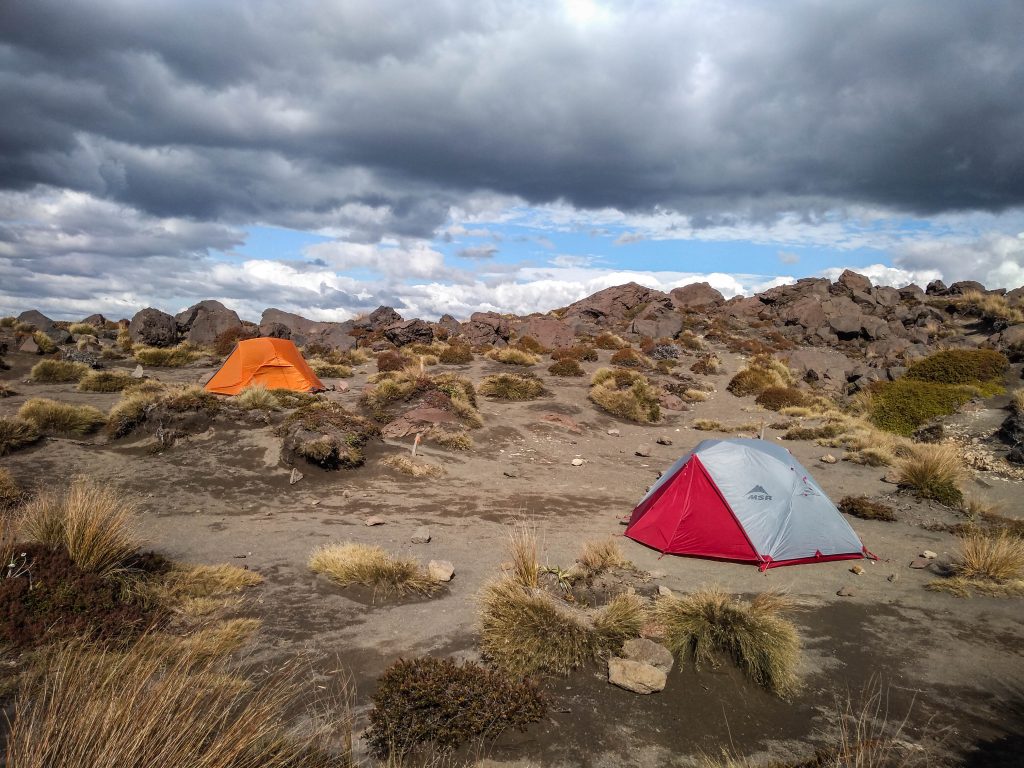
Both huts and campsites have pros and cos. Doing all of Great Walks, I used huts only on Milford Track and that’s because camping there is forbidden. I like to feel that I am totally independent and rely only on own supplies and equipment. Moreover, camping gives more flexibility to re-schedule the hike when the weather turns bad. Huts are rather booked out weeks in advance, especially on the most popular tracks. Camping on Rakiura Track gives you also better chance to spot the kiwi and hear all the sounds of the forest in the night.
Great Walks huts have bunk beds, mattresses, heating, toilets and cold water. Campings comes with water supply, cooking shelter, sinks and toilets.
List of huts and campsites
There are 2 huts and 3 campsites along the track. As for all Great Walks, overnight stays must be booked in advance and tickets should be picked up at DOC office in Oban before departure. As the track is the least popular of all Great Walks, there is usually no need of booking months in advance, however, do monitor the situation to avoid disappointment.
Maori Beach Campsite – besides being a grassy campsite close to the beach, it’s also the historic site where you can learn about remains of sawmill industry present on the island until 1931. It’s only a few kilometres from Oban so not many hikers stay here. There are 16 camping spots.
Port William Hut and Campsite – popular overnight stop located 8.1 kilometres from the trailhead at Lee Bay. If offers 24 bunk beds and 16 camping spots.
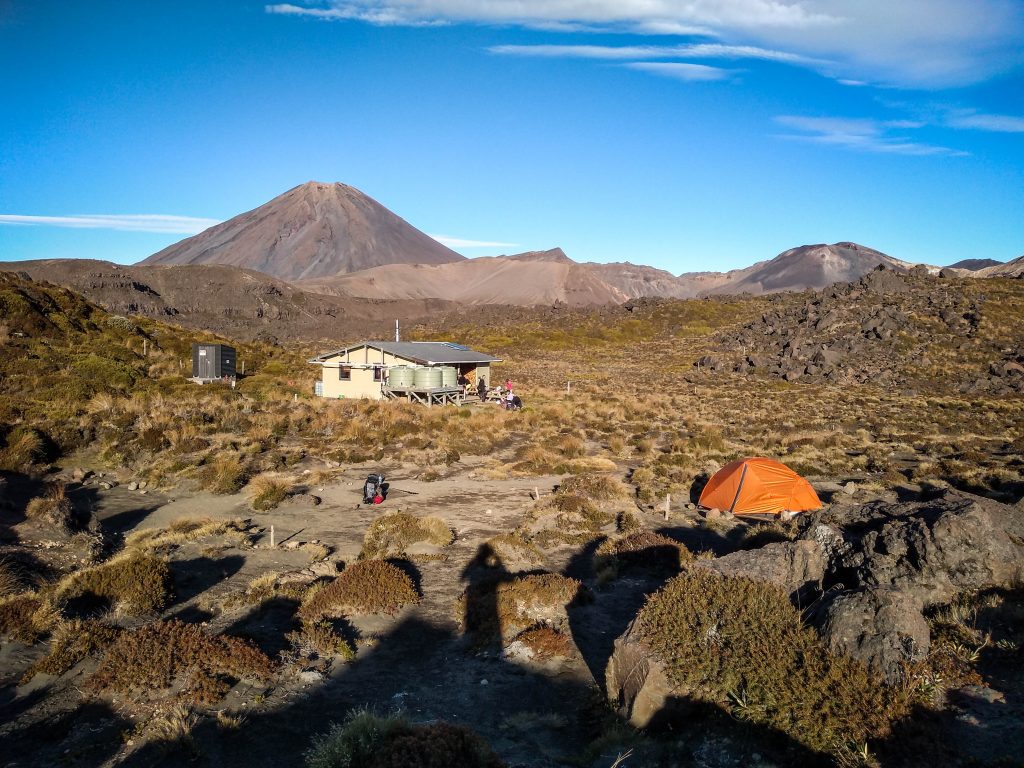
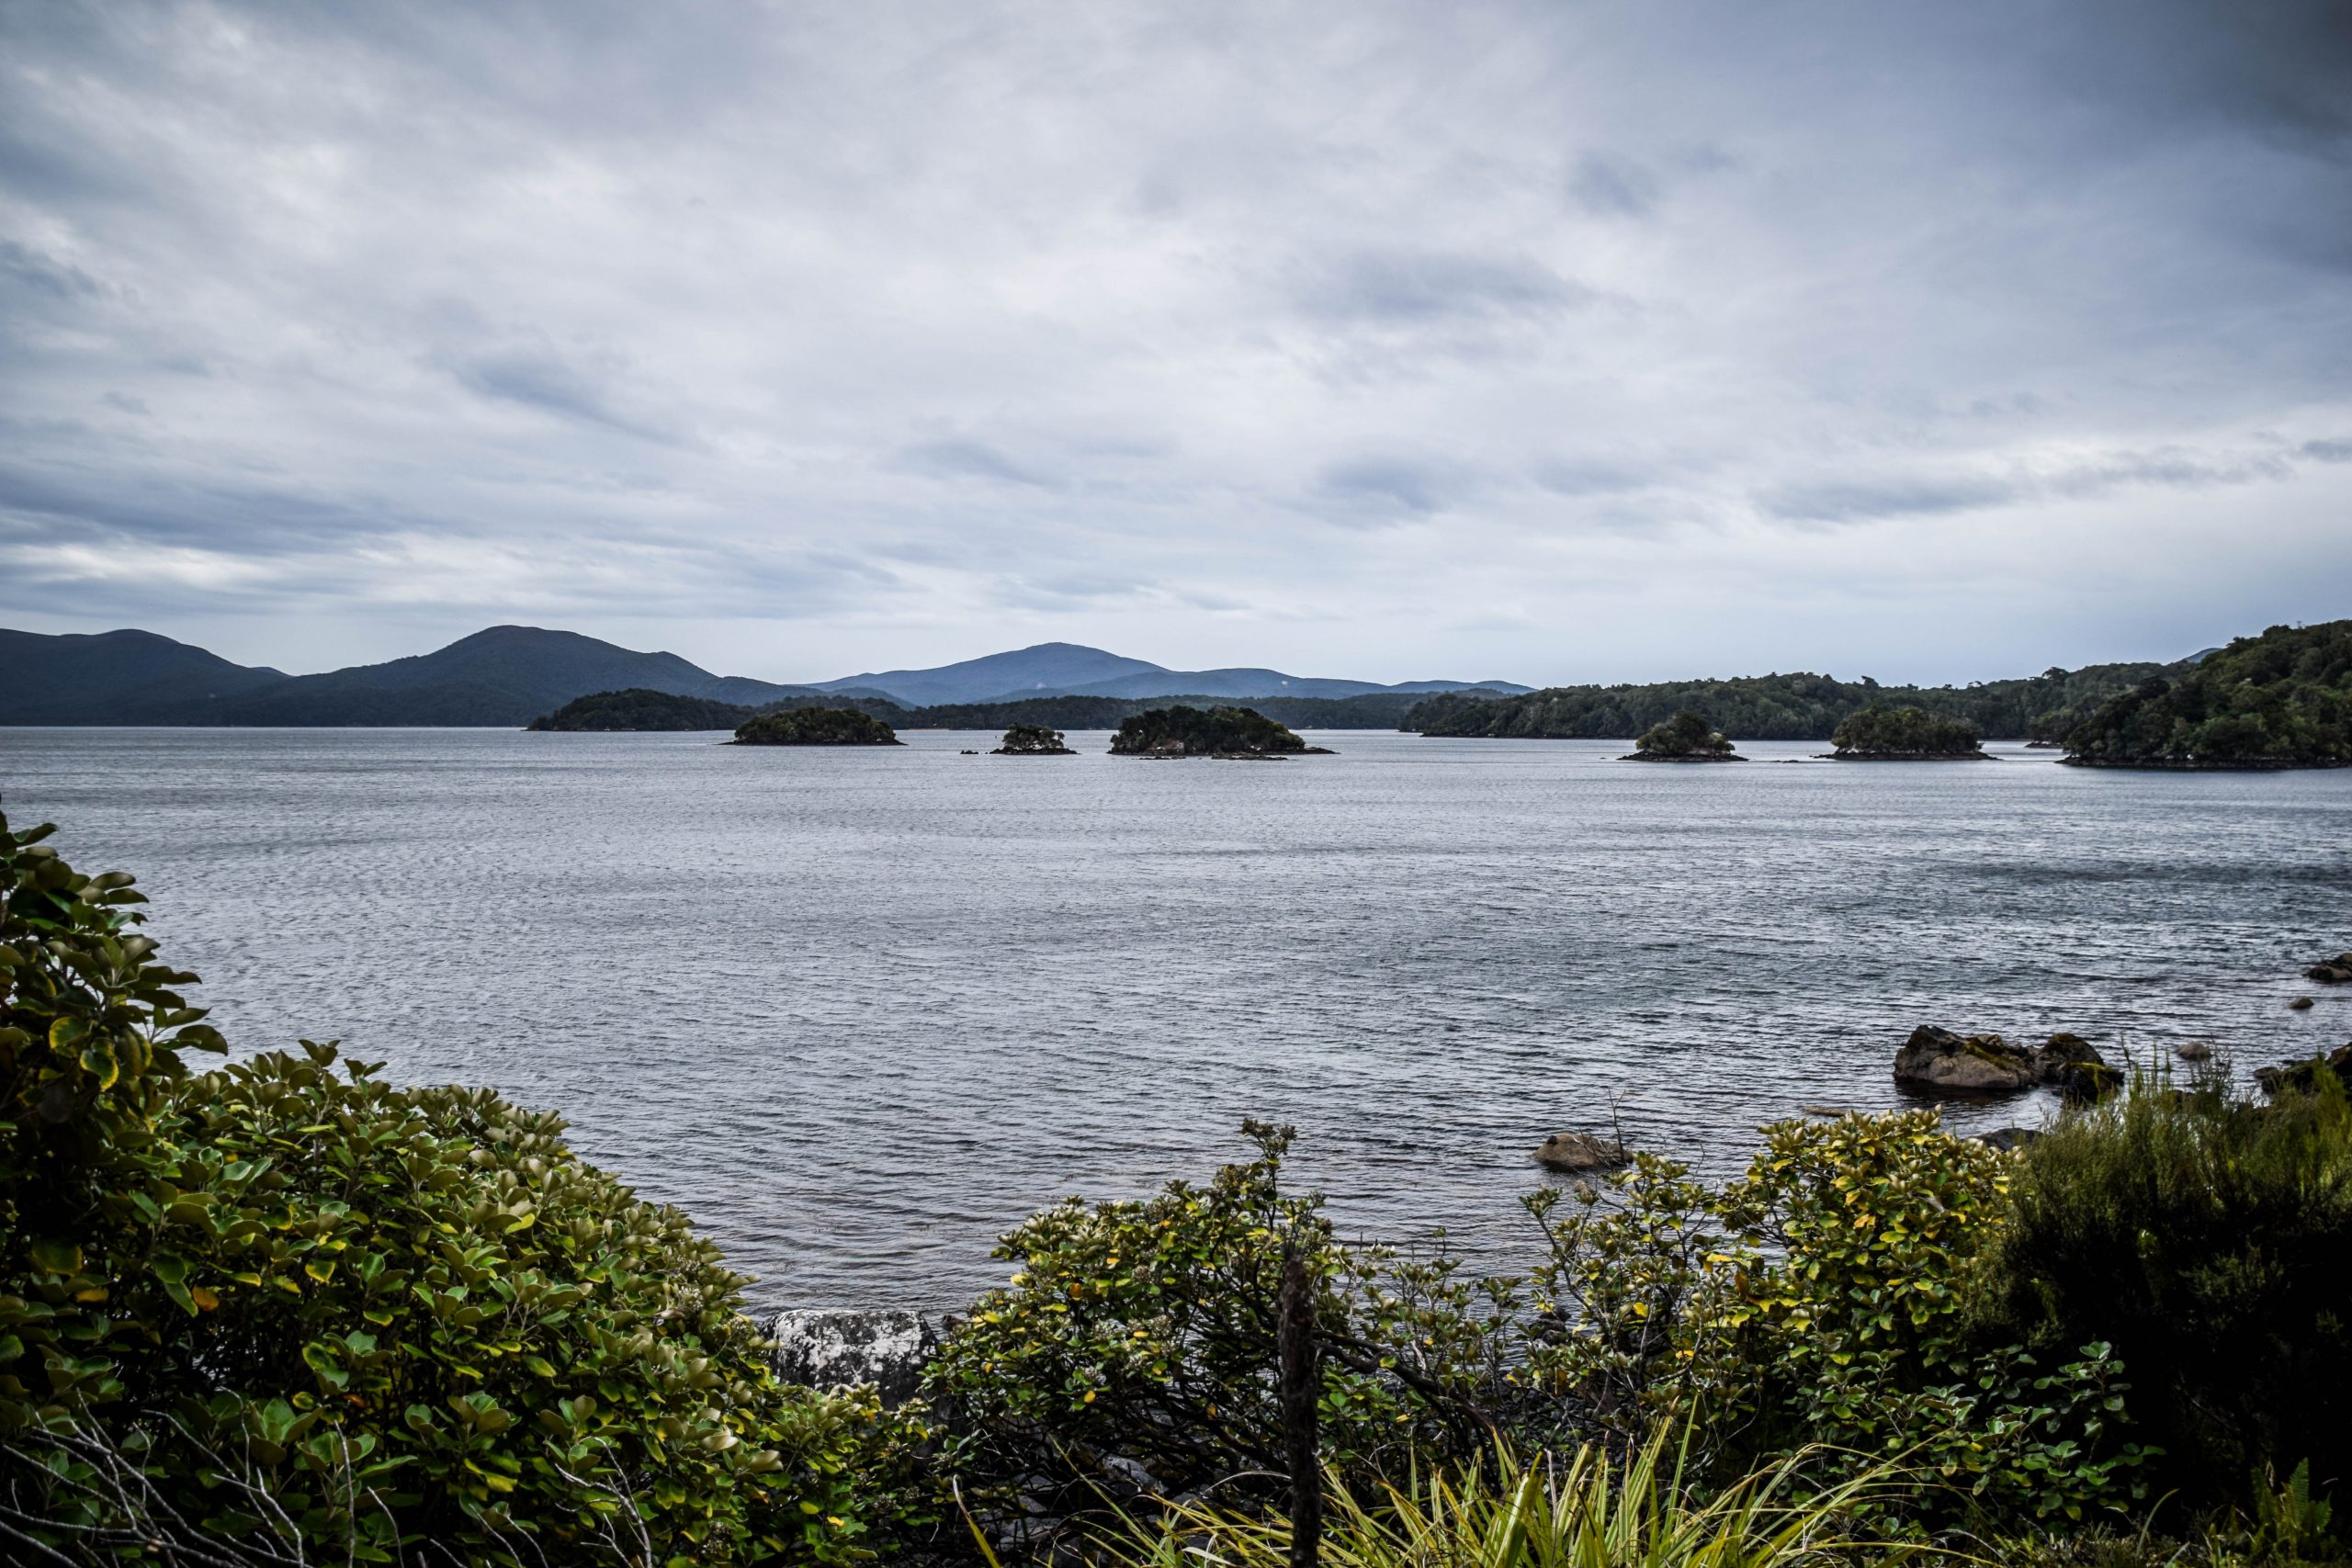
North Arm Hut and Campsite – from my point of view, the best place for the night on a track located only a stone’s throw away from Paterson Inlet. It offers 24 bunk beds and 16 camping spots.
Pricing
In the Great Walk season (1 October – 30 April) the prices are as follows:
Huts: 24 NZD per adult per night, 17 years old and under free (booking still required)
Campsites: 6 NZD per adult per night, 17 years old and under free (booking still required)
Outside of the season ( 1 May – 30 September), the price for a hut drops to 22 NZD. Price for campsite doesn’t change.
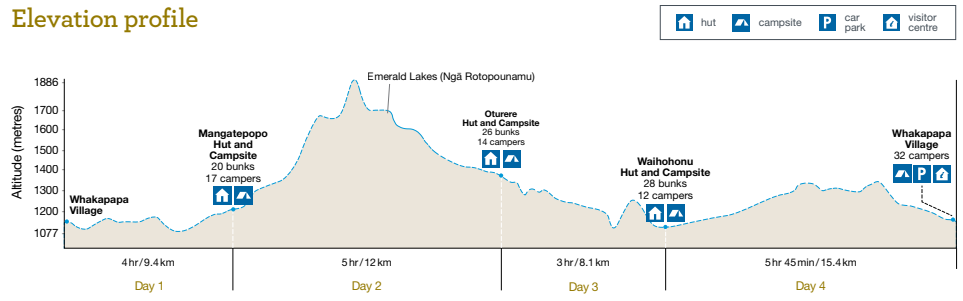
Track details and profile
Distance: 32 km (loop)
Time: 1-3 days
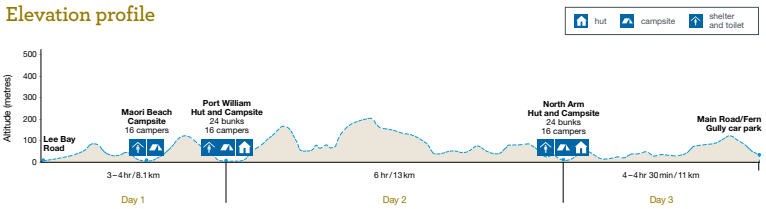
The track profile and other useful details can be found inside the Department of Conservation (DOC) brochure.
The following itinerary assumes 2 nights on a track which will give you plenty of time to relax, take a swim and enjoy nature. I did the track with only one overnight stay at North Arm Campsite (departing from Oban towards Lee Bay).
Stage 1 – From Lee Bay to Port William Hut and Campsite (3-4h, 8.1km)
The day at Oban started with perfect weather and I dropped by to DOC office to pick up the map and tickets for the campsite. Then I followed the road towards Lee Bay (5 kilometres). Alternatively, it’s possible to take a taxi and save the legs, but it’s a pleasant walk through the village. The chain-link sculpture at Lee Bay is the official beginning of the track and symbolizes one of the Maori legends. It’s the story of Maui, who used South Island as his canoe and Stewart Island/Rakiura as the anchor to fish the North Island.

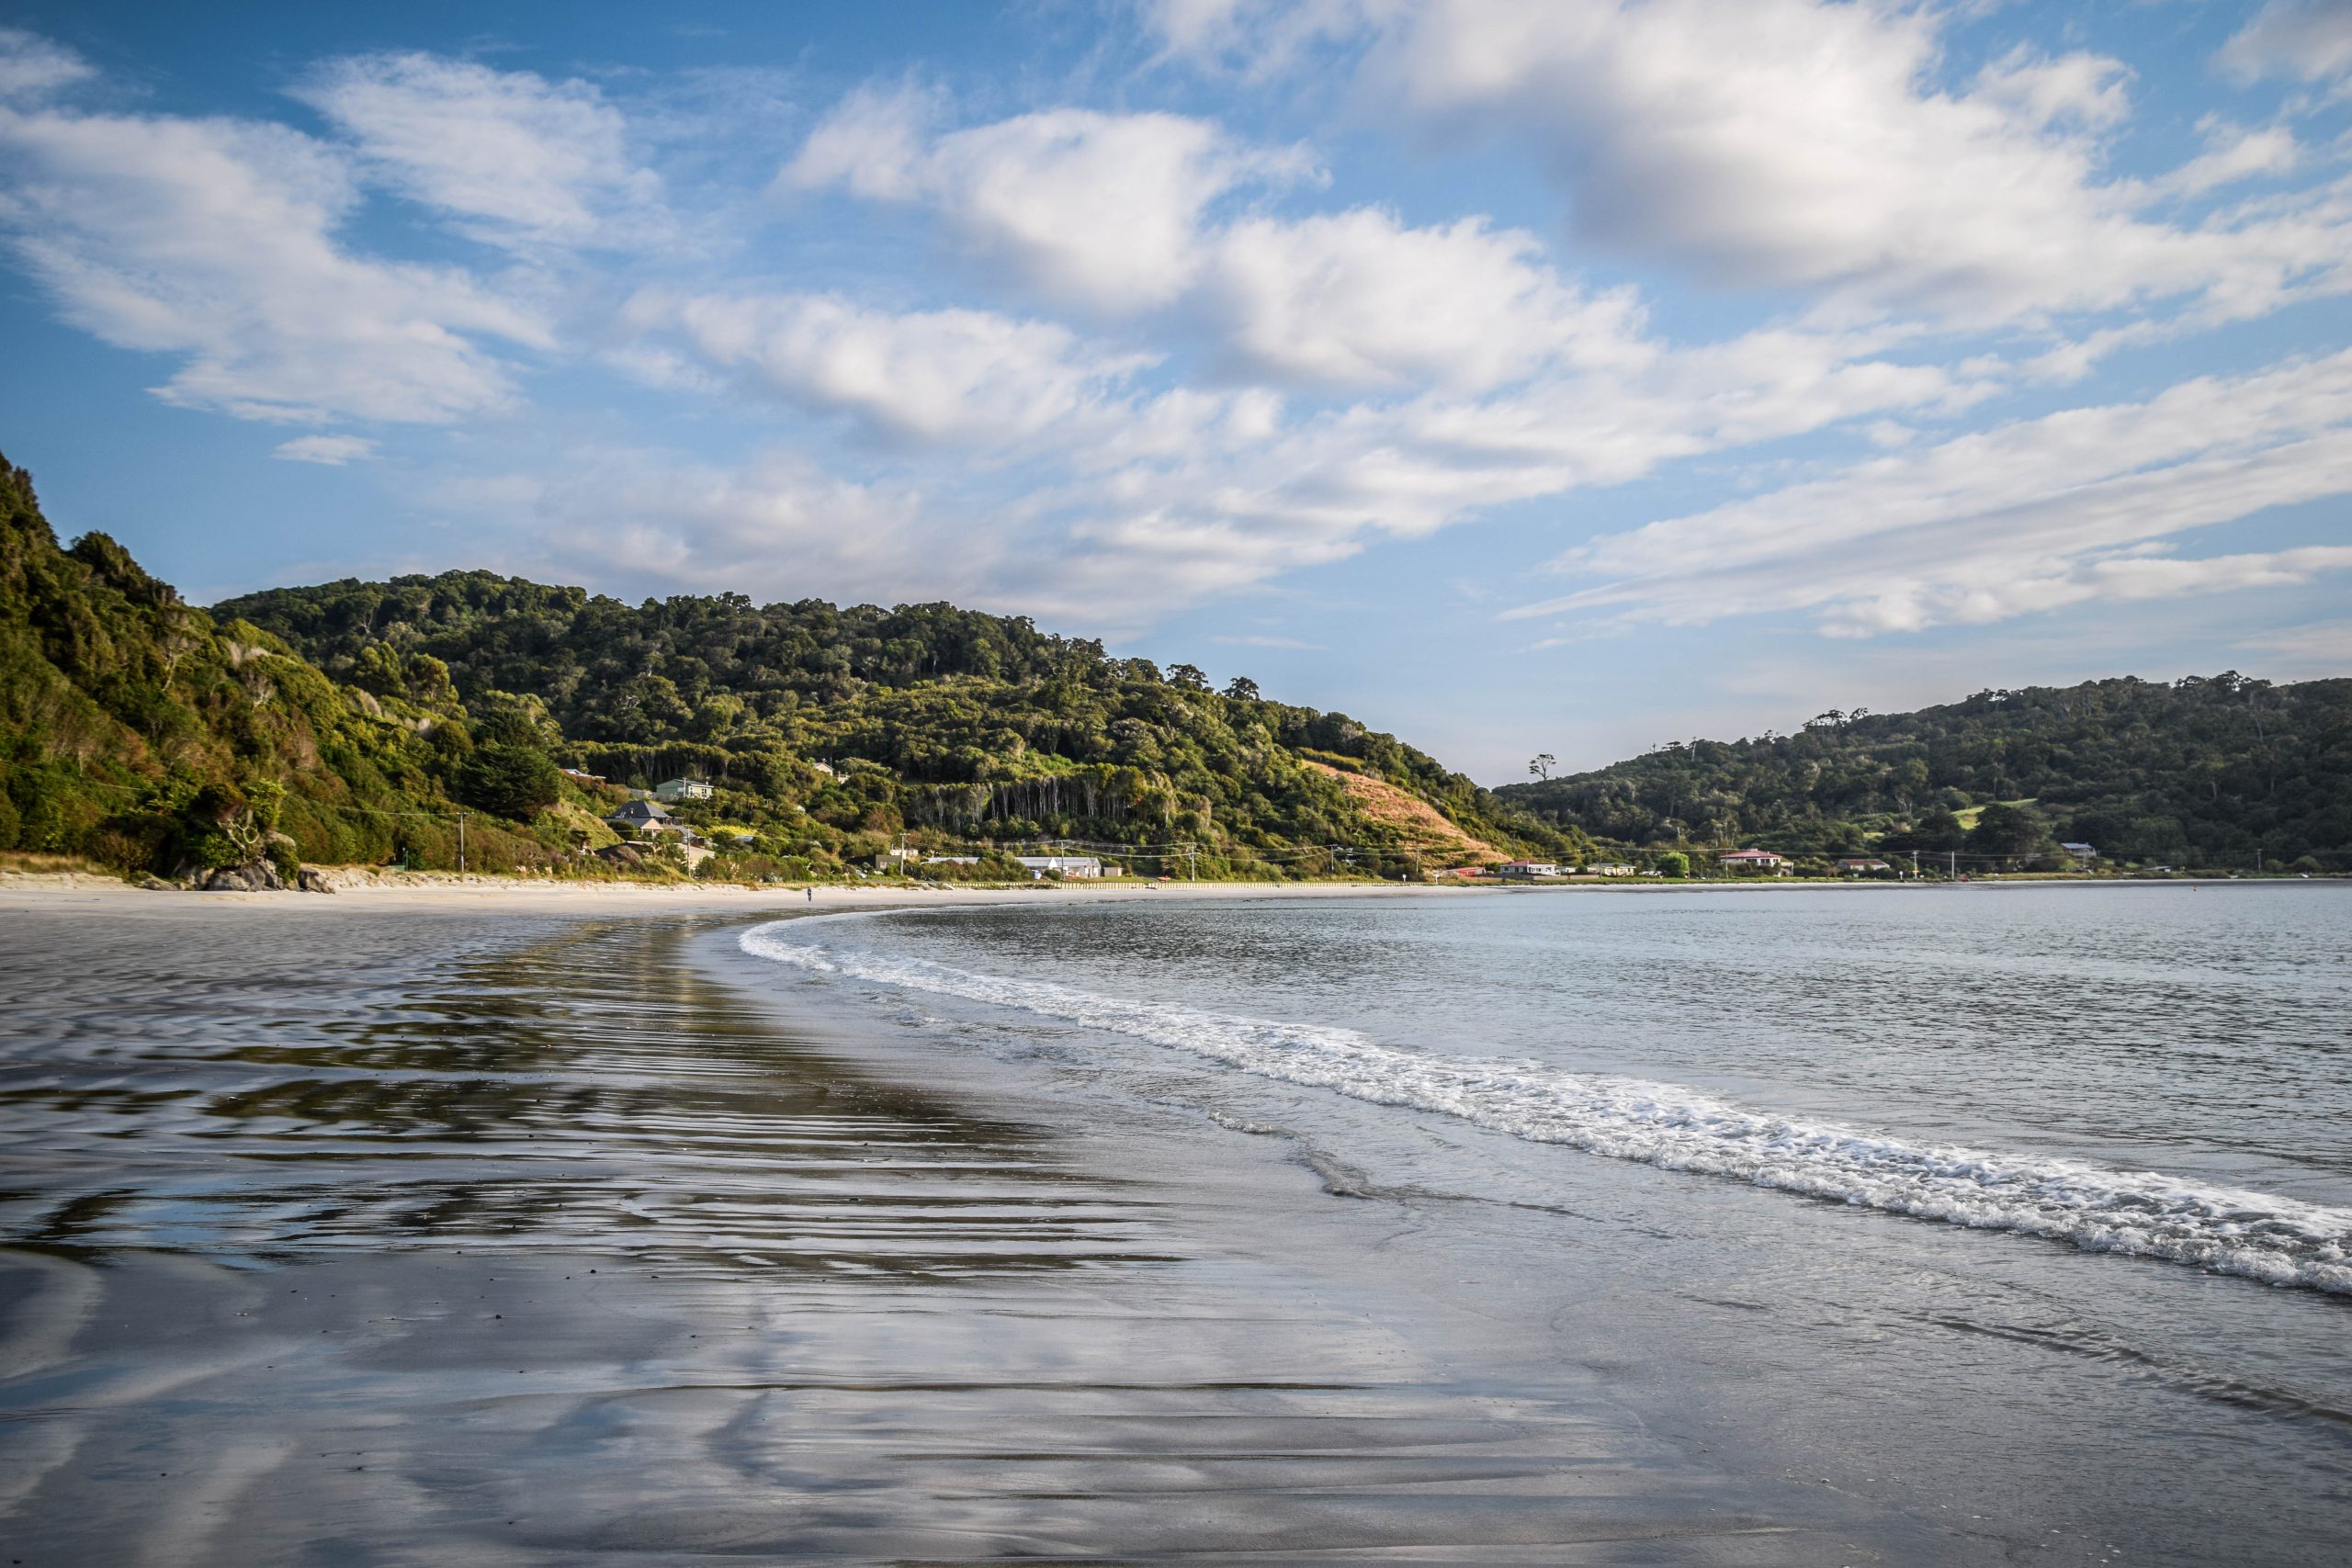
From here, the track continues along the coast to Maori Beach. It’s a perfect place for a snack and swim. The campsite is just right next to the beach and it’s much less crowded than the one at Port William, so if you like peace and silence, consider staying here overnight.
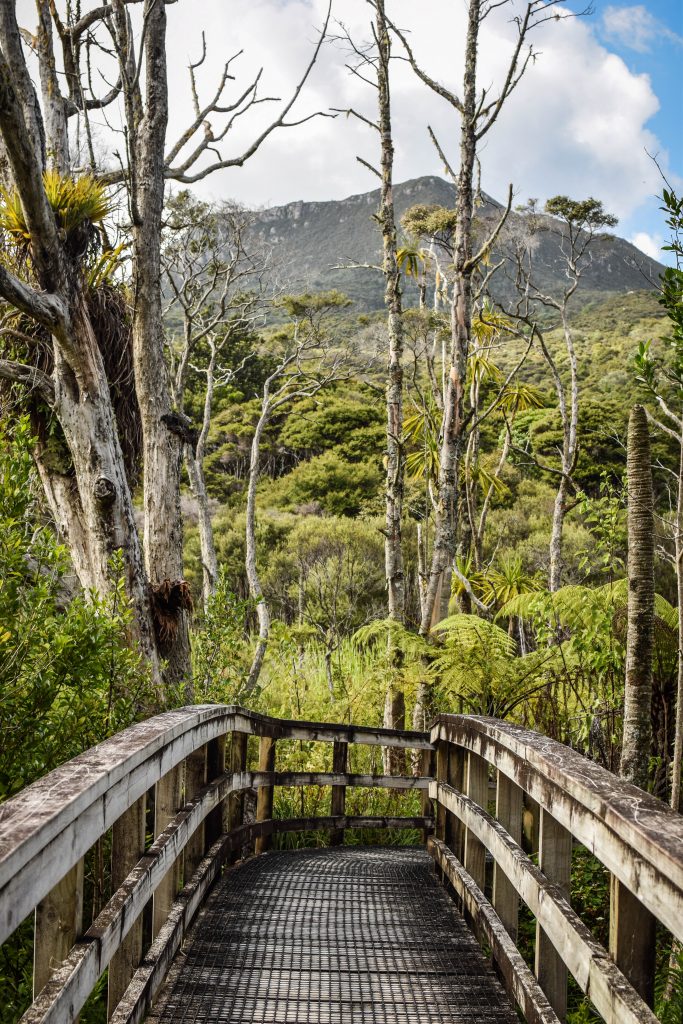
For me, it wasn’t the time to rest yet and I continued further across the swing bridge and then to the turn off to Port William Hut and Campsite. Even though it wasn’t my overnight stopover, I dropped my backpack in the bushes, took my lunch and went there to eat and relax. It’s 40 minutes off the main track and as it was still early hour, not too many hikers were there. Two women were chilling on the grass in front of the hut and one of them happened to be half Polish so we had a nice chat in my native language.


Stage 2 – From Port William Hut and Campsite to North Arm Hut and Campsite (4-6h, 13km)
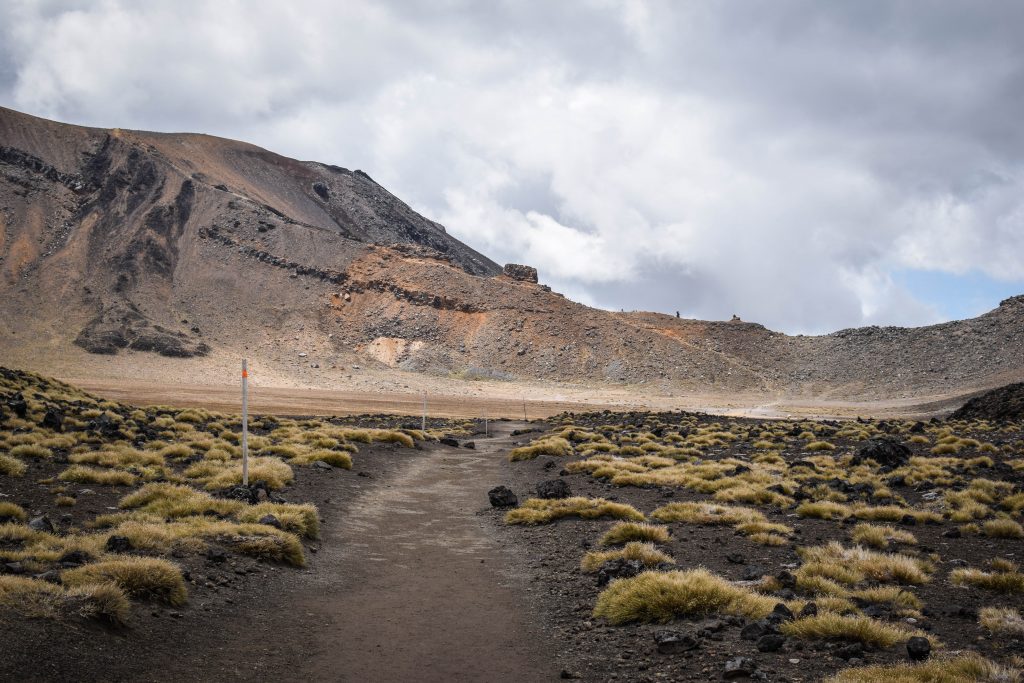
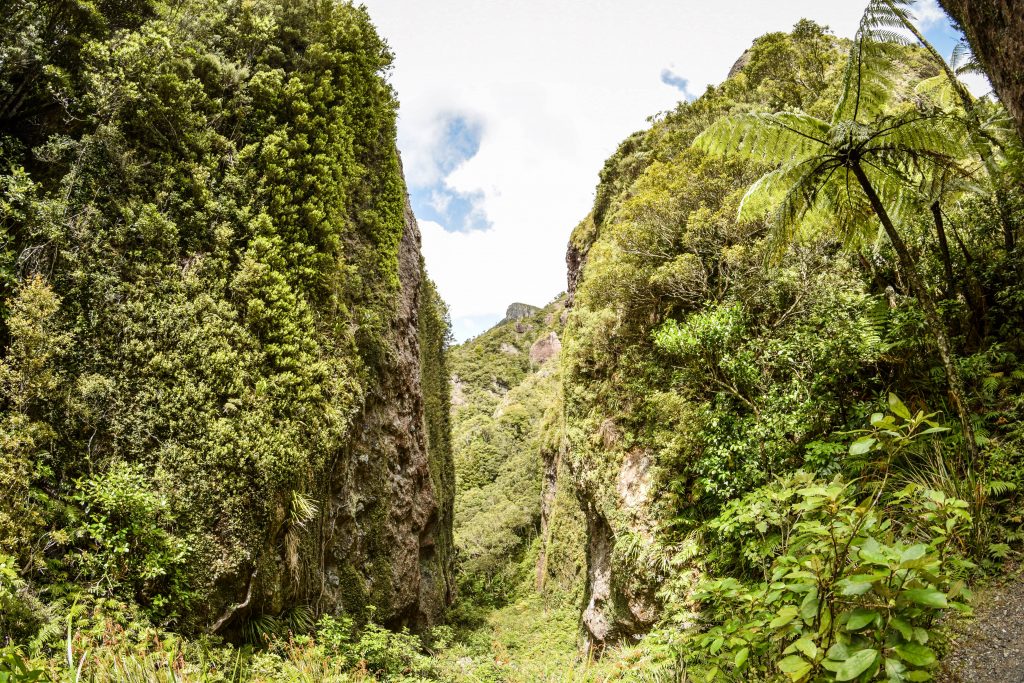
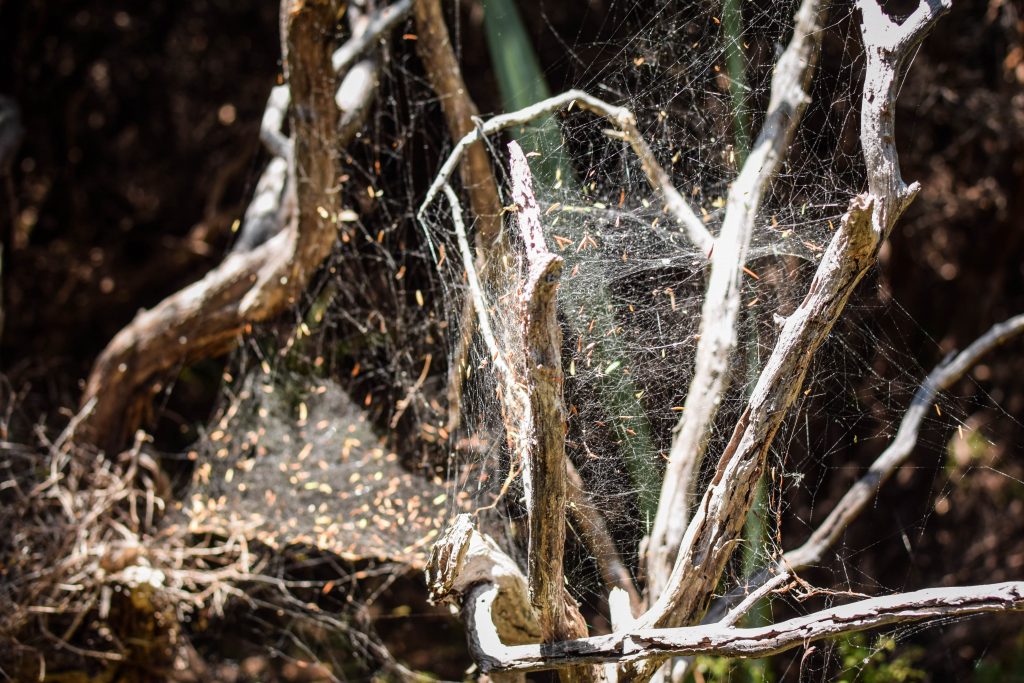
The second stage became harder but not because of its steepness but rather constant need to jump over the mud. In parts, it’s necessary to get off the main track and take a detour through the bush. Honestly, it was quite a boring couple of kilometres. It’s just the path through the forest like any other in New Zealand, where the only highlights were passing by the old log hauler once used to drag trees to the gullies seeing… a stick insect.

Upon arrival to North Arm Campsite, I was greeted by a Kiwi couple. We cooked our freeze-dried food made by Backcountry Cousine and had a nice chat. The guy was a real badass as in his late 50’s he finished Te Araroa Track which is 3.000 kilometres long hike from the very top of North Island to the very bottom of South Island. I really hope to follow his example when I am at his age.
I still had over an hour before the sunset and there is a nice place to relax behind the hut. Just follow the path down towards Paterson Inlet. Have a swim or just put your feet to the water and wait for the low tide to come.
Stage 3 – From North Arm Hut and Campsite to Oban (13 km)
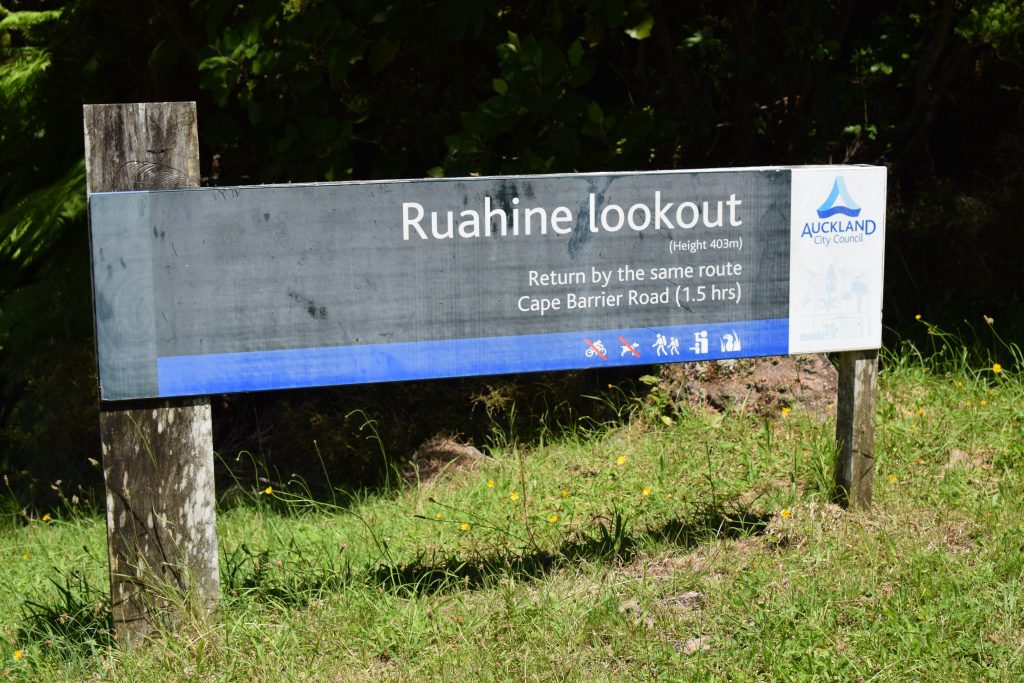
In the morning of the next day, the weather changed significantly. It started to get windy and kiwi guy said that according to forecast, it’s gonna rain at 1 pm. I left the campsite at 7:30 am to be able to arrive in Oban before it gets wet. The easy path through the forest led me to the junction, where I took Ryan’s Creek Track for a more scenic detour to Fern Gully Carpark. It adds only around 1.5 hours to already quite an easy day.

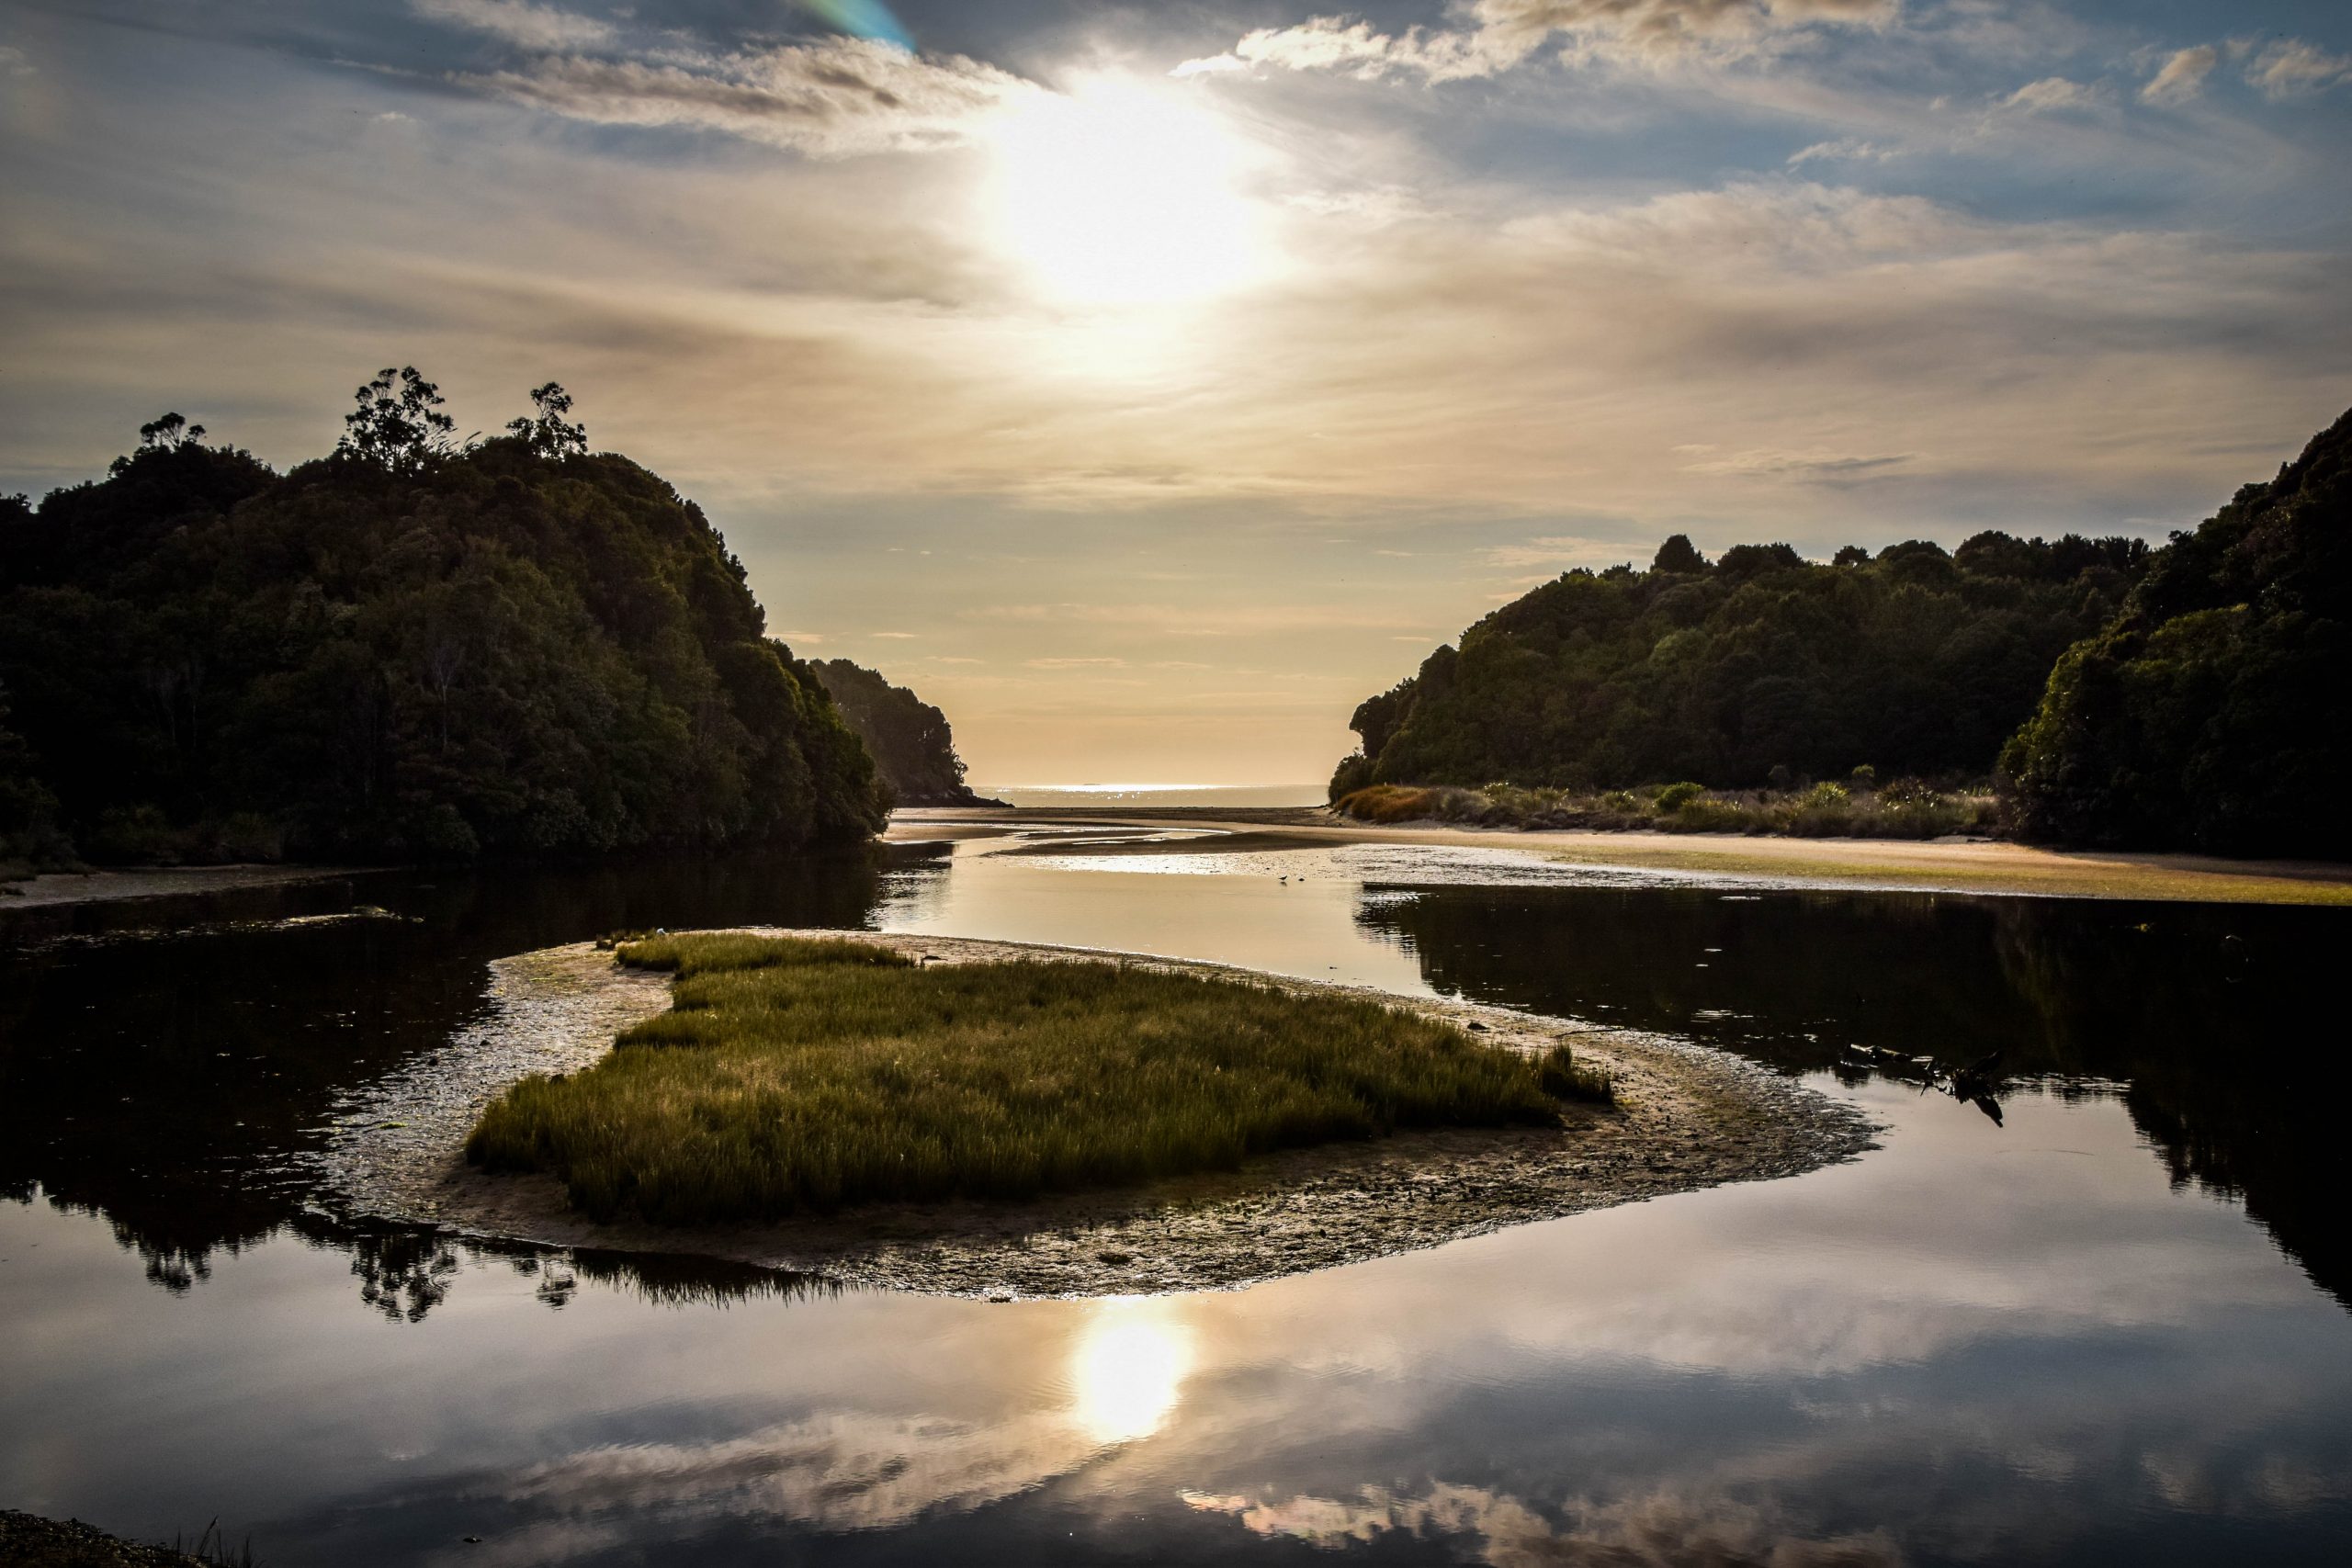
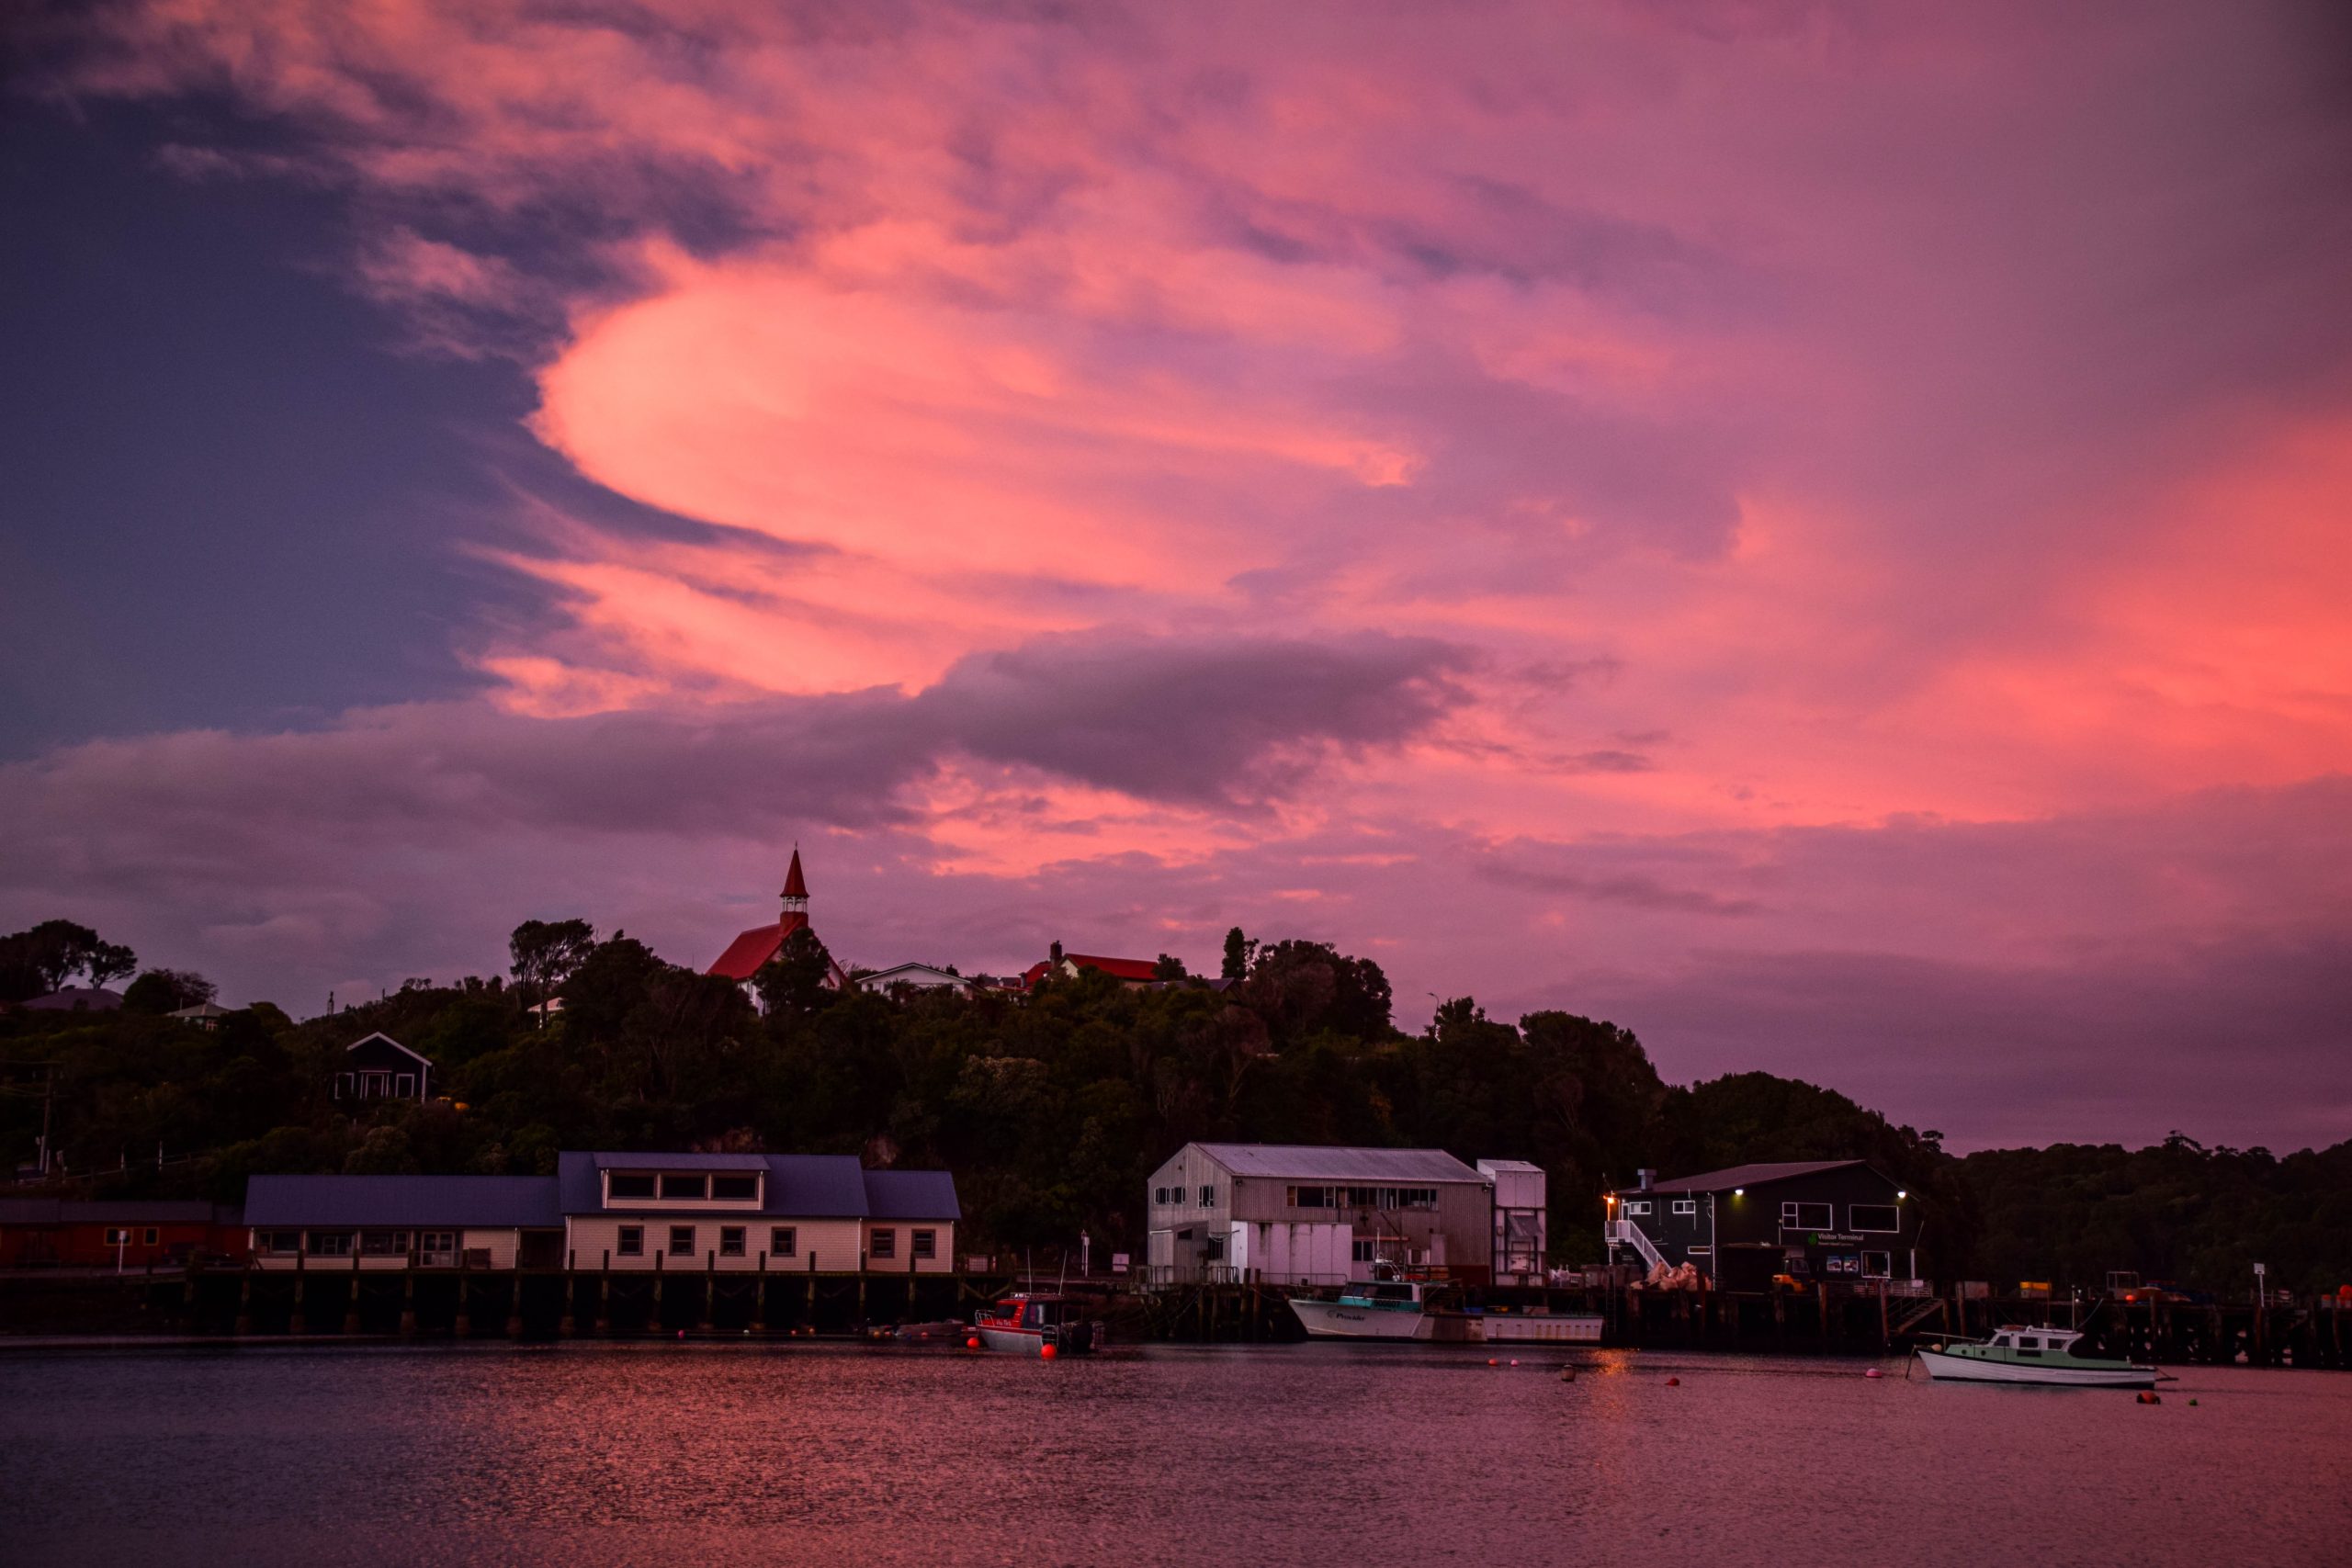
From Fern Gully Carpark, which is the end of the track, it’s another 2 kilometres to Oban. I checked in again to Bunkers Backpackers Hostel and enjoyed one of the most amazing sunsets in New Zealand.

Don’t miss!
Dark Sky Sanctuary & Aurora Australis
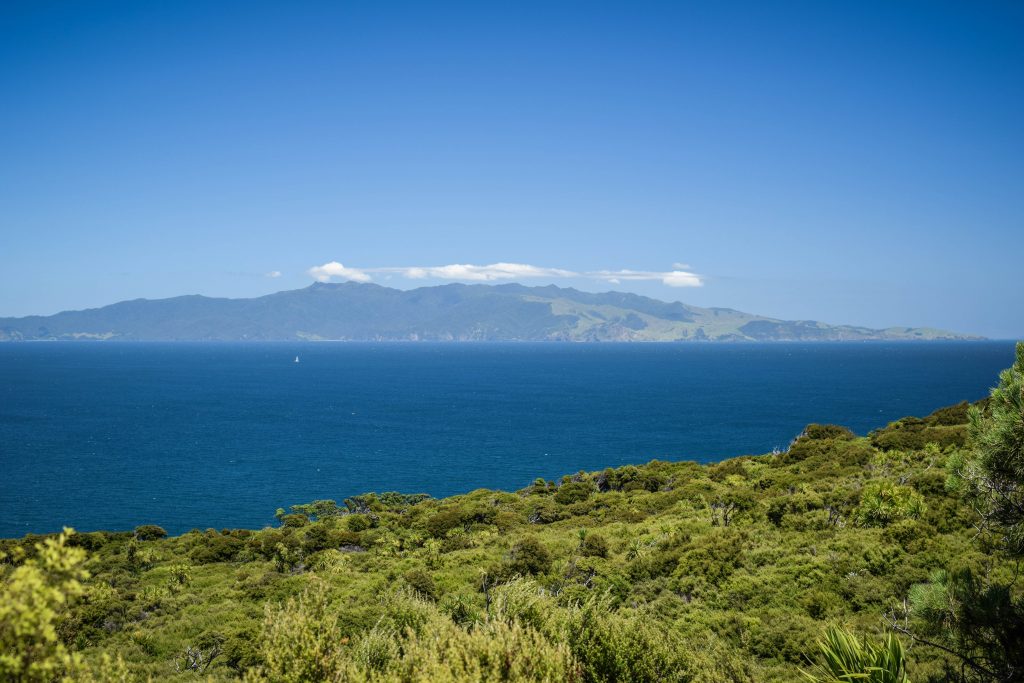
Rakiura in the Maori language means ‘the land of glowing skies’. You will understand why. Stewart Island/Rakiura is one of the International Dark Night Sanctuaries and with clear skies, it’s a spectacle on the sky. Moreover, around winter you have good chances to see Southern Lights also known as Aurora Australis.
Kiwi spotting
There are less than 40 human inhabitants of Stewart Island/Rakiura. How about kiwis? Well, the estimated population is 20.000. It makes the island the best place to see kiwis in their natural environment. To be precise, the species is the southern brown kiwi. While in other parts of New Zealand kiwis are nocturnal, on Stewart Island/Rakiura they can be also spotted in daylight!
I got lucky as well. I set an alarm for midnight, took my flashlight and went for a short walk on a track, from where I came the previous day. I was walking very slowly, focusing on all the little noises in the bushes. Suddenly, I heard something and stopped moving for at least 15 minutes. I could clearly hear the movement closer and closer. The kiwi was walking perfectly towards me, probably curious about my flashlight. I had the one with white light but the best would be using the red light mode, so it doesn’t scare the kiwis off.
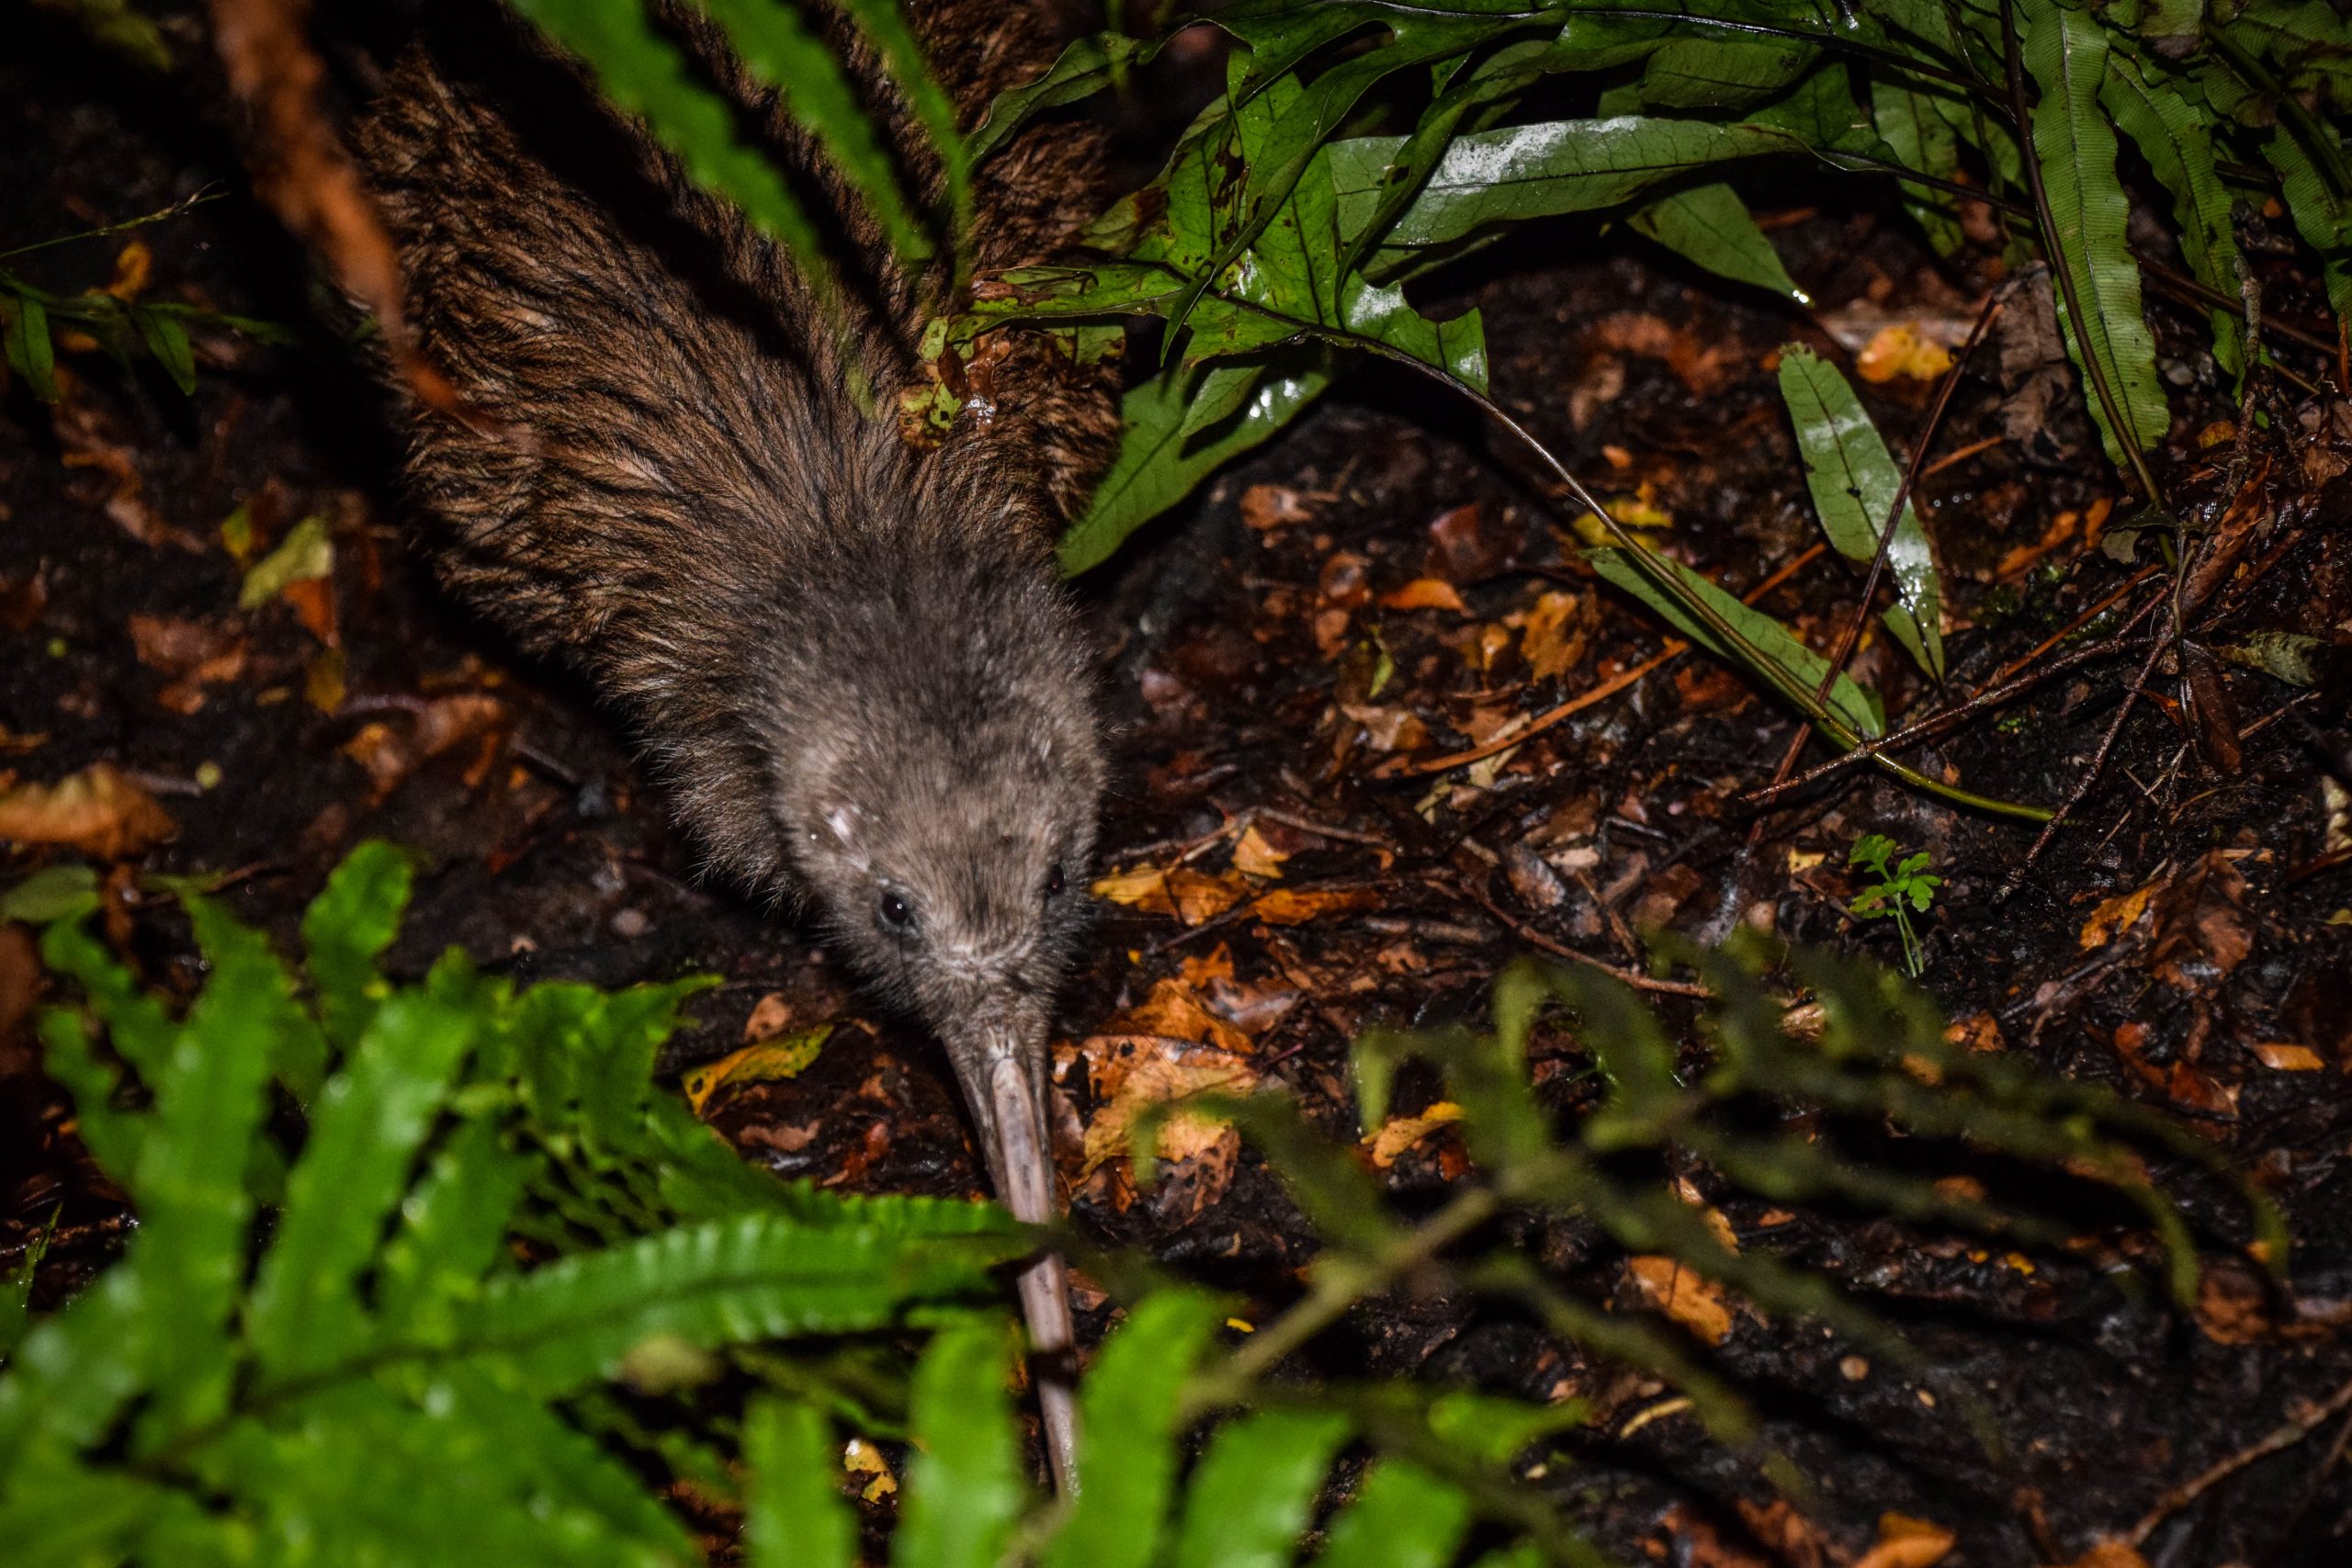

It was quite a brave kiwi. At some point it was just at my feet, touching my shoelaces with his beak. Realizing that it’s not eatable, he continued his night journey through the forest. So did I, coming back to the tent to fell asleep completely satisfied with the night encounter.
Is it worth hiking Rakiura Track?
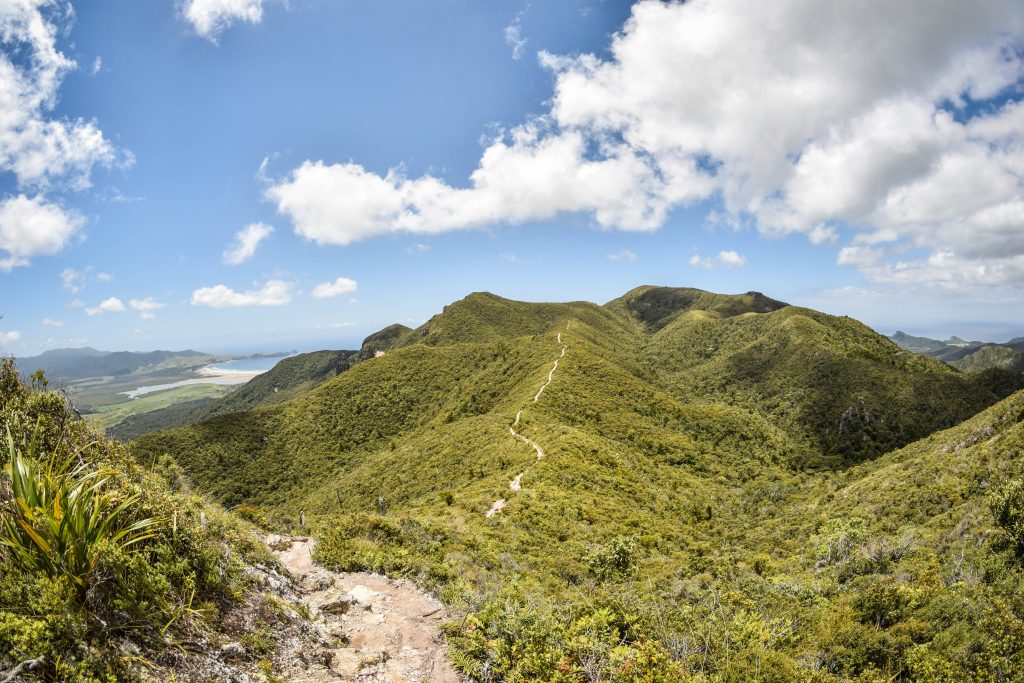
It’s definitely not that scenic as other Great Walks. However, there are things making up for it. Night walks in the forest in search for kiwis, spectacular sunrises and even more spectacular sunsets, dark skies and the chance to see Southern Lights. Due to the distance and advancement level, Rakiura Track is probably the best Great Walk for newbie hiker. And if you are experienced and want to go through muddy tracks even further, it’s possible to hike North West Circuit (125 km, 9-11 days) or Southern Circuit (71.5 km, 4-6 days).
Enjoy!
For questions, contact me on pinyourfootsteps@gmail.com