Introduction
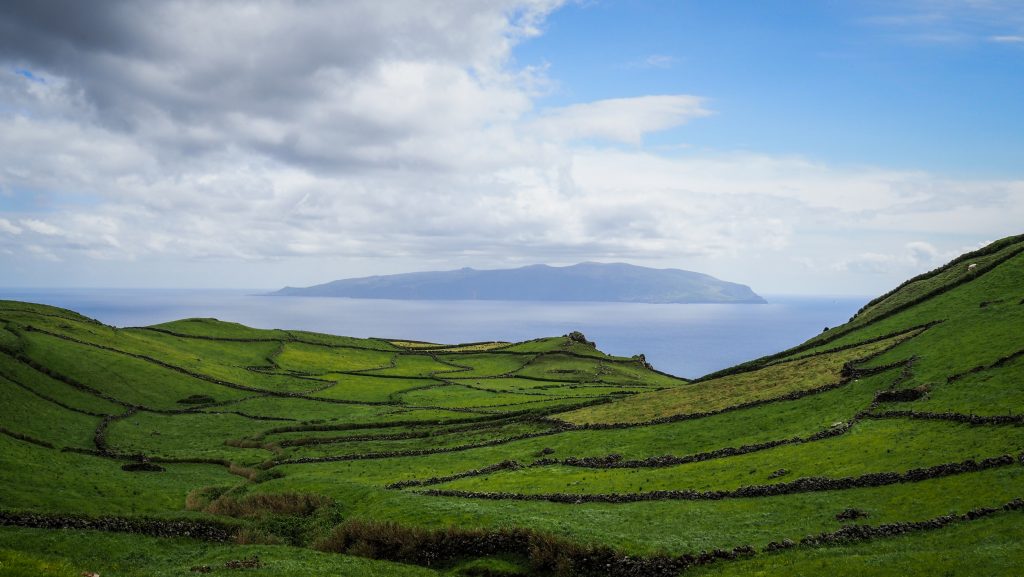
Faial Island has 21 km in length and 14 km at the maximum width and is the third most populous island of the Azores Archipelago with about 15.000 inhabitants. The island is part of the Central Group and also the so-called “Triangle” including two other islands: São Jorge and Pico. The power of nature reminded of itself on the 27th of September 1957, when a volcanic eruption in the Capelinhos kicked off and lasted for 13 months. As of today, it is the last event of this kind in the Azores.
I visited Faial Island on my 4 months trip in pandemic times, when I took the advantage of remote work, spending 2 months in Madeira and 2 months in the Azores. Graciosa is the only island I haven’t visited yet, but isn’t it a good reason to be back one day?
How long to stay?
I would say that 3 full days should be enough to visit all the interesting places on the island and do a couple of hikes. Remember that the weather in the Azores can be unpredictable and if you are unlucky, Caldeira may be covered by clouds for the entire duration of your stay. Check the weather frequently and time your visit there in the best moment. If this is the case, try to stay close to the coast where it’s usually less cloudy.
The mobile app SpotAzores is a great tool for monitoring weather situation in the Azores islands. I used it every day when I was there and I seriously can’t imagine travelling without it!
Where to stay?
Due to my remote work, I always look for a private room with a fast internet connection. The best quality to price ratio offered Banana Manor located in the centre of Horta. It’s a really big house with a huge living room and kitchen available for all guests. There is also a garden with chickens walking around which is a great place for breakfast or evening chill. The room was nice and spacious with two shared bathrooms at the end of a hallway. Parking is available on the streets nearby. Fully recommended!
Getting around Faial
As on all the other Azores islands, renting a car is essential to reach all places. I used the services of Autatlantis several times and I can fully recommend that company. The price was always around 16-20 EUR per day (without any extra insurance) and the cars I had were Toyota Yaris, Citroen C1 or Smart. Bigger ones are available too, of course for the higher price. Pick up and return were smooth and quite fast.
Another popular rental company in the Azores region is Ilha Verde, however, customers’ opinions are mixed and I have never used them.
If you don’t have a driving licence, you can try hitchhiking but you need to be patient and quite lucky. Alternatively, there are public buses but these are infrequent.
Tips
- The weather is unpredictable and you have to be prepared for anything. Always have with you a waterproof jacket and umbrella. Install mobile app SpotAzores and don’t go to places that are totally covered in clouds. You will lose time and won’t see anything anyway.
- Book your car in advance in the high season. I was travelling in the Azores between April – May so it wasn’t a problem to get a car from one day to another, however, I can imagine that in high season it could be a problem, especially on the smaller islands.
- Drive carefully, especially in the fog. It’s pretty normal that cows, sheep or goats stand very close to the road or simply walk on it.
- If you go hiking, download GPS files and maps from the official website Visit Azores and have them on your phone just in case. In general, trails are well marked but in a dense fog, it’s not that difficult to get lost.
- Don’t be afraid of hitchhiking. Many trails are linear, which means that you need to get back to the starting point. You can walk the same way or try to save your legs. On some islands, the traffic is minimal but once the car comes, it is almost certain that the driver will stop and help you out.
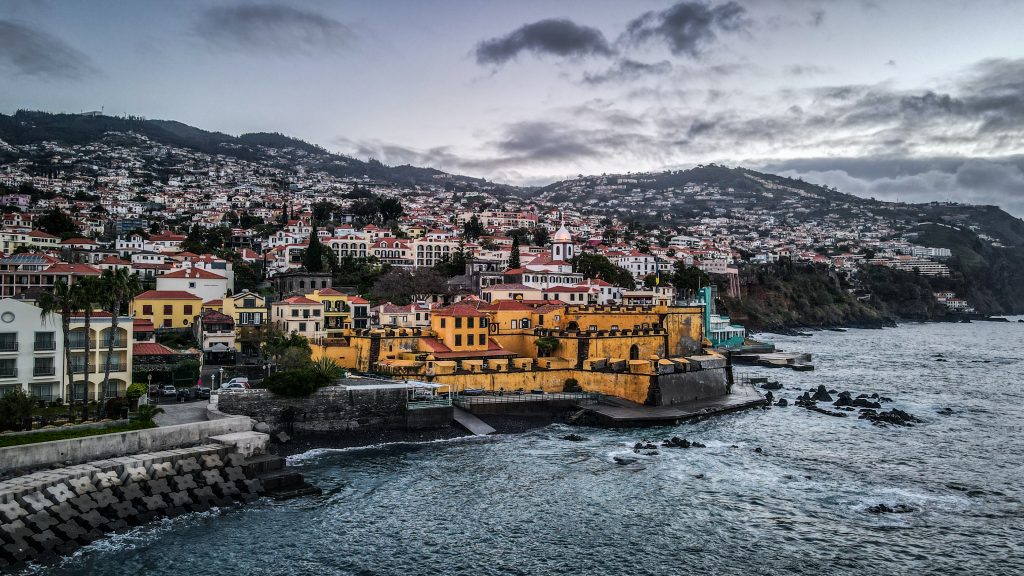
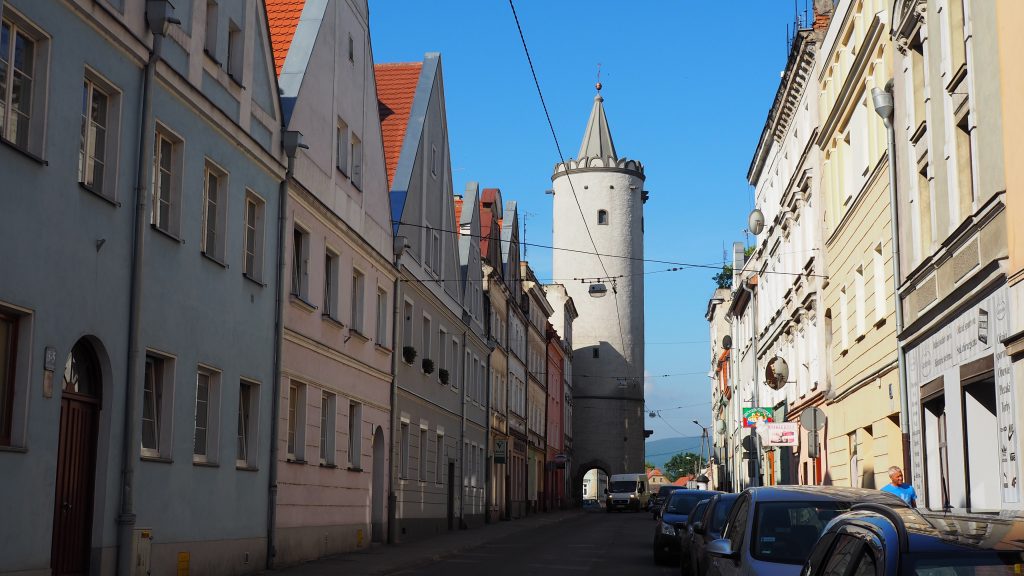
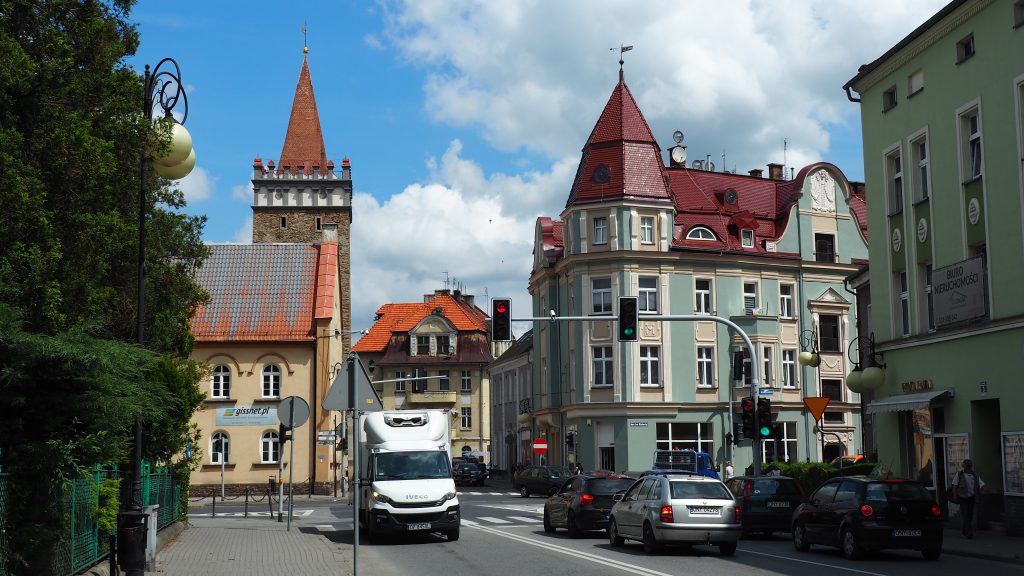
Horta
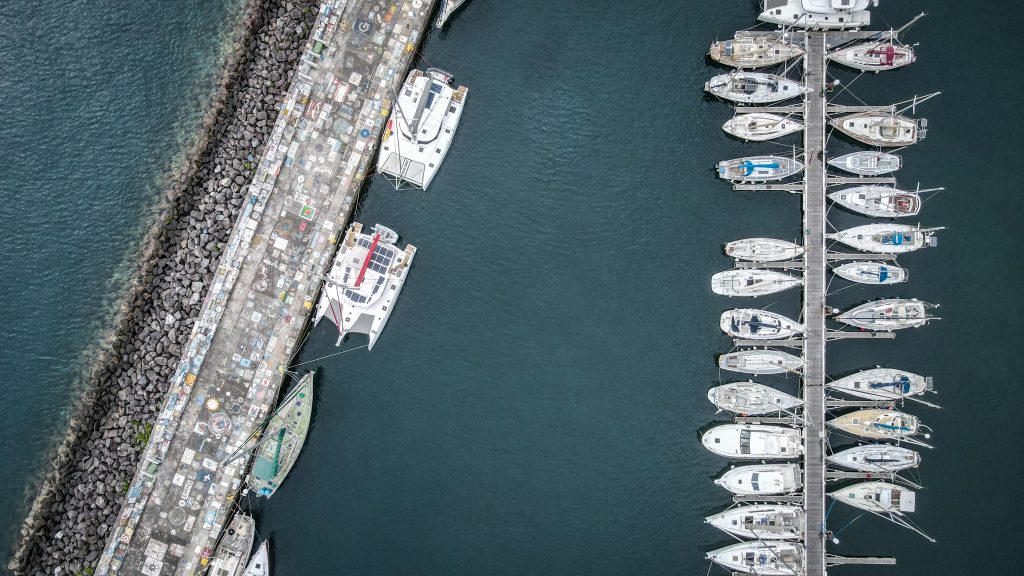
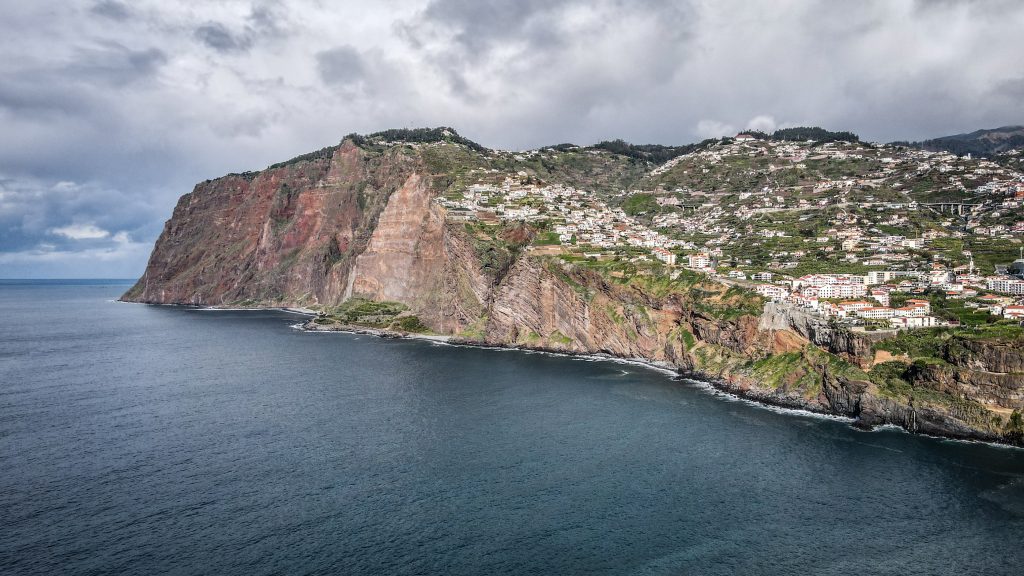
Horta is the biggest city on Faial Island and a regular meeting point for yachts and other vessels crossing the Atlantic Ocean. The buildings are full of charm, there are plenty of restaurants and bars but also great nature is accessible within walking distance. It’s my second favourite town in the Azores, just after Angra do Heroismo on Terceira Island. Here are a couple of places worth seeing:
Igreja da Nossa Senhora das Angústias (church) – it dates back to a hermitage founded by the island’s first settler, Joss van Hurtere and his wife, Beatriz de Macedo.
Convento de São Francisco & Horta Museum – housed in the old Jesuitical College, an imposing big-dimensioned building that remained unfinished, because the Jesuits were expelled from Portugal in 1760. There are several collections related to Faial history. Igreja de Nossa Senhora do Rosário (church) is next door and can be visited as well.

Casa Memória Manuel de Arriaga – former residence of the 1st President of the Portuguese Republic, elected on August 24, 1911. Today, the place hosts the exhibition of photographs, documents and objects as well as the projection of films which give an insight into the history of the country.
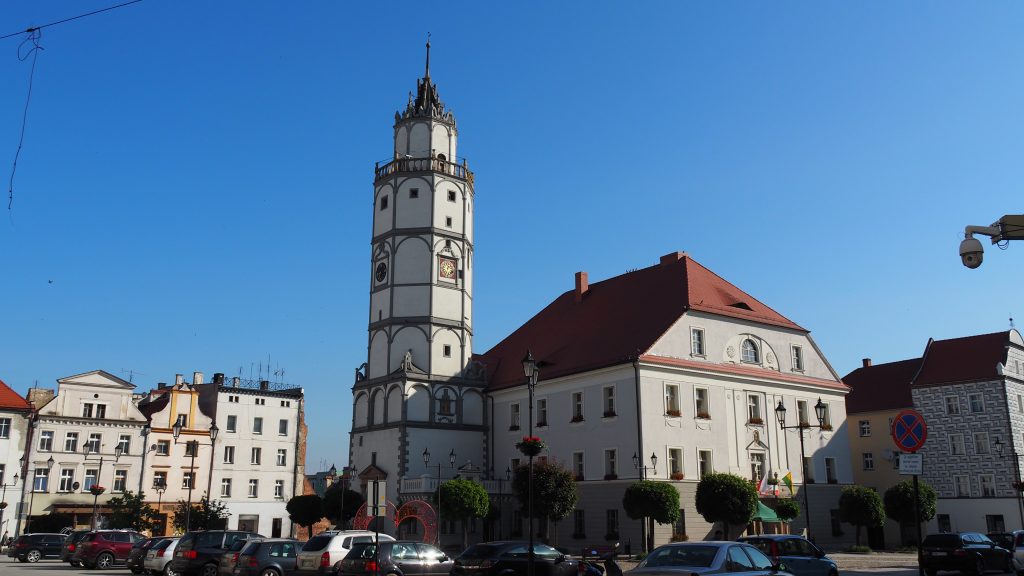
Torre do Relógio – this clock tower was built between 1700 and 1720 together with the original Igreja Matriz, later destroyed by lightning. The initial mechanism of this only public clock dates from 1747.

Horta Harbour – important stop for yachts crossing the Atlantic Ocean. The walls and pavements are covered with colourful paintings created by visitors including the names of their vessels, crew members, nationality and the years they visited.
Other sights
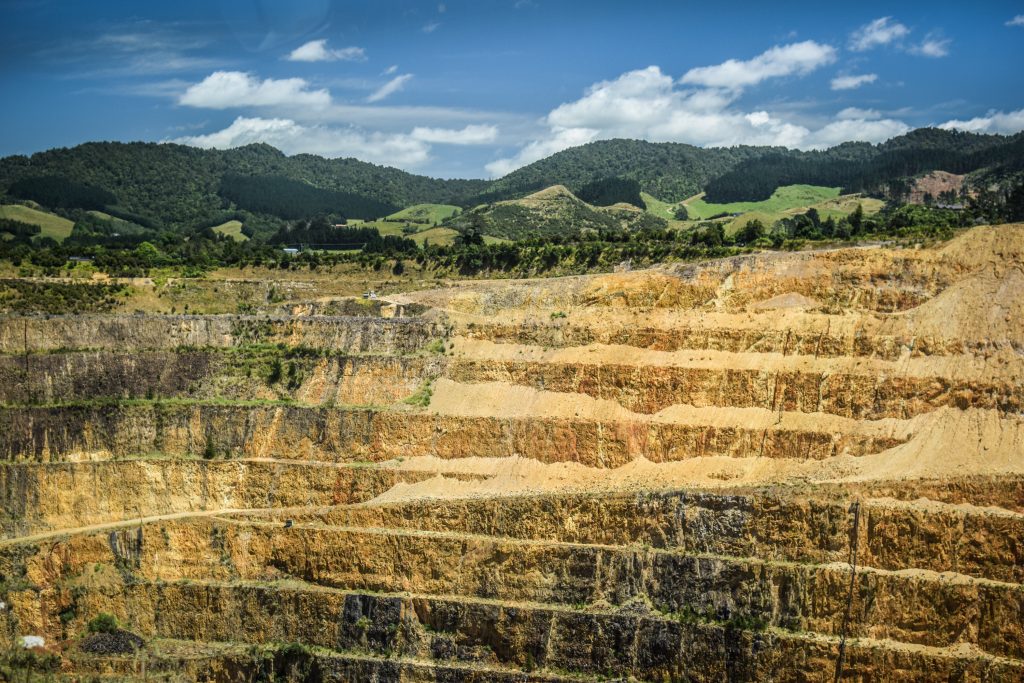
Capelinhos – the volcanic eruption between 1957 and 1958 began in the sea and as a result, a small island was created that is now connected to Faial Island. In fact, as a result of the eruption, the total area of the island increased by about 2.4 km2. Many houses were buried under ashes and more than half of Faial’s population emigrated to USA and Canada to escape the catastrophe. To learn more about the volcanic activity in the Azores, visit Capelinhos Volcano Interpretation Centre (entrance fee: 9 EUR). I recommend you to climb the ridge on the right side of the lighthouse for an amazing panoramic view.
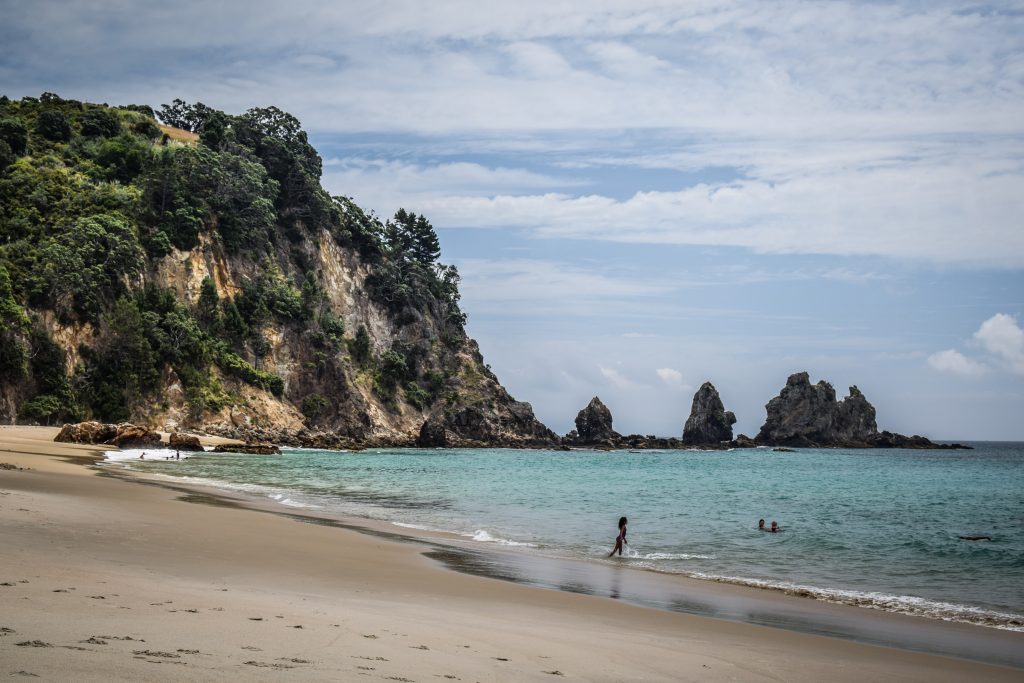
Morro de Castelo Branco – is a 10,000-year-old rock formation, and a protected area due to the number of bird species that use it as a rookery. The PRC05 hiking trail passes by that area but you can also drive down and park very close to the rock.
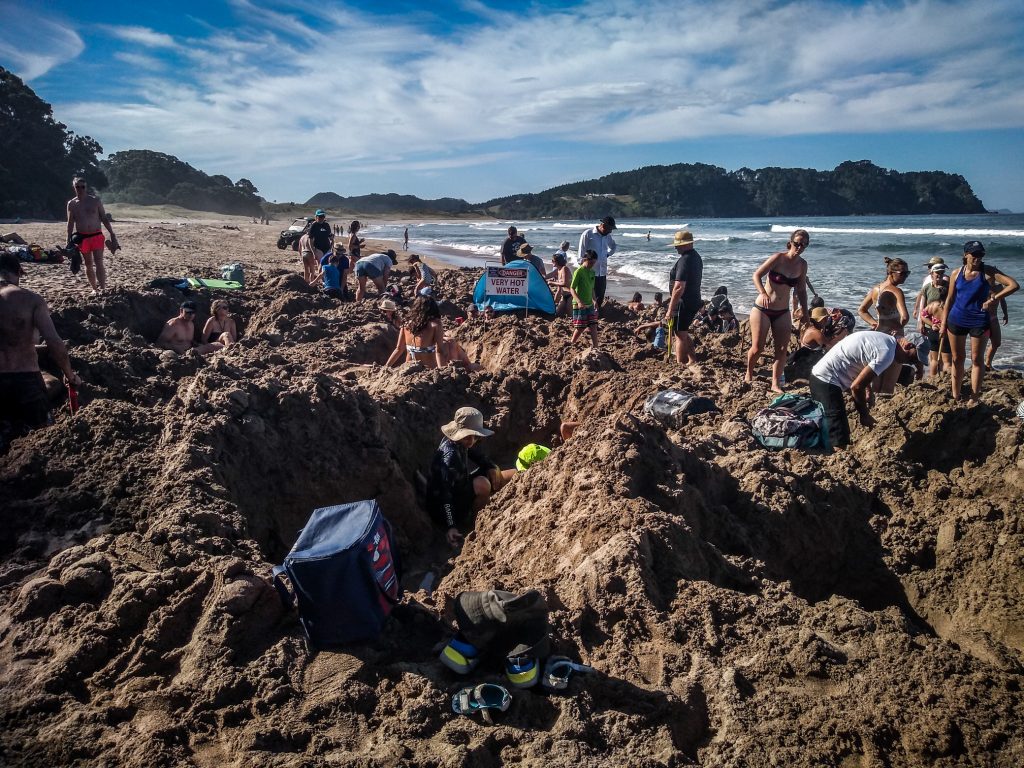
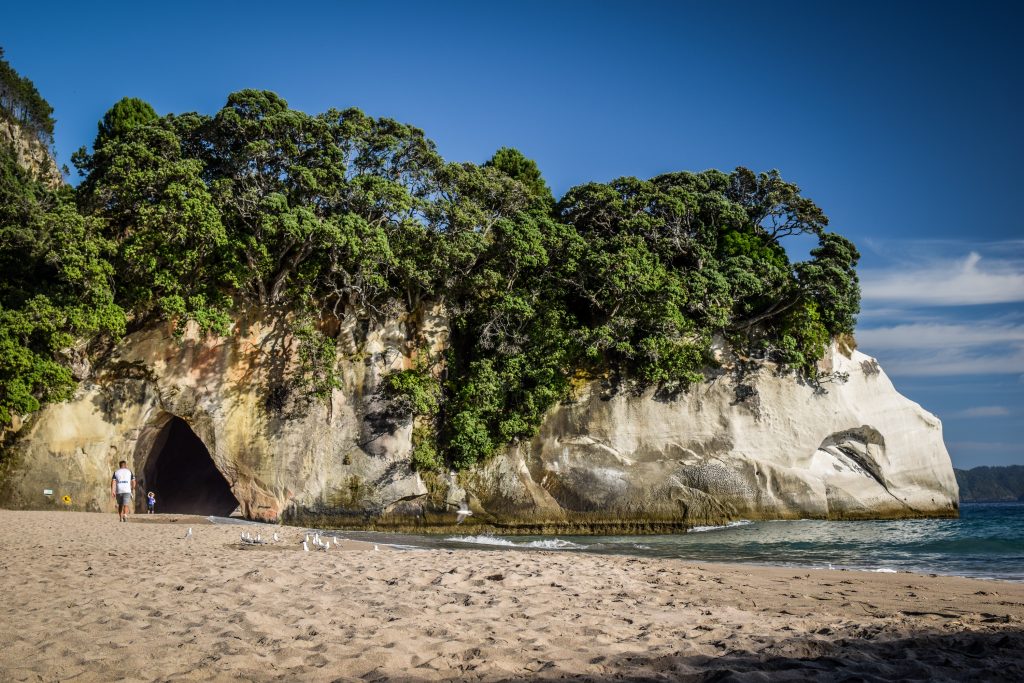
Praia da Faja – Small village located on a fajã, which is the term used to define a small extension of land, located along the ocean, formed from rock debris or a volcanic delta from lava meeting the ocean. There is a small beach with dark sand and stones, quite popular with surfers. It can be reached with a car or following hiking trail PRC02.
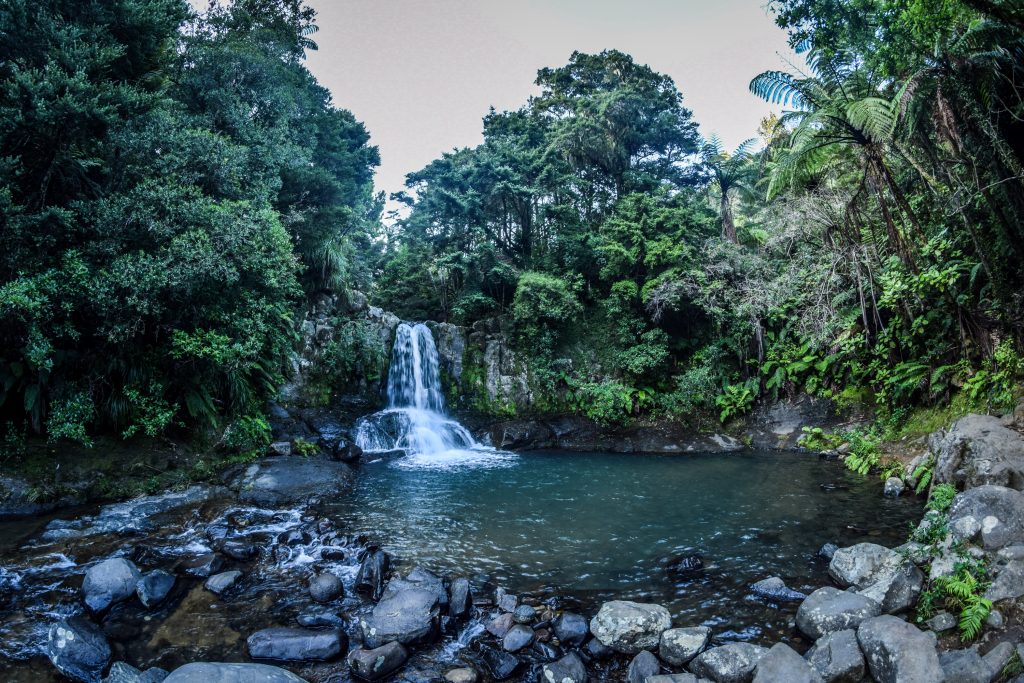
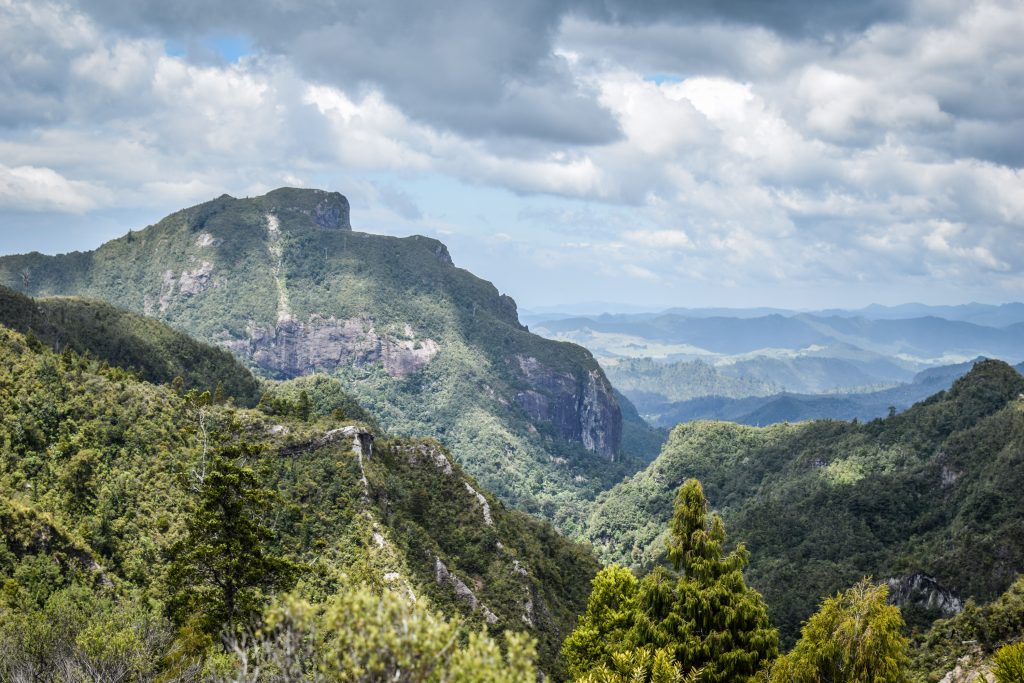
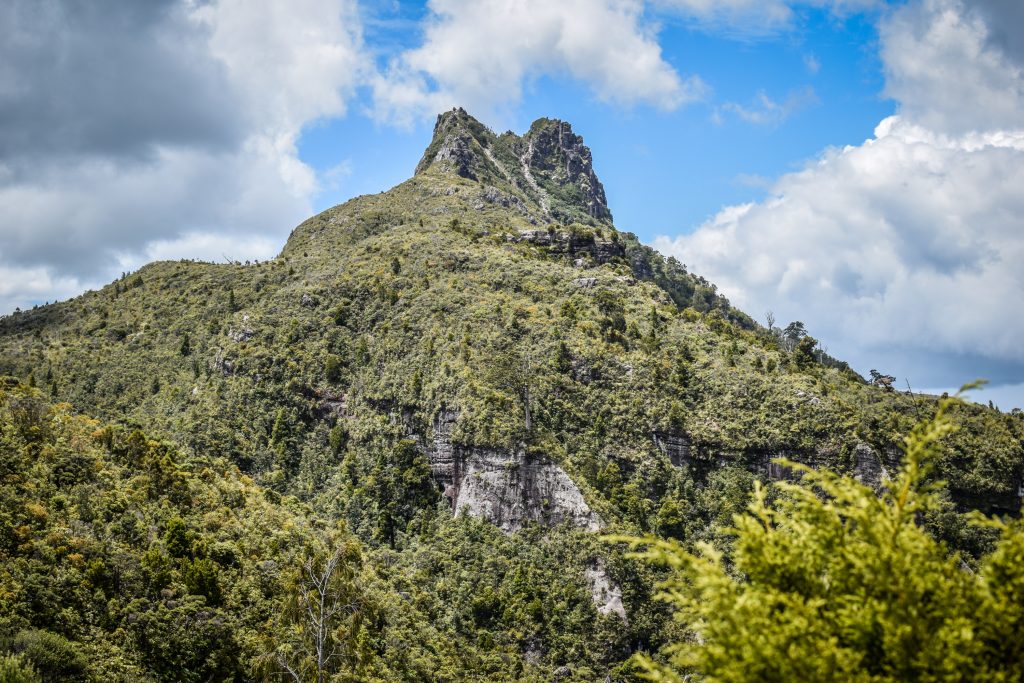
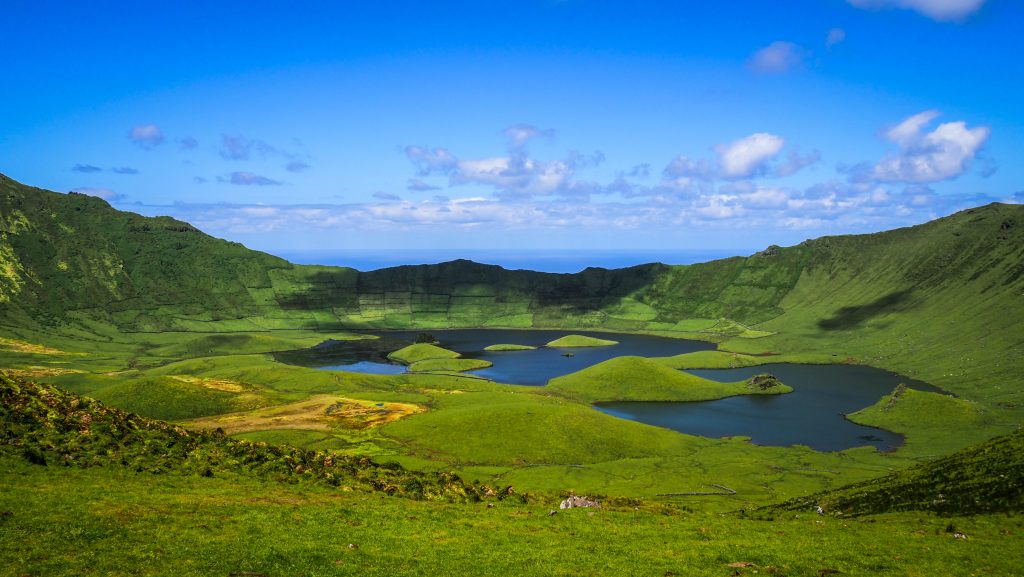
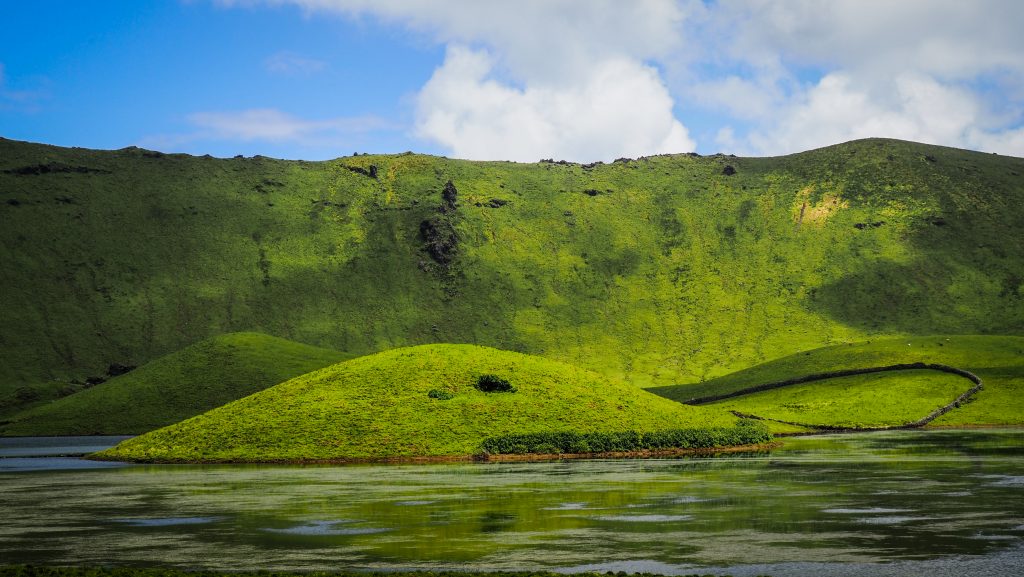
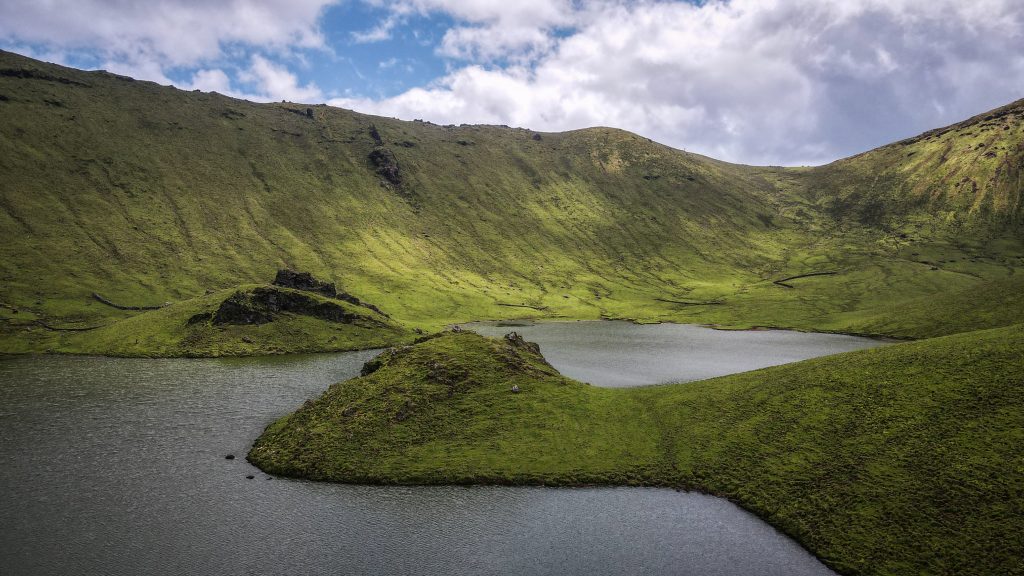
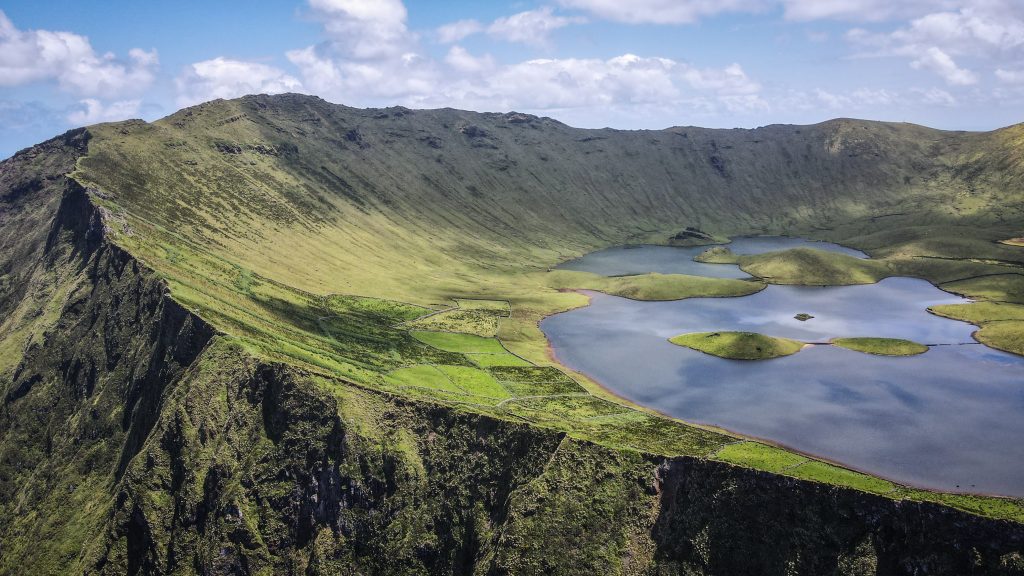
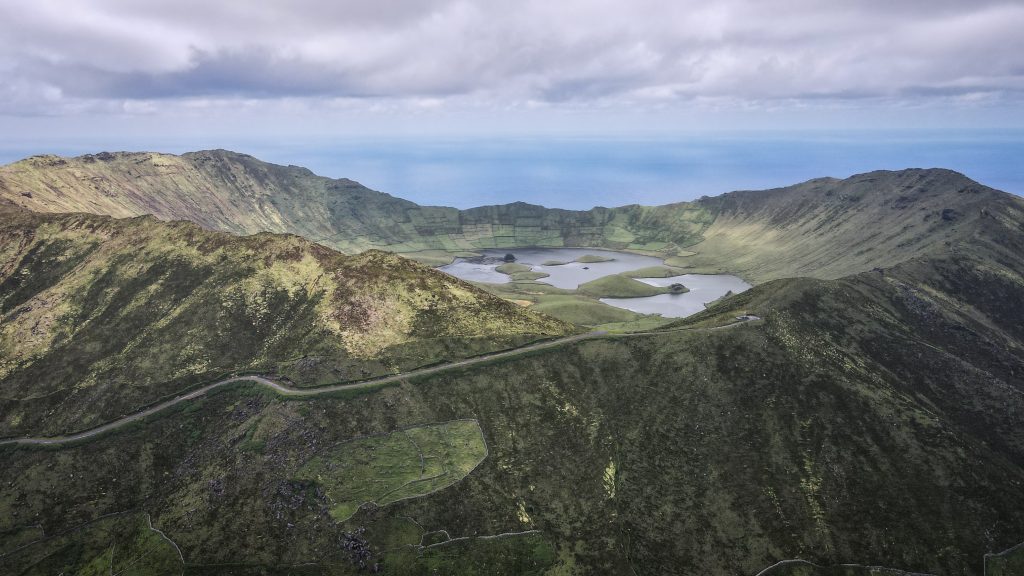
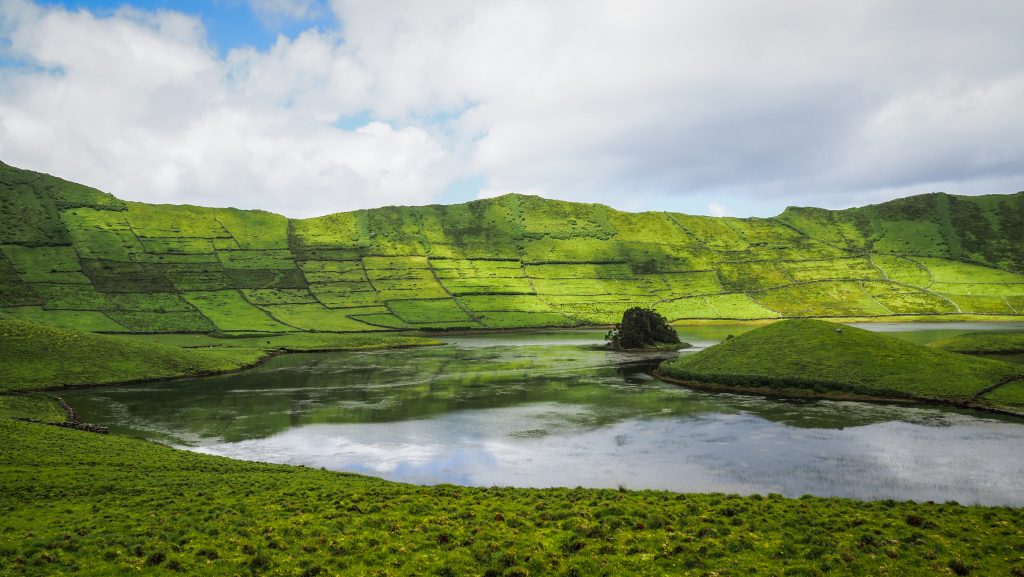
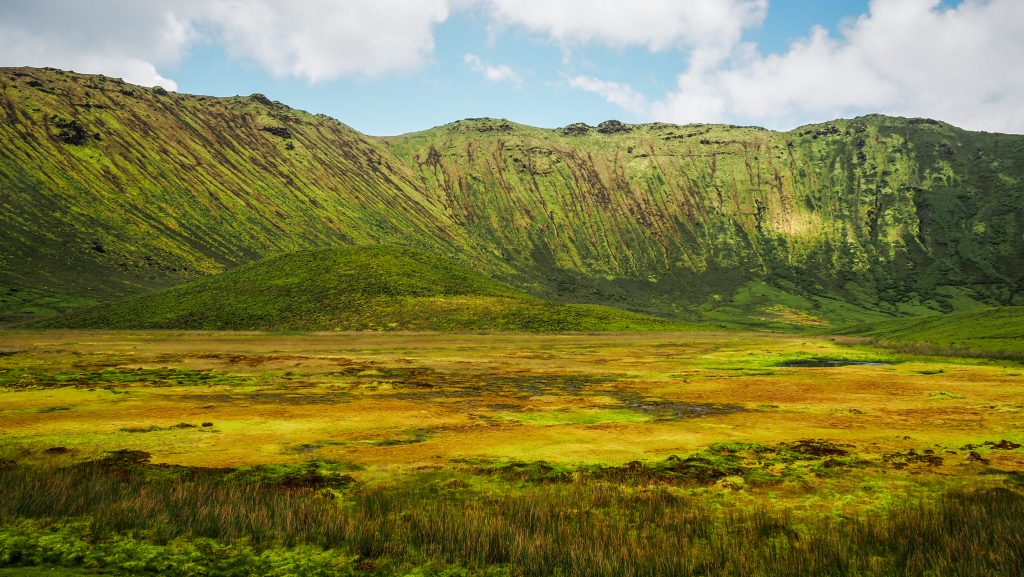
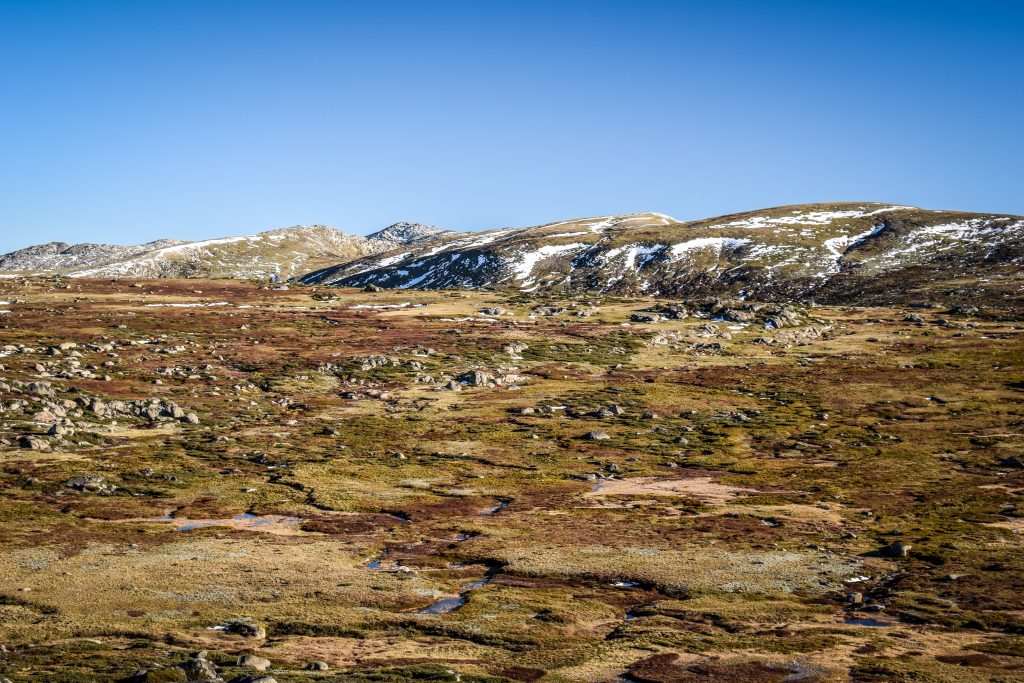
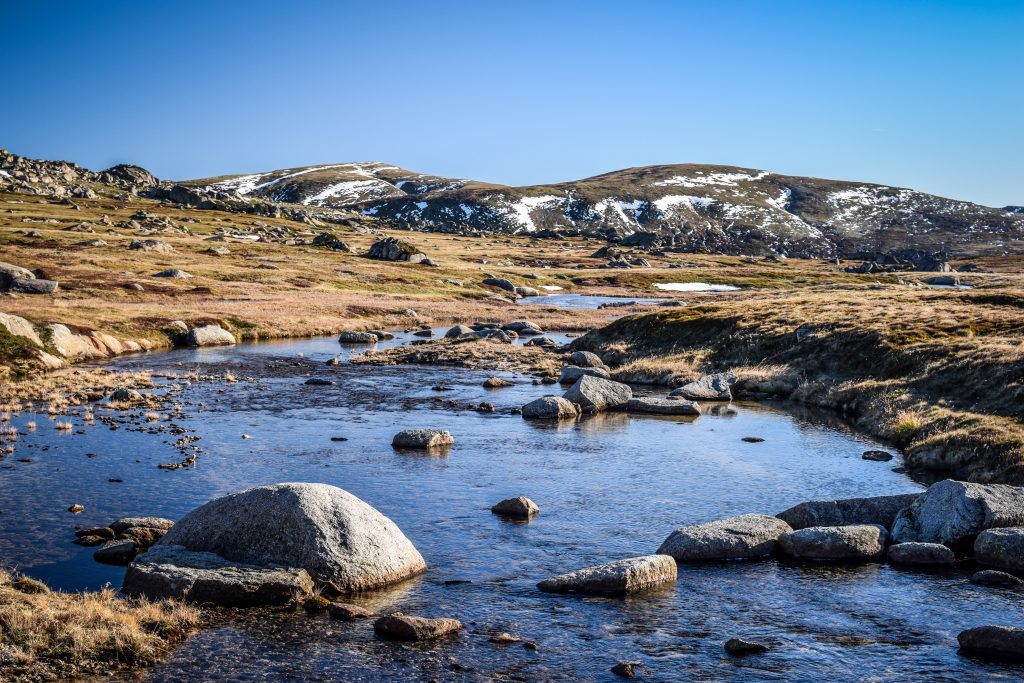
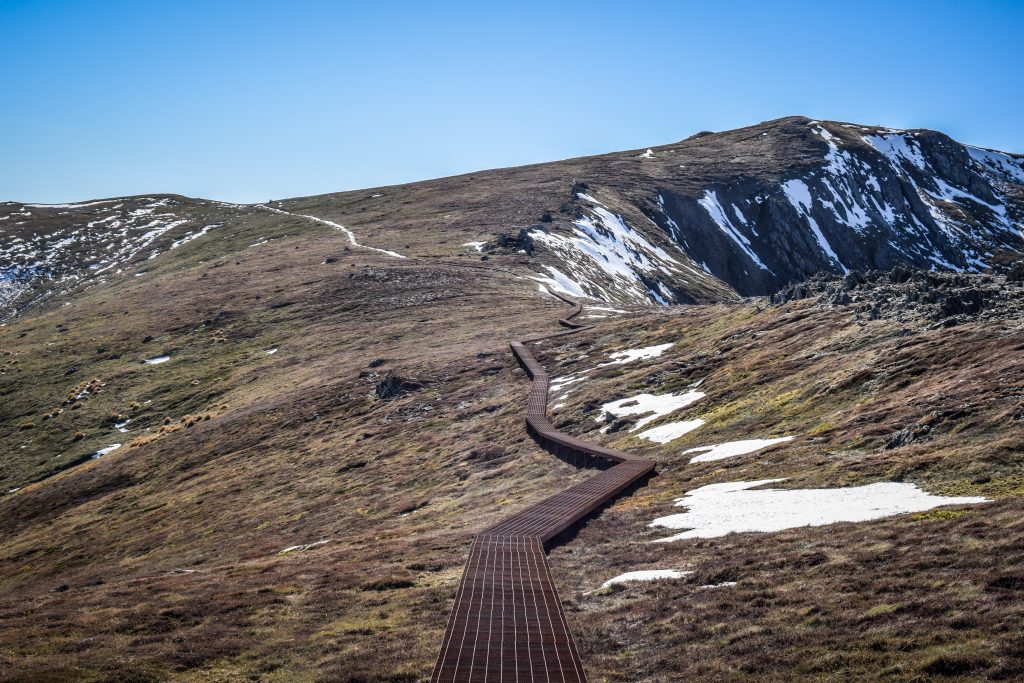
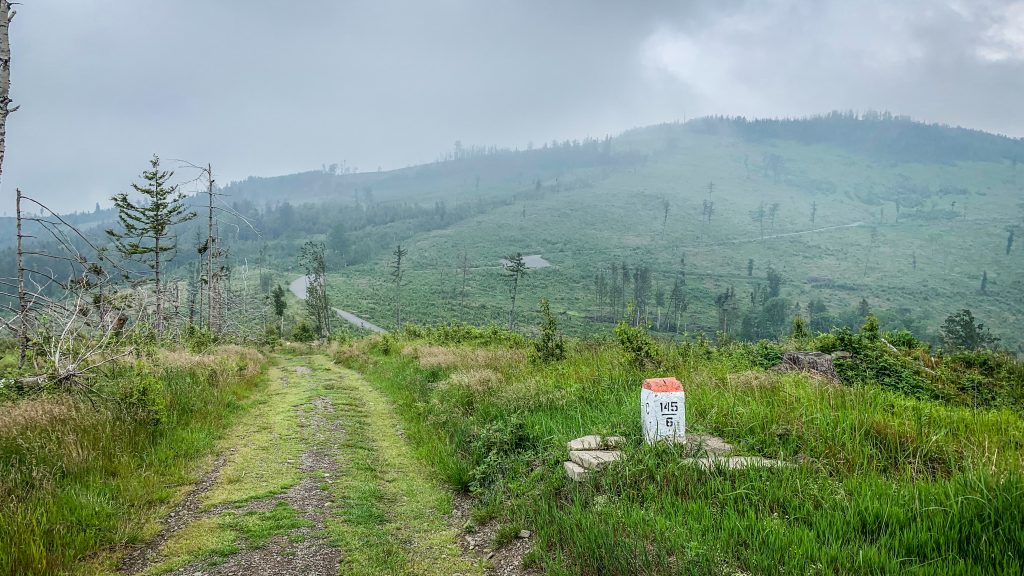
Caldeira – this natural feature is definitely the highlight of Faial Island. It has a diameter of 1450 meters and a depth of 400 meters. The PRC04 hiking trail starts at the parking and goes around it. Highly recommended in good weather!
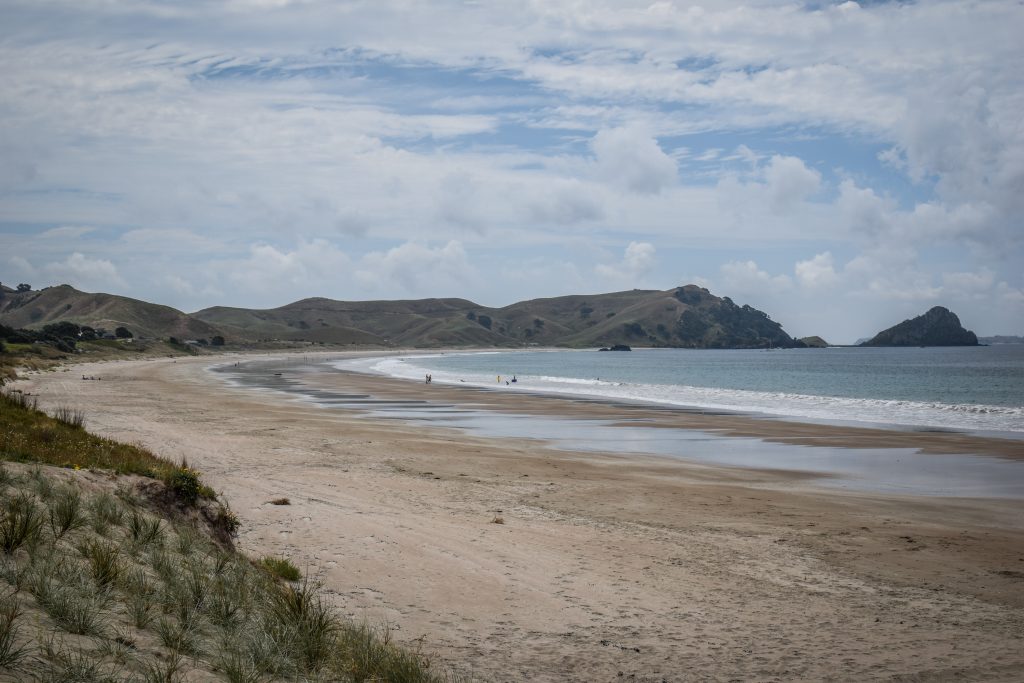
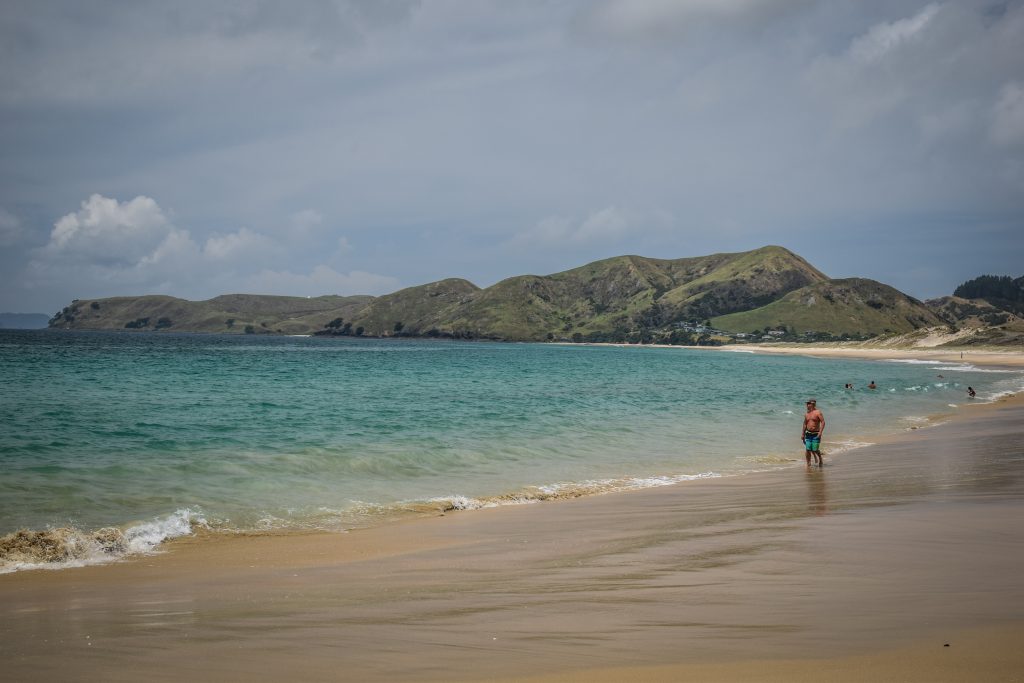
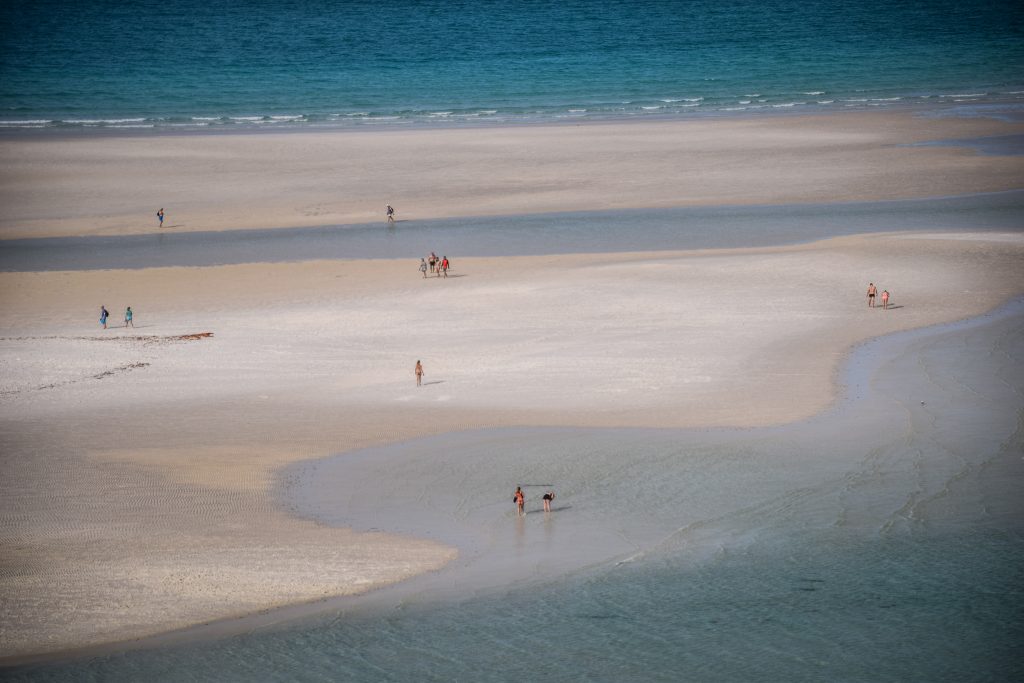
Praia Do Almoxarife – long stretch of black sand with bathing area, only 5km from the city of Horta. Great views over Pico Island guaranteed!
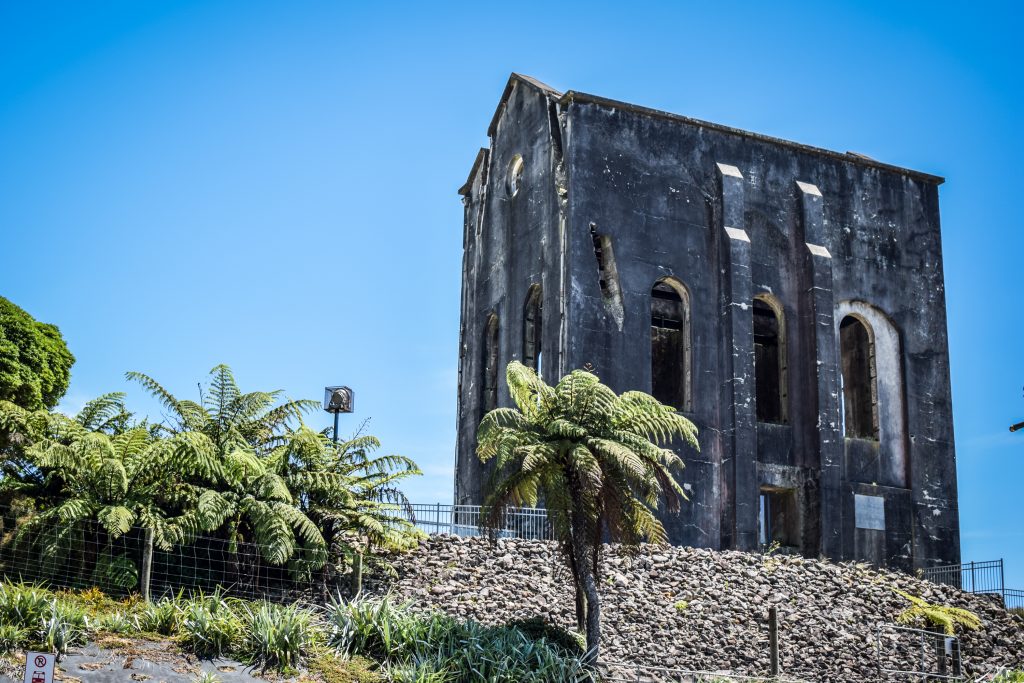
Ribeirinha – the name comes from the small river and valley that was occupied during the period of settlement. in Portuguese, Riberinha means small “ribeira”, or small river. A popular landmark is a lighthouse, which following the earthquake of 1998, was left in ruins. PRC09 is a great hike in the area, passing by the village, coast, lighthouse and several viewpoints. It is 8.3 km long and takes 2.5 hours to complete.
Viewpoints (Miradouro)
As on every island in the Azores archipelago, there are plenty of viewpoints and usually, they are easily accessible by car. Just look for the sign ‘Miradouro’ which in the Portuguese language means viewpoint. Here is the list of the most popular ones but of course nice views are nearly everywhere and it’s easy to find a stunning ‘no-name’ spot.
- Miradouro do Cabeço das Pedras Negras
- Miradouro da Ribeira Funda
- Miradouro da Ribeira das Cabras
- Miradouro de Nossa Senhora da Conceição
- Miradouro Ponta Furada
- Miradouro do Monte Carneiro
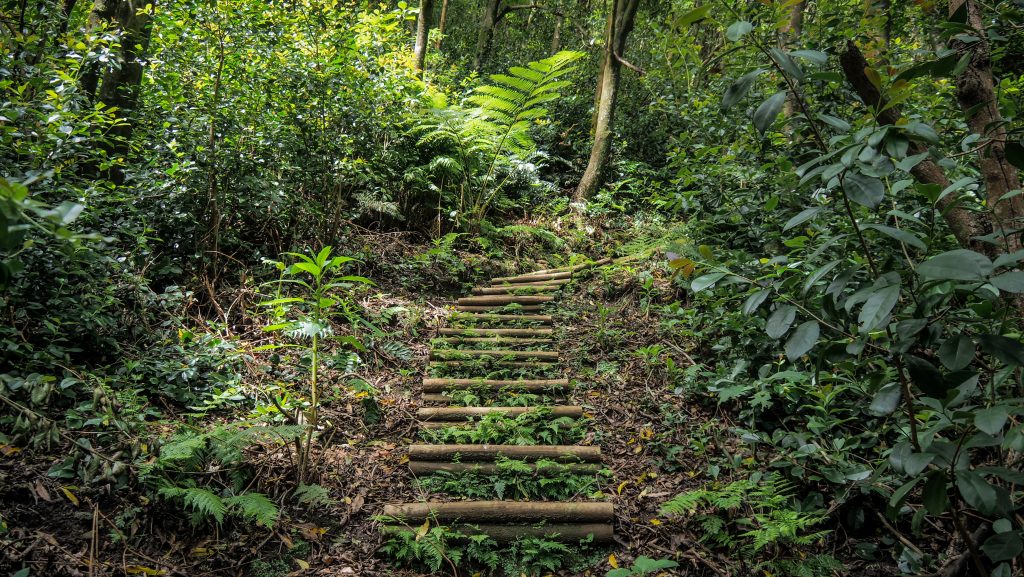
Hiking trails on Faial
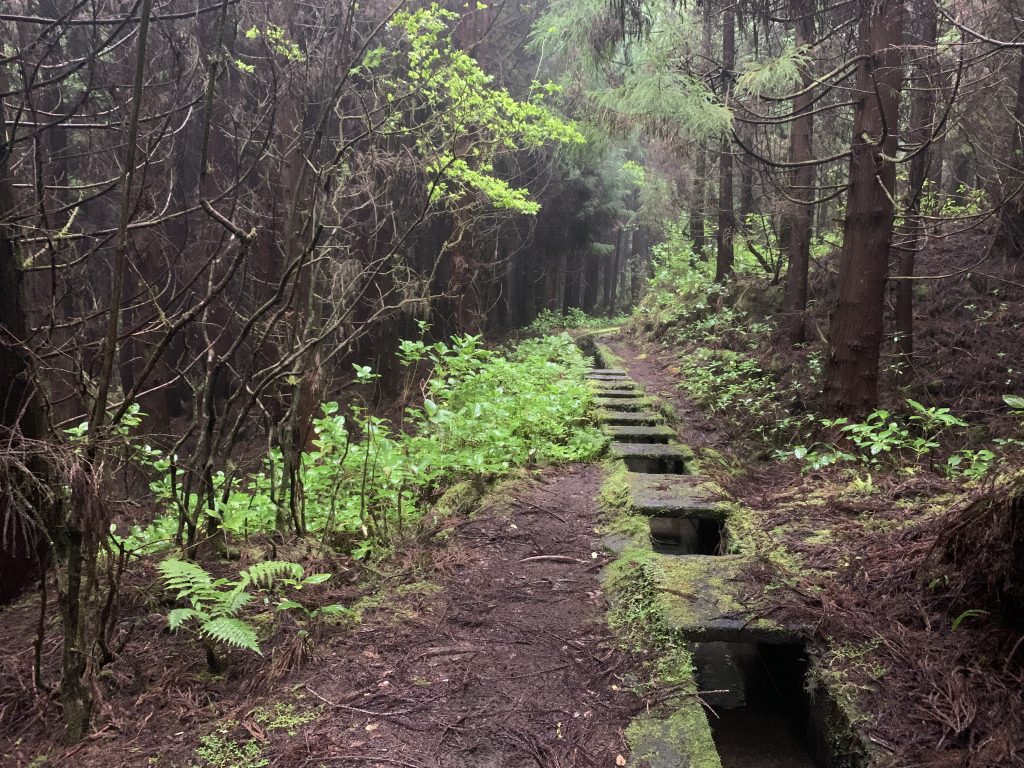
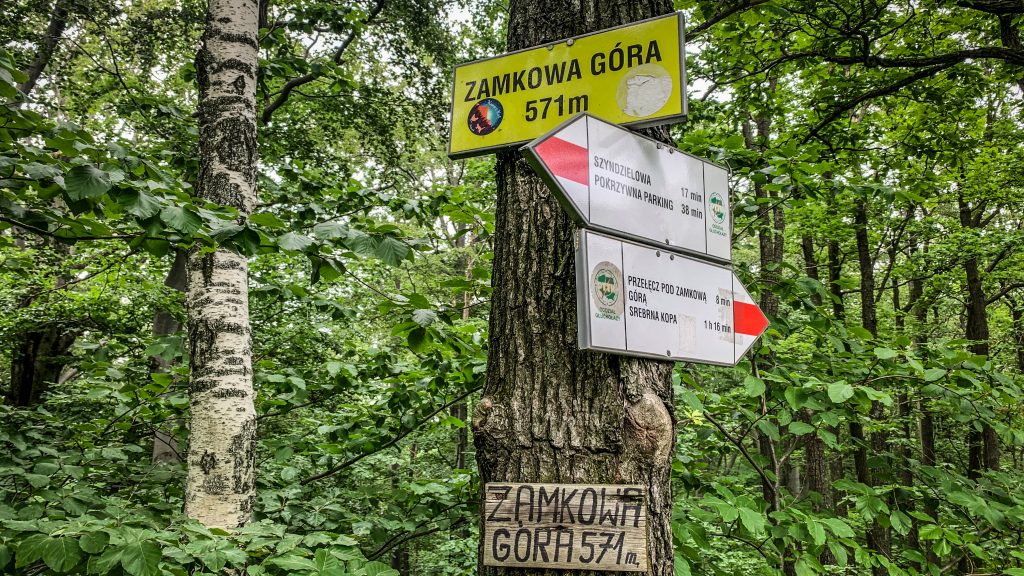
PRC01 FAI – Cabeco do Canto
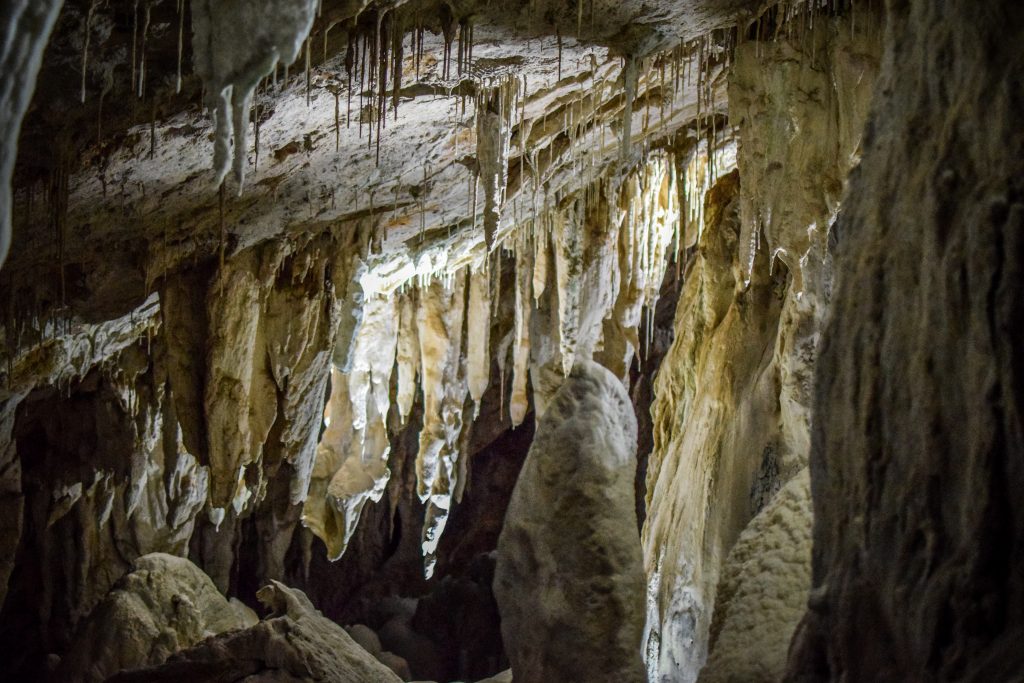
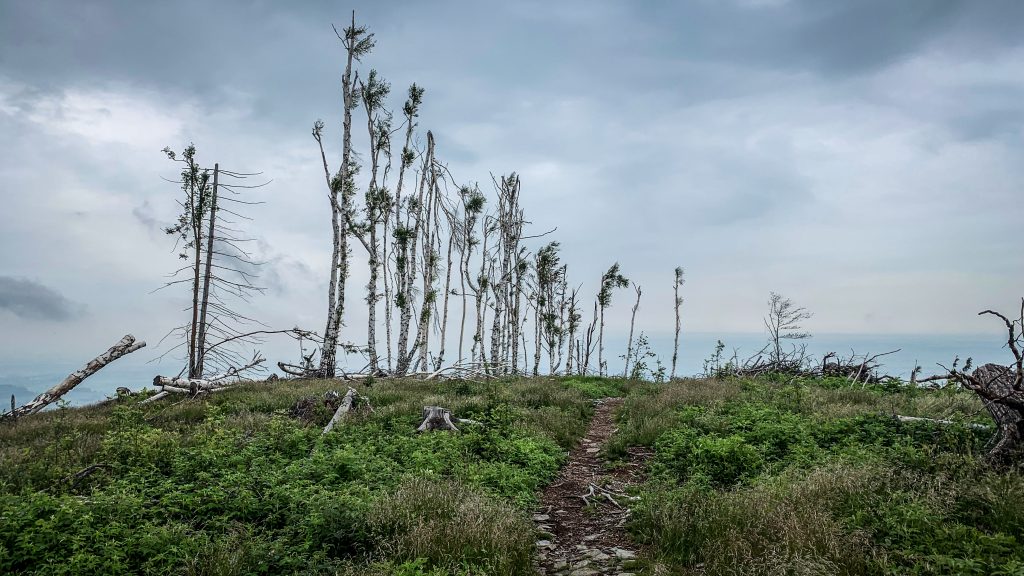
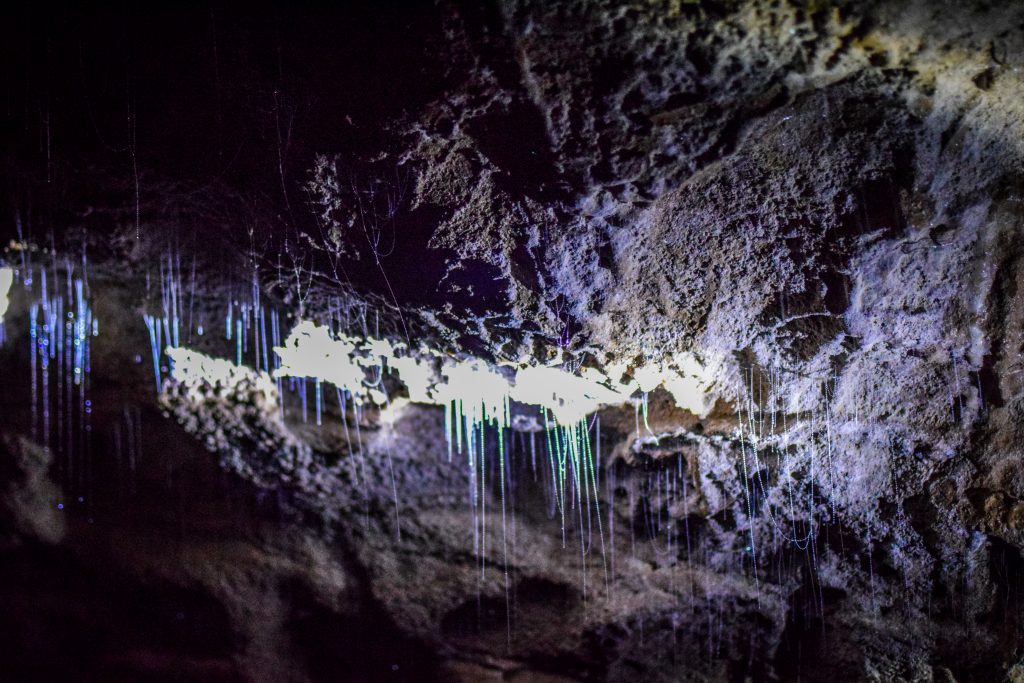
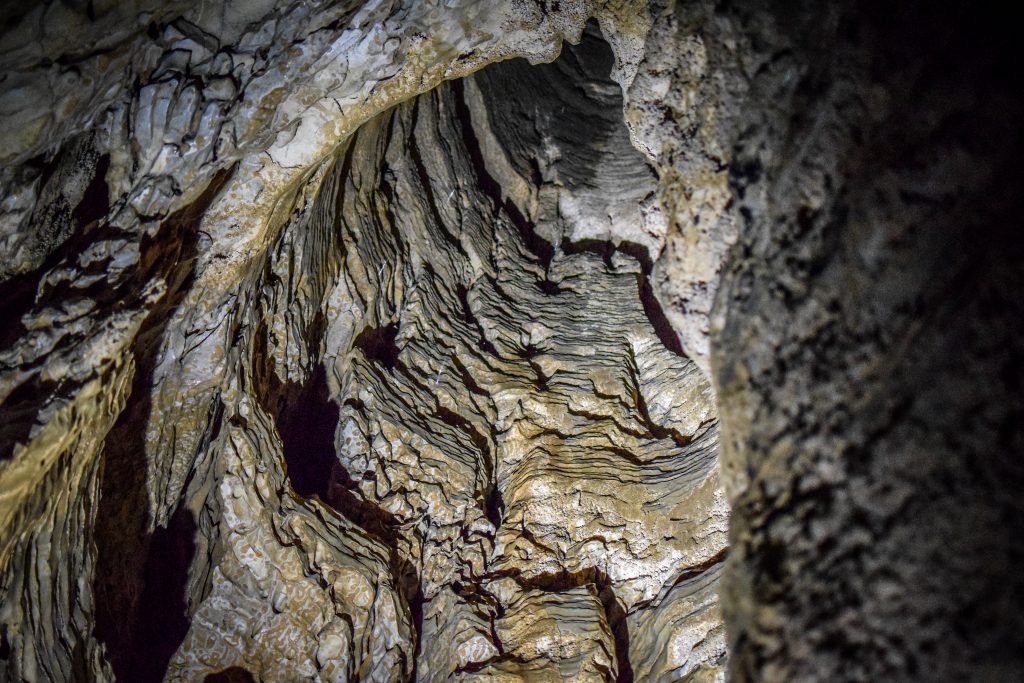
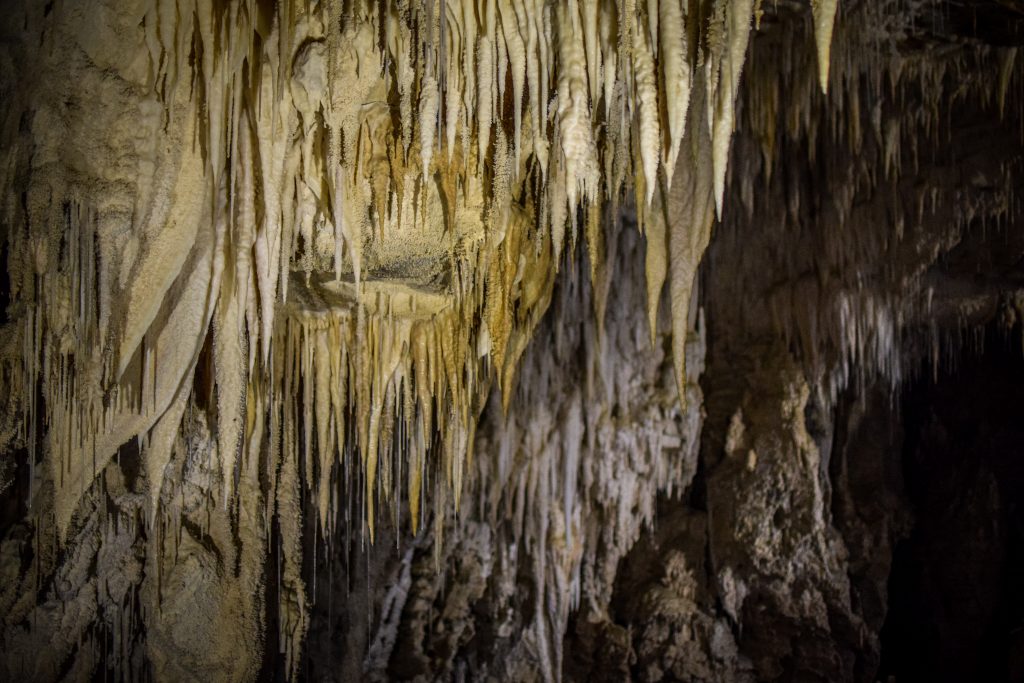
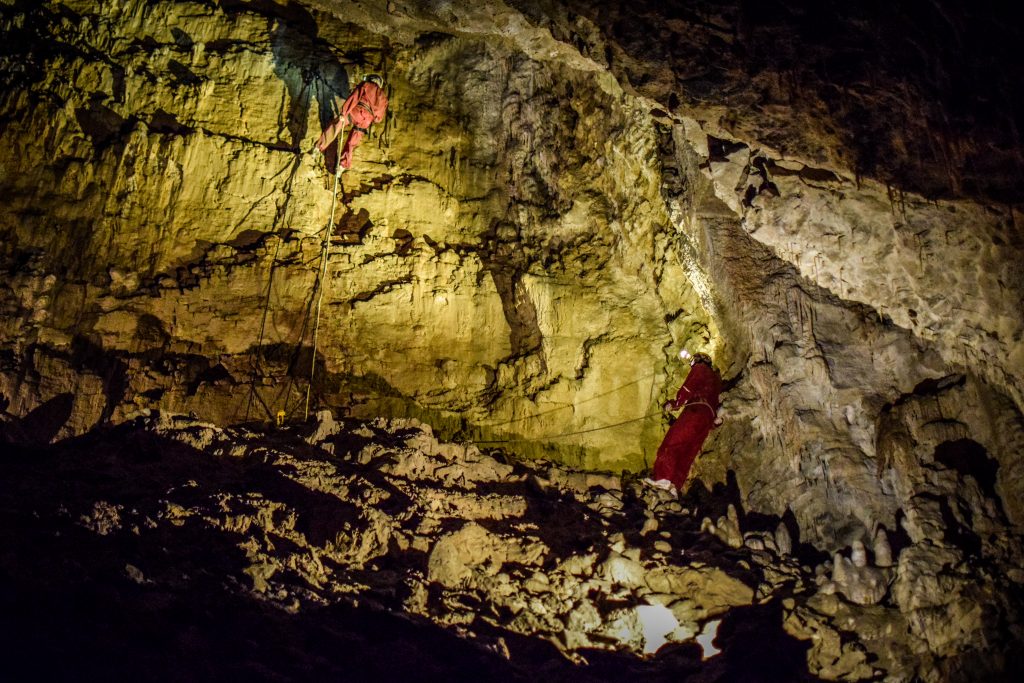
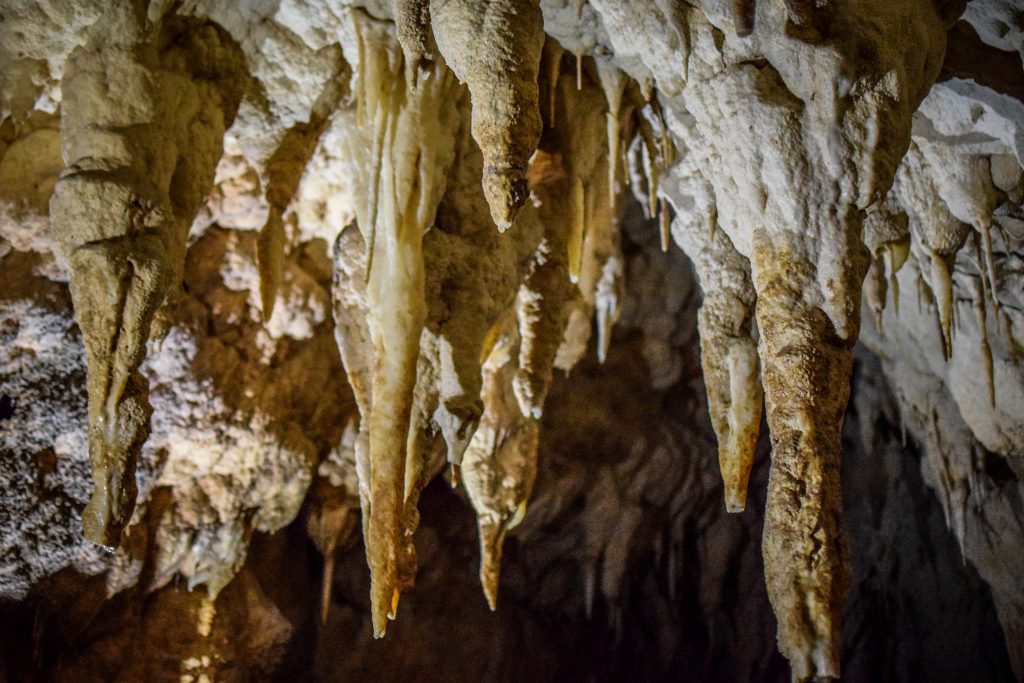
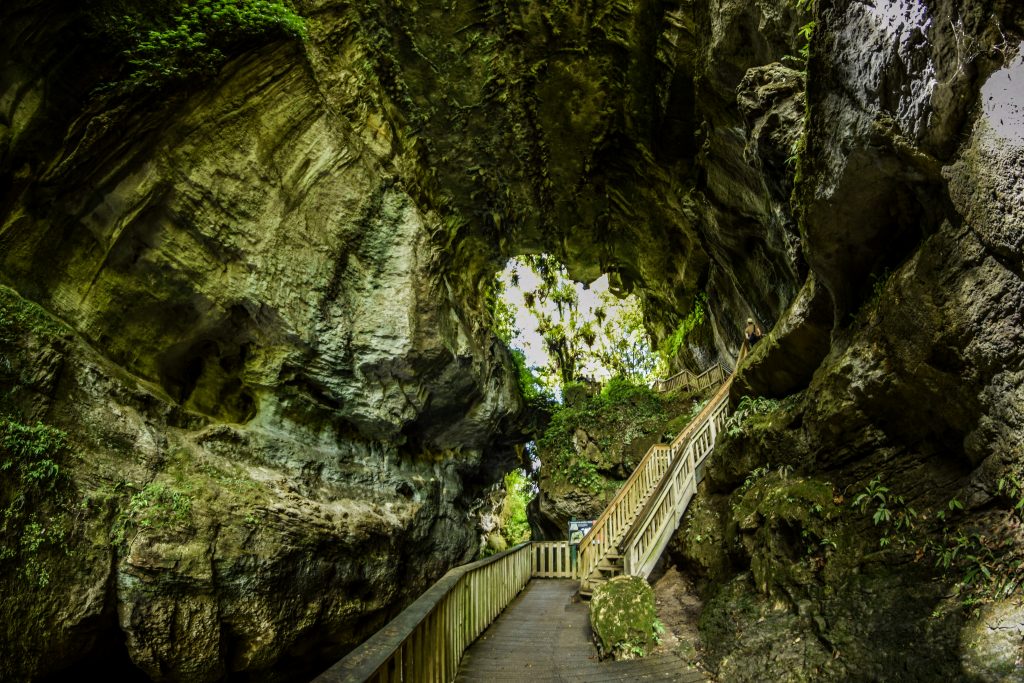
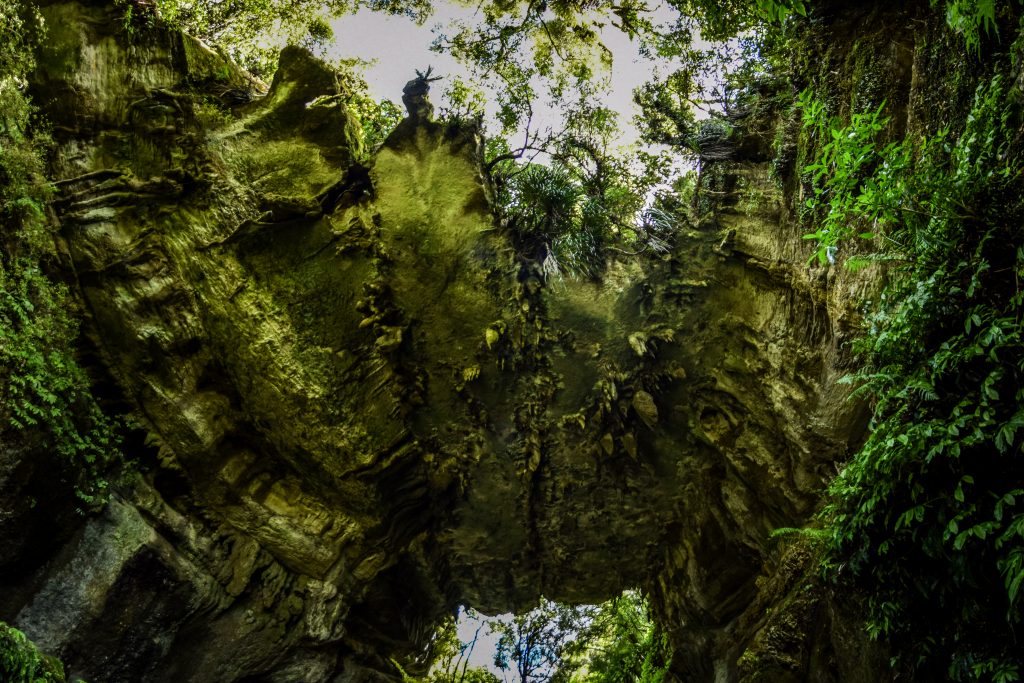
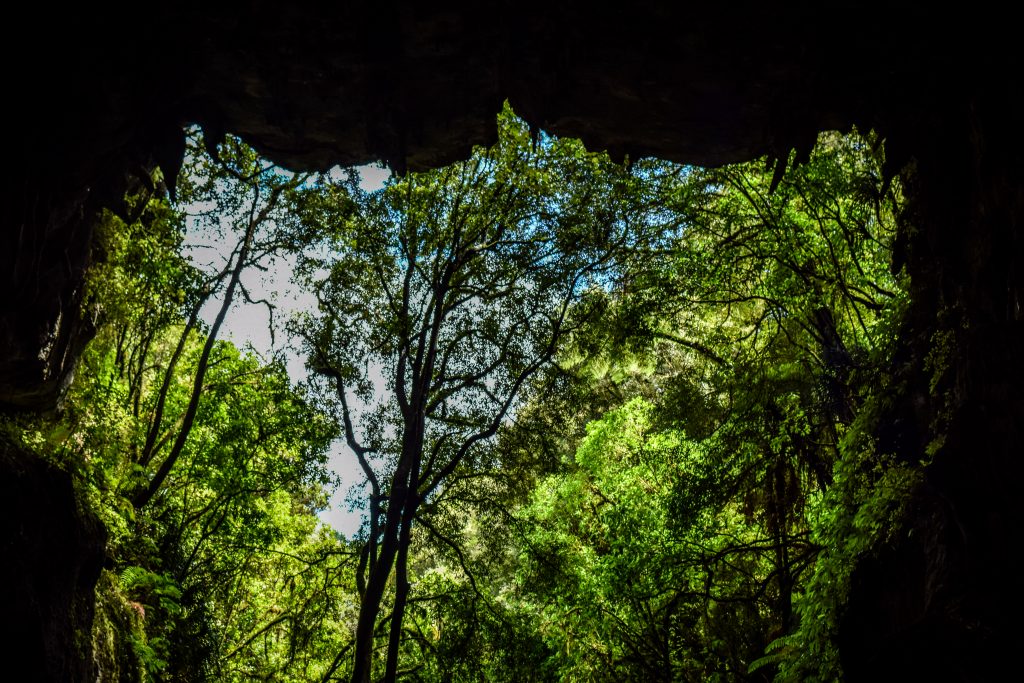
Short route with the start point on the road leading to Cabeco Verde. I left my car next to the information board and shortly I reached a lava cave which is apparently 55 meters deep, but views are quite limited due to trees. After passing on the left side of Algar do Caldeirao, soon I started climbing the stairs towards Cabeco do Canto. Quite a steep one! Once on top, I went around the volcanic cone (no big views here) and then went back following the same way.


PRC02 FAI – Rocha da Faja
The best is to park the car on the main road near the church and from there descent through the fields and forest towards Praia do Norte beach, checking out a very nice viewpoint on the way. The beach itself is a great place for a break to chill and watch the waves. The trail continues through the centre of the village on the asphalt road before it starts to climb up first following a dirt road and then through the forest, back to the starting point.


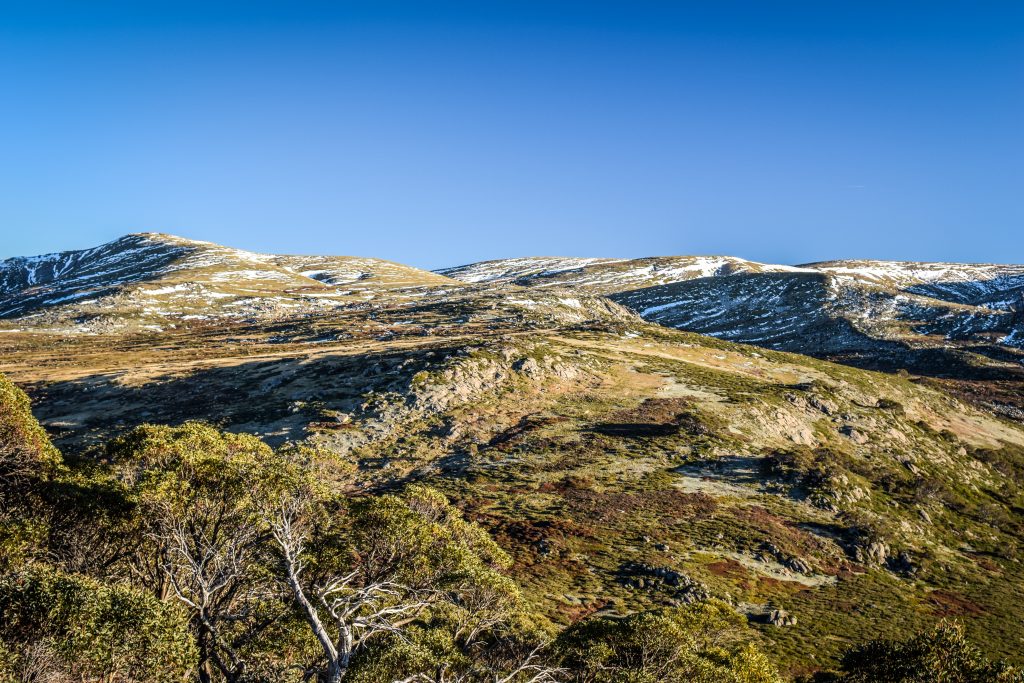
PRC04 FAI – Caldeira
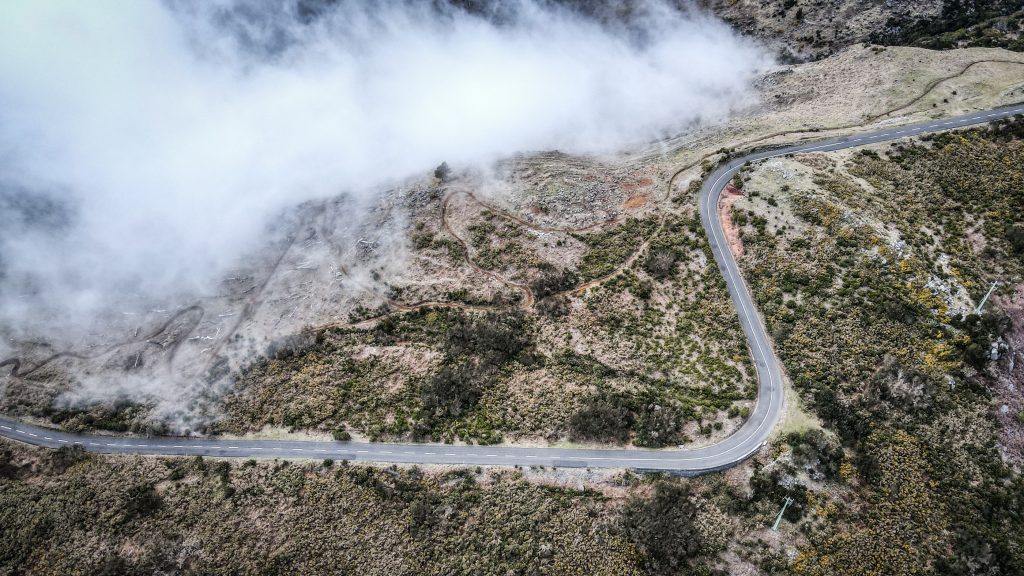
The best and the most popular trail, going around the highlight of the island – Caldeira. From the parking, it’s just a few minutes to get the first glimpse of its interior. Caldeira is located in the central part of the island, therefore to fully enjoy the hike, make sure you go there in good weather. Otherwise, when the clouds roll in, there won’t be any views whatsoever.


PRC05 FAI – Rumo ao Morro de Castelo Branco
The natural reserve and geosite of Morro do Castelo Branco is a highlight of this short hike and at the same moment, one of the most beautiful places on the island. It is an effect of the volcanic eruption that happened thousands of years ago. Due to the number of bird species nesting there, climbing is forbidden. The rest of the trail is rather average and follows partly asphalt road and partly pastures.

PR03 FAI – Levada
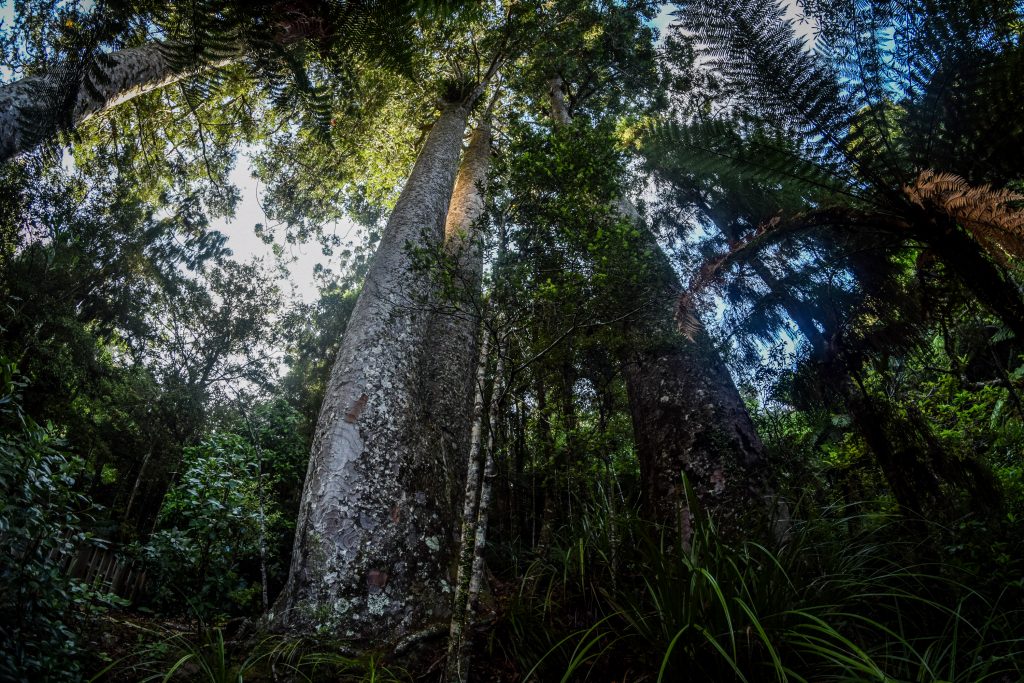
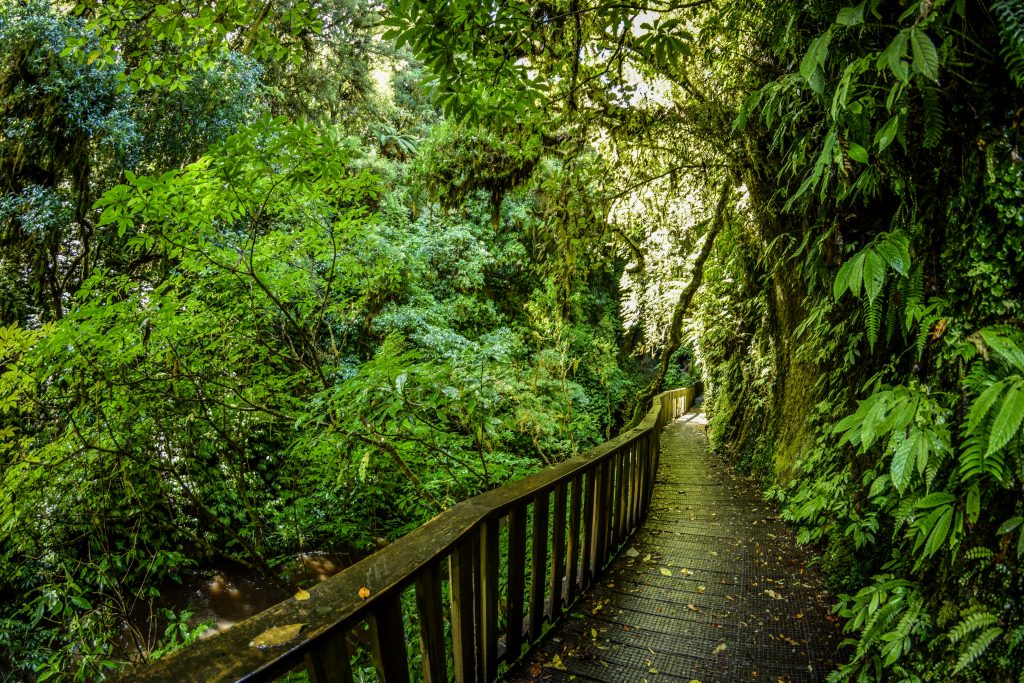
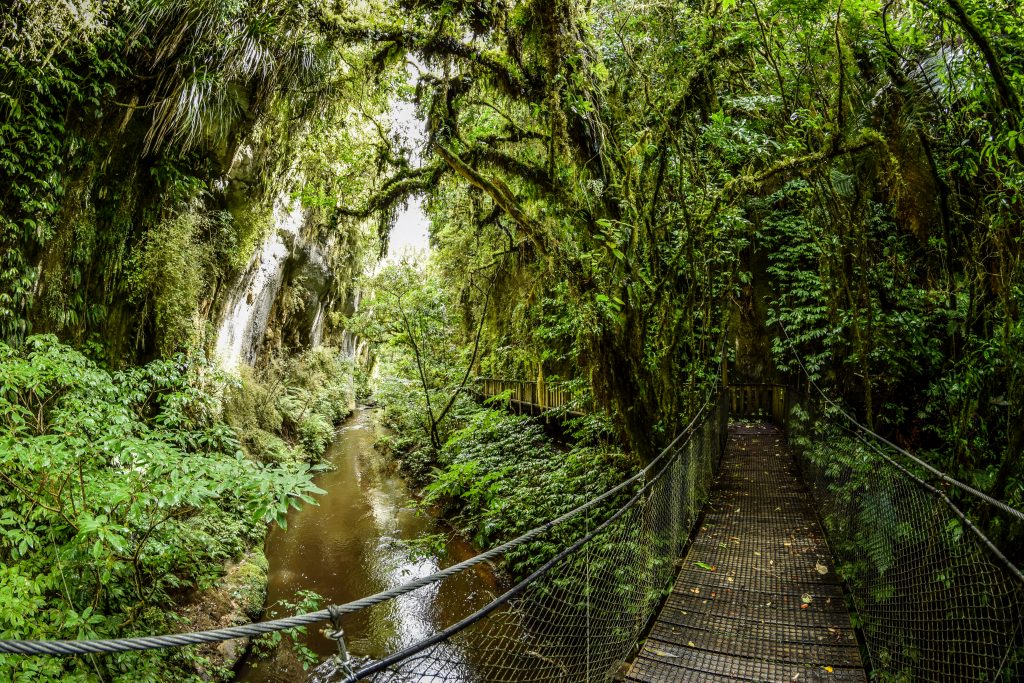
After spending 2 months on Madeira Island, I knew very well what levada was. The memories of endless trails following water channels that transport water from one side of the island to the other was back immediately 🙂
If you start near Cabeco dos Trinta, there is an option for a short detour to its interior, which I highly recommend. Come back the same way and turn right. After a few minutes, you will see the levada. Its construction was finished in 1964 with the main purpose of supplying water for the production of hydroelectric energy. The end of the trail is at Alto do Chao and you would rather need to come back the same way to reach your car.

PR06 FAI – Dez Vulcoes
Long and demanding hike starting at the viewpoint of Caldeira. It follows PRC04 for around half of its distance when you need to turn right and head towards PR03 Levada and Cabeco dos Trinta. Further spots of the way are Cabeco do Fogo, Algar do Caldeirao and Cabeco do Canto. Finally, after crossing the road, there is a grand finale walking through the landscape formed by the volcanic ashes of Capelinhos. The eruption took place in 1957/1958. Close to the parking, there is the underground Interpretative Centre of the Vulcao dos Capelinhos, where you can learn about the volcanic nature of all the Azores islands as well as get to where the other famous volcanoes in the world are located. Entrance fee: 9 EUR.

PR07 FAI – Caminhos Velhos
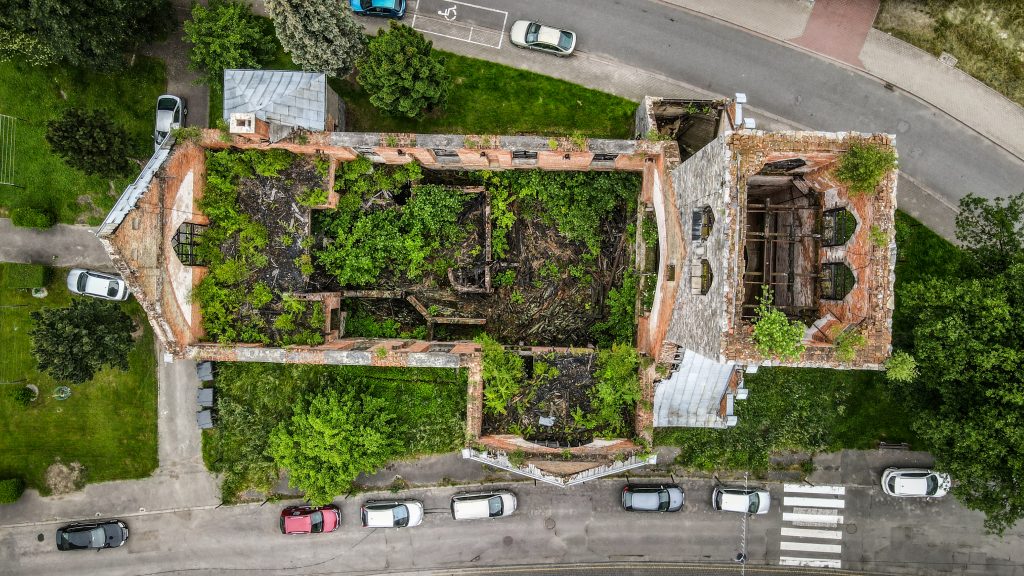
Similar to PR06, it starts (or ends) at the parking next to Caldeira viewpoint. I would recommend starting here because then most of the walk will be downhill. Cross the tunnel, have a look at the interior of Caldeira and then continue on the zig-zag dirt road. When it merges with asphalt road, on the left side there will be Old Cabouco the Recreational Forest Reserve, a great place for a short break. Next, the trail goes towards Miradouro do Cabeço das Pedras Negras from where it joins PRC09 until arrival to Ribeirinha. Check out the ruing of the church of Sao Mateus and the ruins of the Lighthouse of Ribeirinha. Both places were destroyed by the earthquake that hit the area in 1998.

PRC08 FAI – Entre Montes
Easy circular hike close to Horta, with historical importance. The first underwater telegraphic cable was installed here in 1893 which played an important role during the war. The whole route provides great views all around the city as well as the fortress of Sao Sebastiao. At the top of Monte da Guia, there is a viewpoint and the chapel of Nossa Senhora da Guia. On the way back, you may want to visit the informative Museum of Whaling Industry (Museo da Baleia) or make a short detour to the remains of Forte da Greta. Finish the hike at Praia do Porto Pim.

PRC09 FAI – Ribeirinha
Start the trail in the centre of Ribeirinha village and then head towards the coast. Follow it until Porto da Boca da Ribeira and then start the ascent through the forest to the ruins of the Lighthouse of Ribeirinha. Continue through the forest to the viewpoint of Ribeirinha. When you reach an asphalt road, turn left and make a short detour to the ruins of the church of Sao Mateus. Both places, the church and the lighthouse were destroyed in the earthquake of 1998. From there, it’s time for a tiring ascent to Miradouro do Cabeço das Pedras Negras. Make a short break there and then start the descent back to Ribeirinha. The trail is highly overgrown in some parts but no worries, it’s still doable.

Coast to Coast
The ultimate hike through the island, starting at Ribeirinha and finishing in Capelinhos (or the other way around). It’s the combination of PR06 and PR07 and most probably the distance needs to be split into 2 days unless you are very fit and don’t mind taking a challenge to complete it in one very long day.


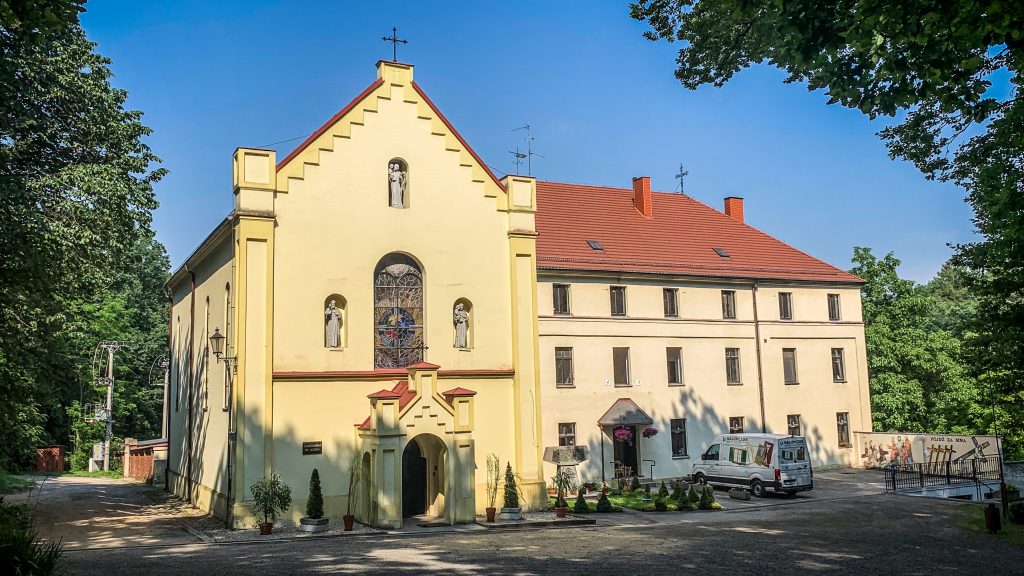
: Głuchołazy – Prudnik")
: Złoty Stok – Głuchołazy")


: Puchaczówka Pass – Złoty Stok")