Tag

trips from auckland

Browsing

Numerous beaches, ocean, forest, mountains, waterfalls and rich history. It’s a perfect combination for every holiday. Add to it relaxed vibes as well as proximity to Auckland and you will get a very popular place for summer escapes from a big city.

The area was occupied by Maori long time before the arrival of Europeans. Unfortunately, the distance from Auckland, availability of kauri timber and discovery of gold resulted in intense colonisation and Maori lost most of their lands by the 1880s.

The Peninsula was named after HMS Coromandel, a ship of the British Royal Navy that stopped at Coromandel Harbour in 1820 to purchase kauri spars. The ship was named for India’s Coromandel Coast.

The following itinerary encircles the peninsula from east to west and assumes that you have your own transportation.

Day 1 – Waihi, Whangamata, Wentworth Falls, Tairua, Hot Water Beach, Cathedral Cove

The day is busy and packed with attractions so it’s essential to start early. Driving along the east coast of Coromandel Peninsula will reward you with scening summer towns, waterfall, gold and silver mine and hot water beach. All of that finished with the grand finale at famous Cathedral Cove. Let’s start!

Waihi

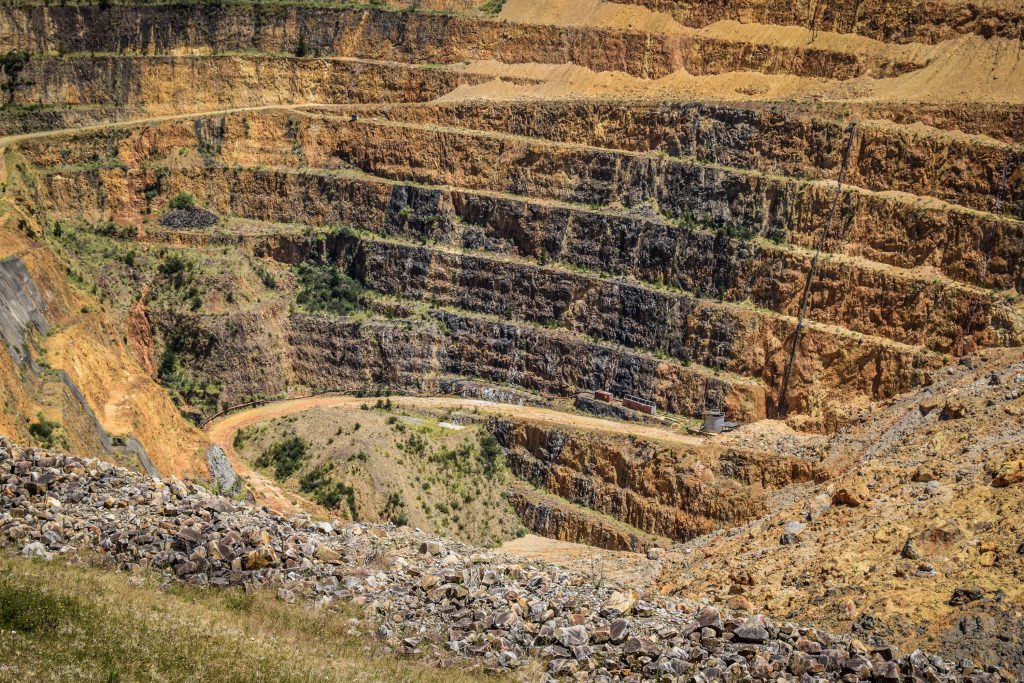
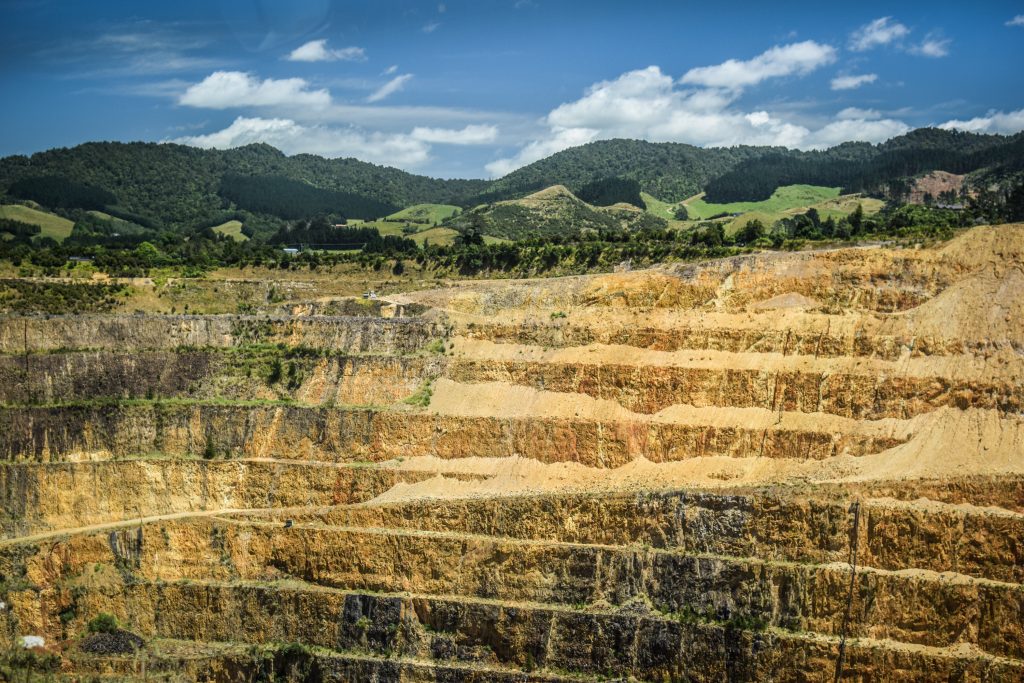
Gold was first discovered here in 1878 and soon after the Martha Mine became one of the most important gold and silver mines in the world and the reachest one in New Zealand. It closed in 1952 due to change in the gold price, outdated machinery and the world depression of the 1930s. In the 1970s, when the gold price went up again, interest in mining at Waihi returned. The site was reopened as an open pit in 1988.

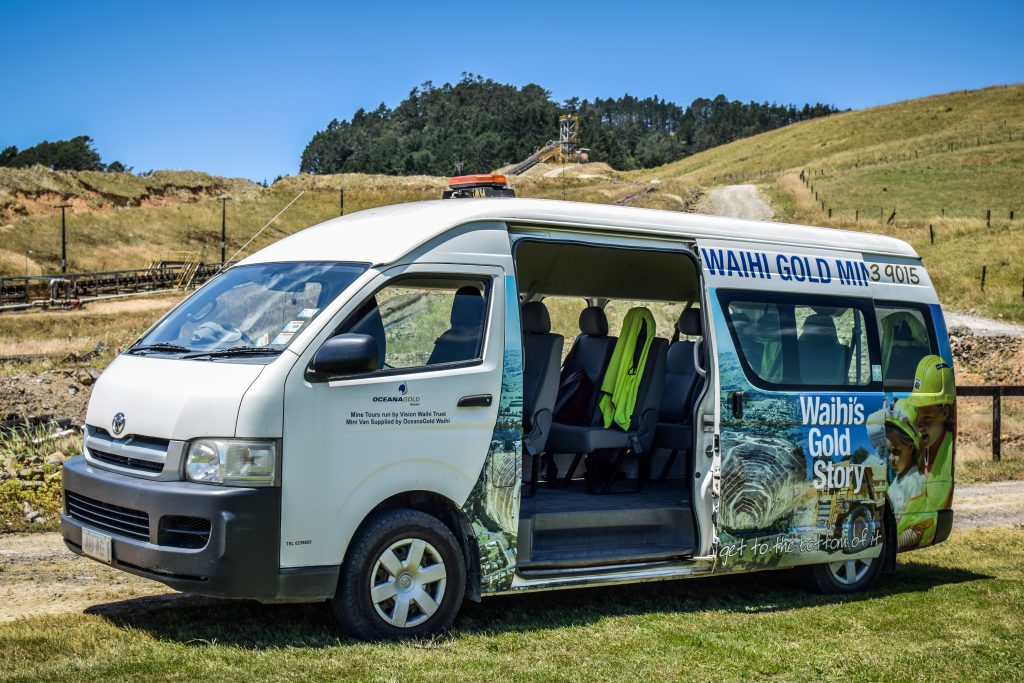
The detailed story is presented in Gold Discovery Centre and additionally, you can join a guided tour to see modern-day gold mining up close. After putting on safety gear, you will board a van driven by a knowledgable guide that stops in many interesting spots along the way. It’s a different kind of experience comparing to historic mines all over North Island, where you walk through old tunnels and see the machinery.

Tickets are quite expensive though – Gold Discovery Centre 25 NZD, guided tour 39 NZD and combo ticket including both 59 NZD (prices for adults).
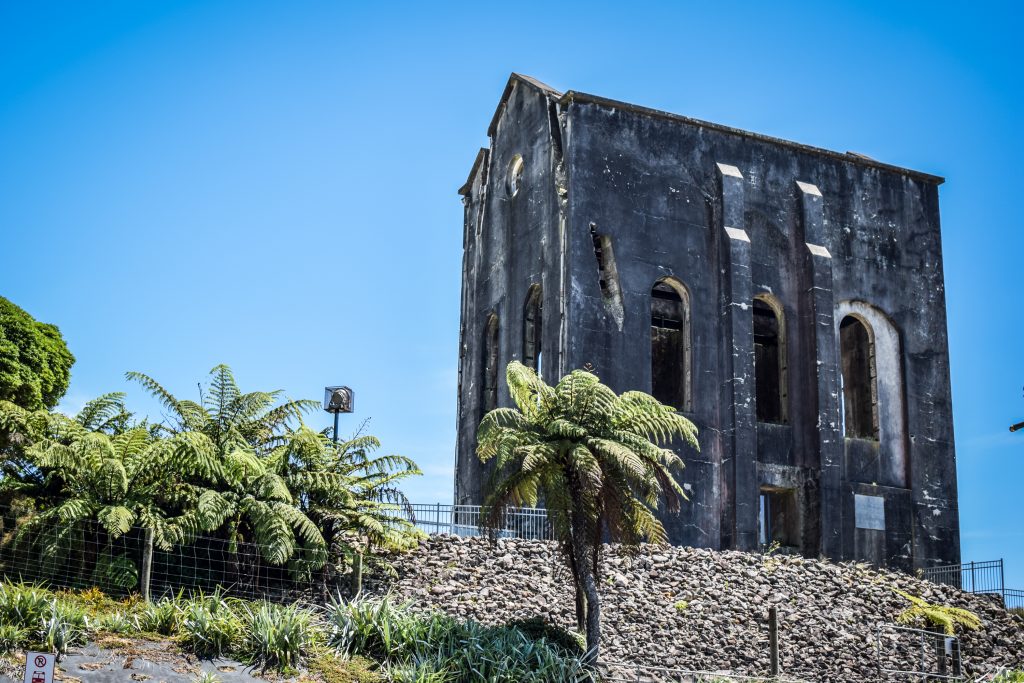
Remainings of old buildings
Waihi, Coromandel in New Zealand
Open pit in Martha Mine
Waihi, Coromandel in New Zealand
Open pit in Martha Mine
Van used for guided tours around the mine

Whangamata

Popular summer-holiday town with restaurants, parties, fine beaches such as Whangamata Beach or nearby Onemana Beach and a wide selection of water attractions.

Wentworth Falls

From Whangamata follow Wentworth Valley Road for around 8 kilometres inland. Park your car and head towards Wentworth campsite. From here, the return hike to the falls should take about 2 hours. The track is easy, mostly flat and crosses two bridges on its way. The falls are in two drops of about 20 metres each.

Tairua

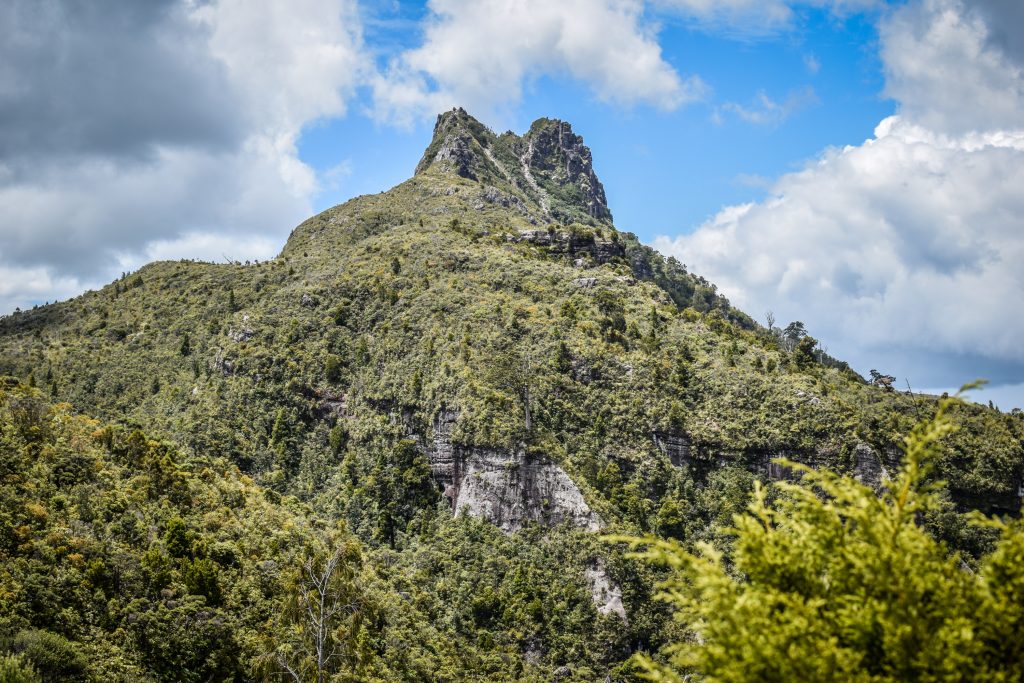
Another popular getaway destination with one particularly nice spot to stop by which was once a volcanic island – Mount Paaku. It’s a short but very steep, half an hour return hike with reward panorama of Pauanui and Tairua. The area was also occupated for a long time by Maori tribes.
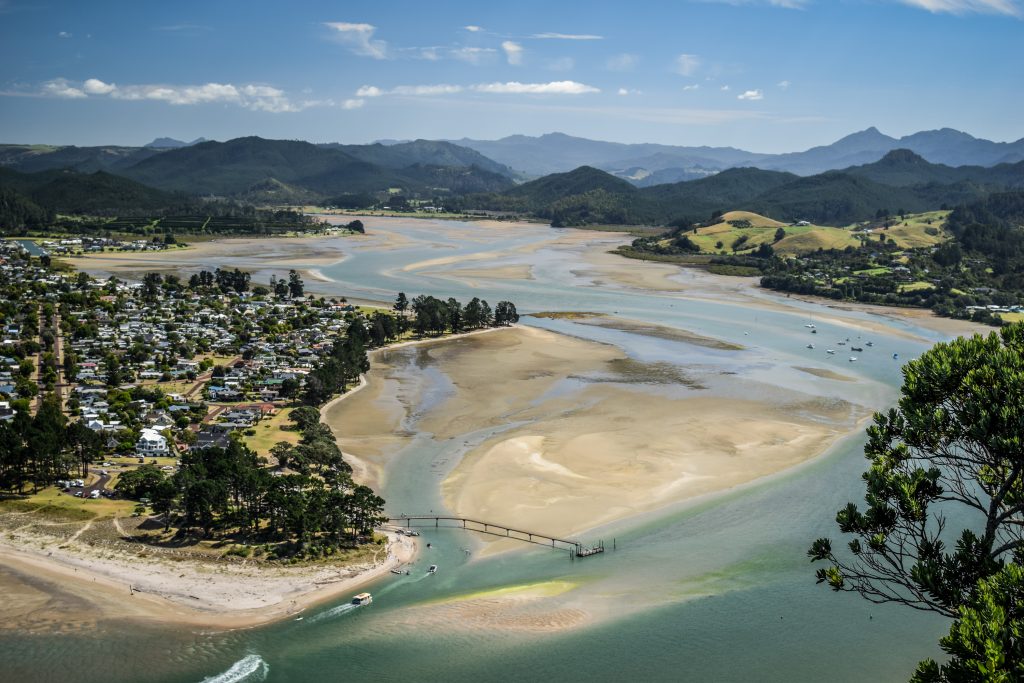
Coromandel Pennisula
Panorama from Mount Paaku

Hot Water Beach

If you see crowds digging holes in the sand and then jumping into them then yes, you are in a good place. It looks quite ridiculous from the distance but in fact, it really is a unique place! Hot water flows from the depths of the earth to surface in the Pacific Ocean exactly here at Hot Water Beach. You can pay a few dollars to rent a spade or simply ask some friendly folks at the beach. Keep in mind that the best time to create your own natural spa is within two hours either side of low tide. Check the times here.
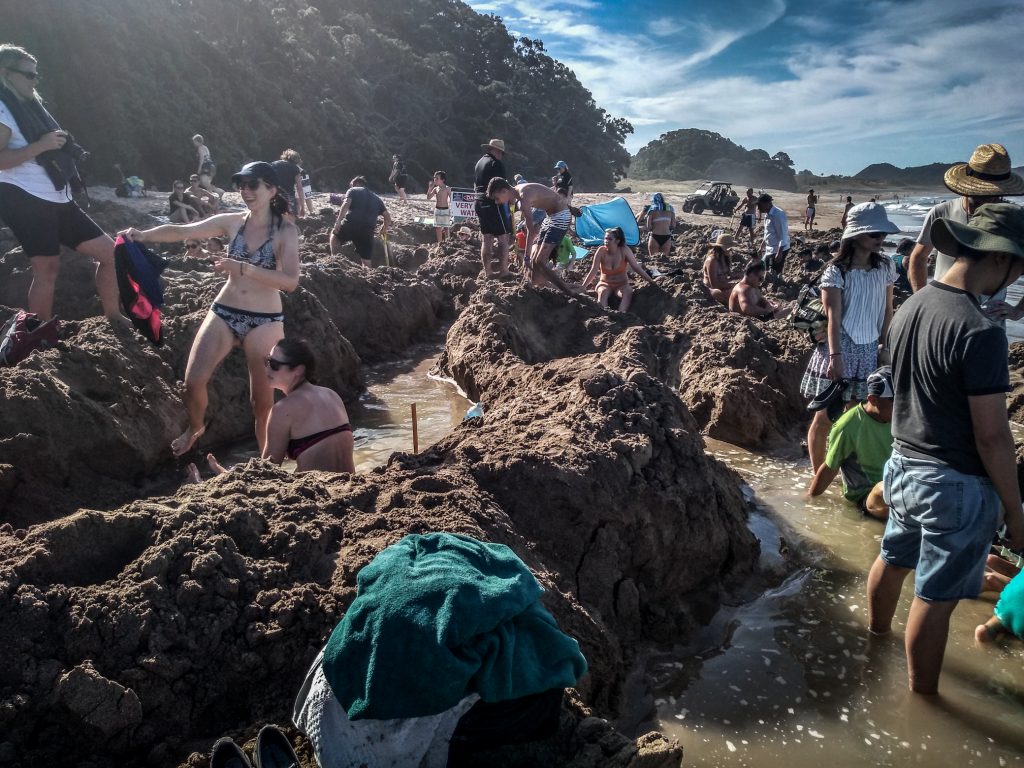
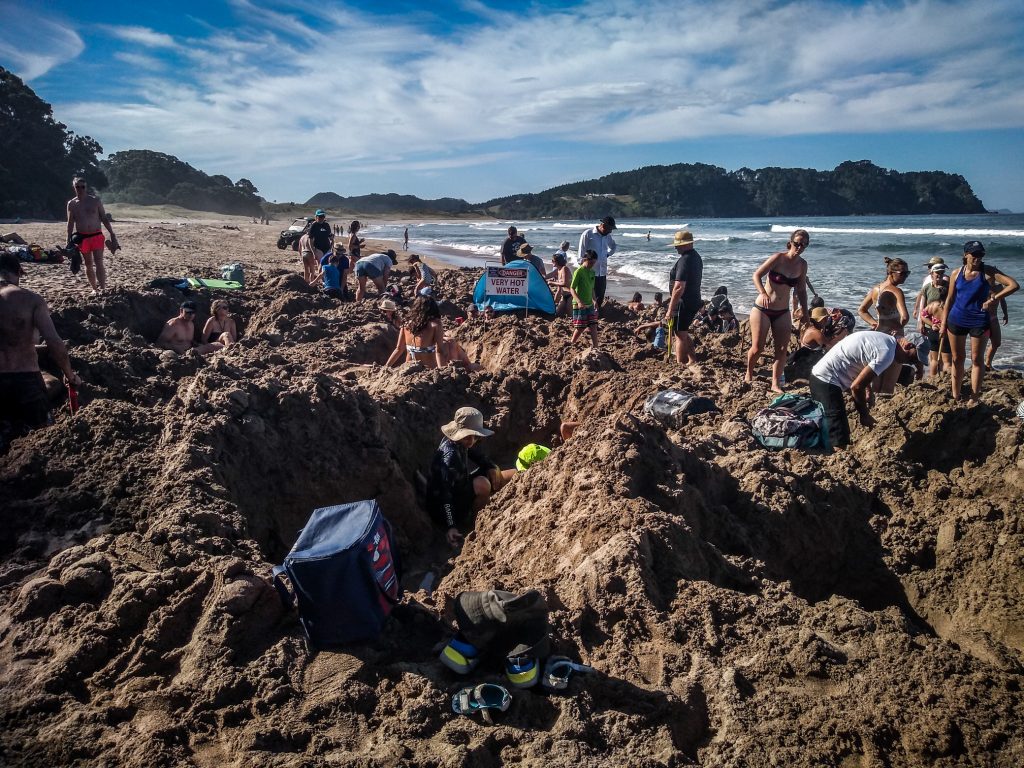
Hot Water Beach, Coromandel
Very popular Hot Water Beach
Hot Water Beach, Coromandel
Dig your own hole and enjoy natural spa!

Cathedral Cove

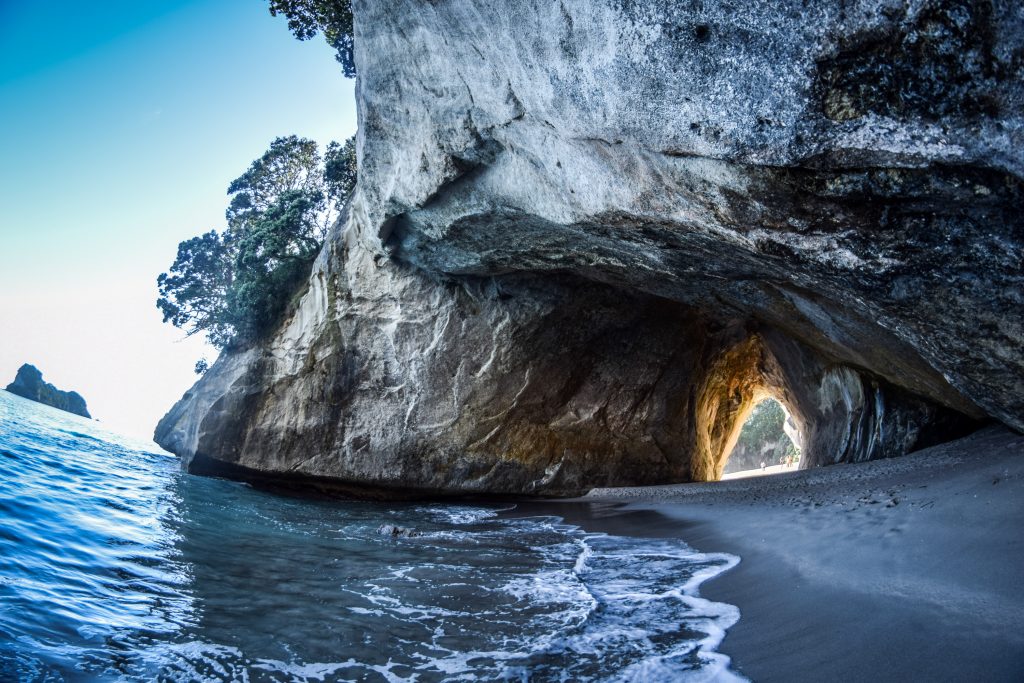
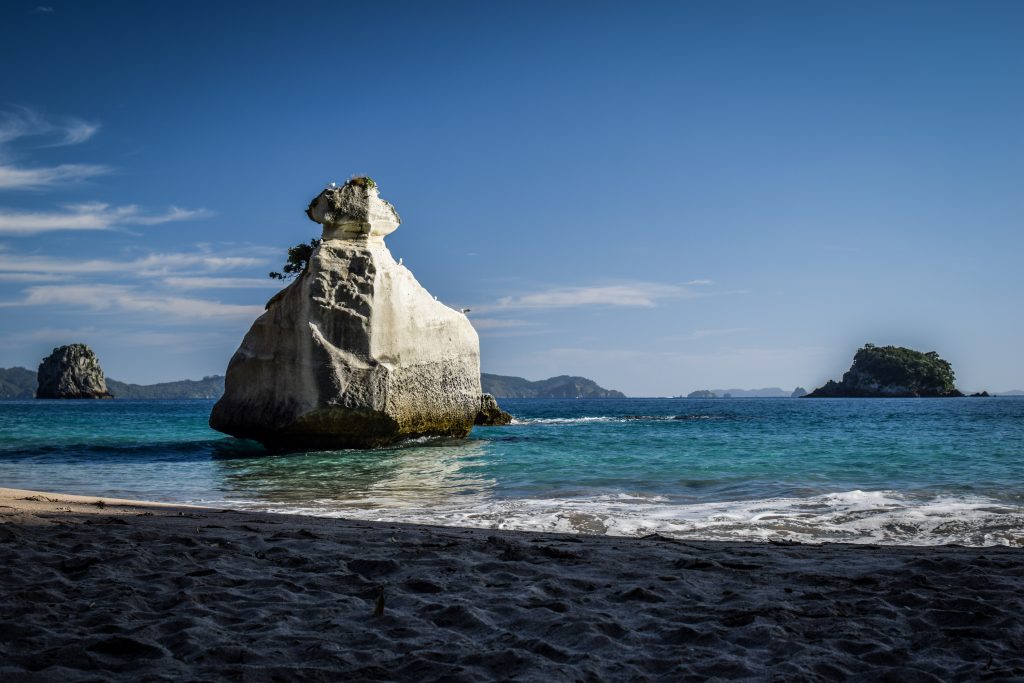
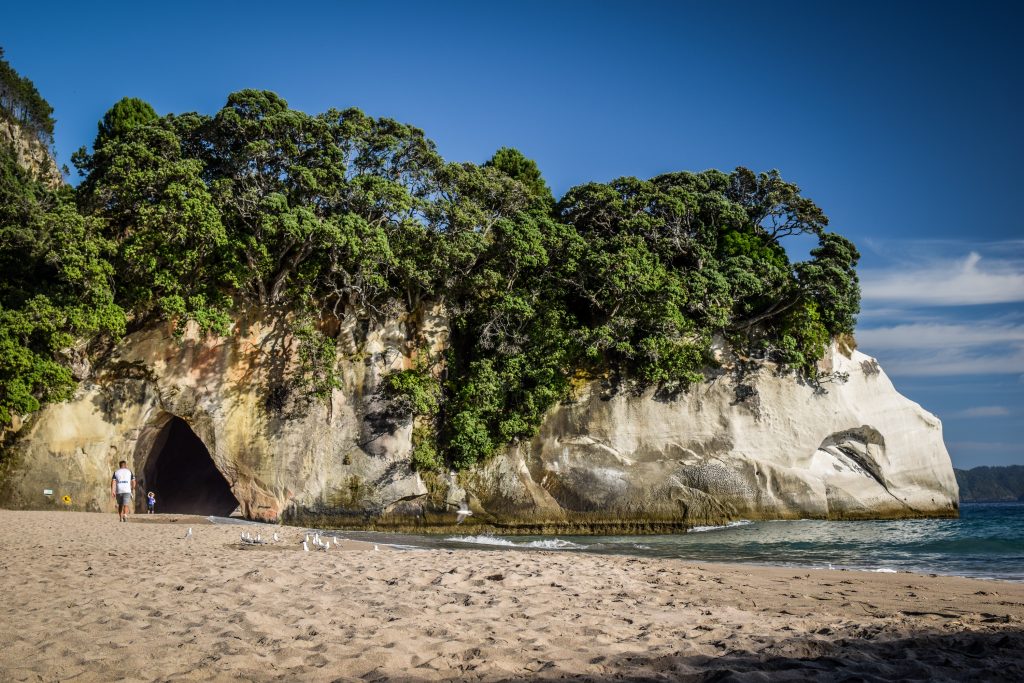
The place with the famous cathedral-like arch is indeed picturesque but somehow I missed that ‘wow effect’. There is too much hype about it and it’s all over Instagram creating false expectations. All those photos with increased colour saturation and extra effects look nice but when you arrive at the actual place… eyes don’t have extra settings 🙂 Best would be to get here in the late afternoon to avoid crowds. From the parking, it’s about 30-45 minutes hike one way. Alternatively, you can park your car in Hahei and walk from there (60-70 minutes one way), take a bus or water taxi.
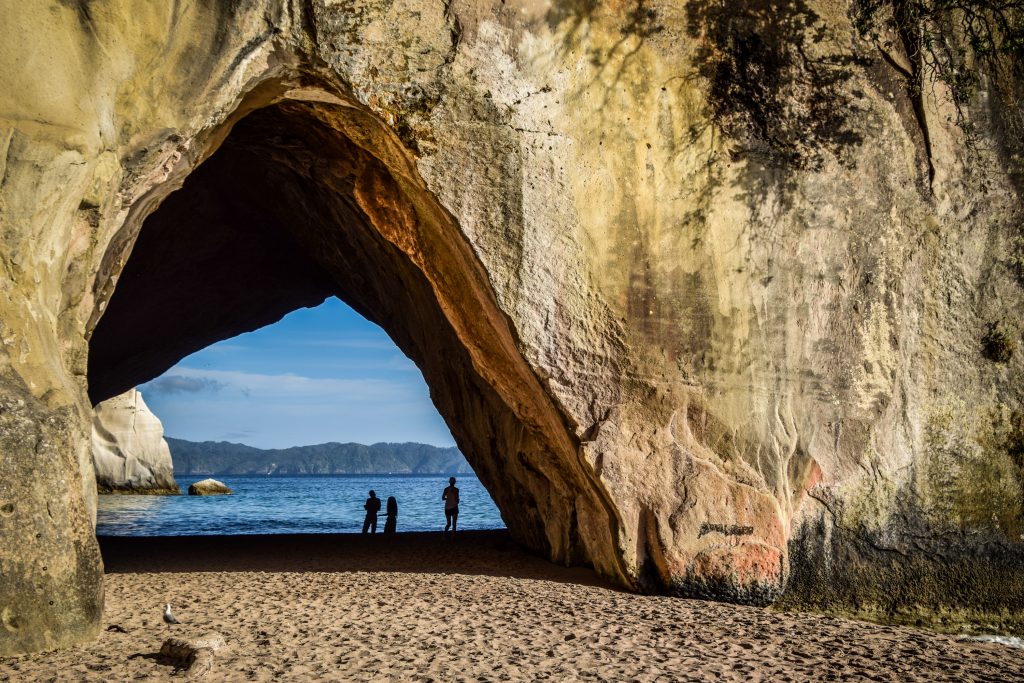
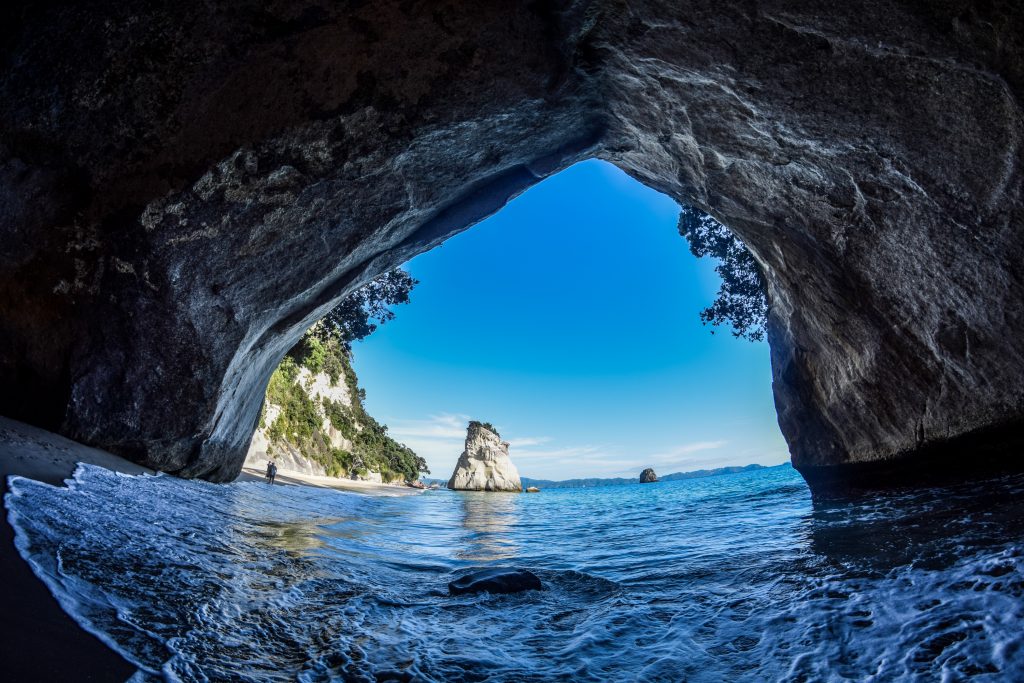
Cathedral Cove, Coromandel
Famous arch at Cathedral Cove from one side…
Cathedral Cove, Coromandel
…from the inside…
…and from another side
Cathedral Cove, Coromandel
Rock formations in the cove
Cathedral Cove, Coromandel
Beach and rock with the arch at Cathedral Cove

Day 2 – Shakespeare Cliff Lookout, Otama Beach, Opito Bay, Waiau Falls, Kauri Grove, Coromandel Town

The second day is fully focused on nature. You will reach remote beaches but also waterfall as well as majestic kauri trees – a cornerstones of the original forests of the North Island.

Shakespeare Cliff Lookout

Scenic reserve located between Cooks Beach and Flaxmill Bay. A very short walk rewards with memorable views of Mercury Bay. You may also spot a cairn that records the arrival in 1769 of the HMS Endeavour under the command of James Cook.

Otama Beach and Opito Bay

Both spots are accessible via Black Jack Road. It’s mostly unsealed but in a good shape so no problems at all with driving a campervan. The long stretch of Otama Beach comes first. Walk around and enjoy remoteness while listening to the sounds of the ocean.

If you continue driving further along a winding road, you will finally arrive at Opito Bay. Here, I recommend you to do exactly the same as at Otama Beach.
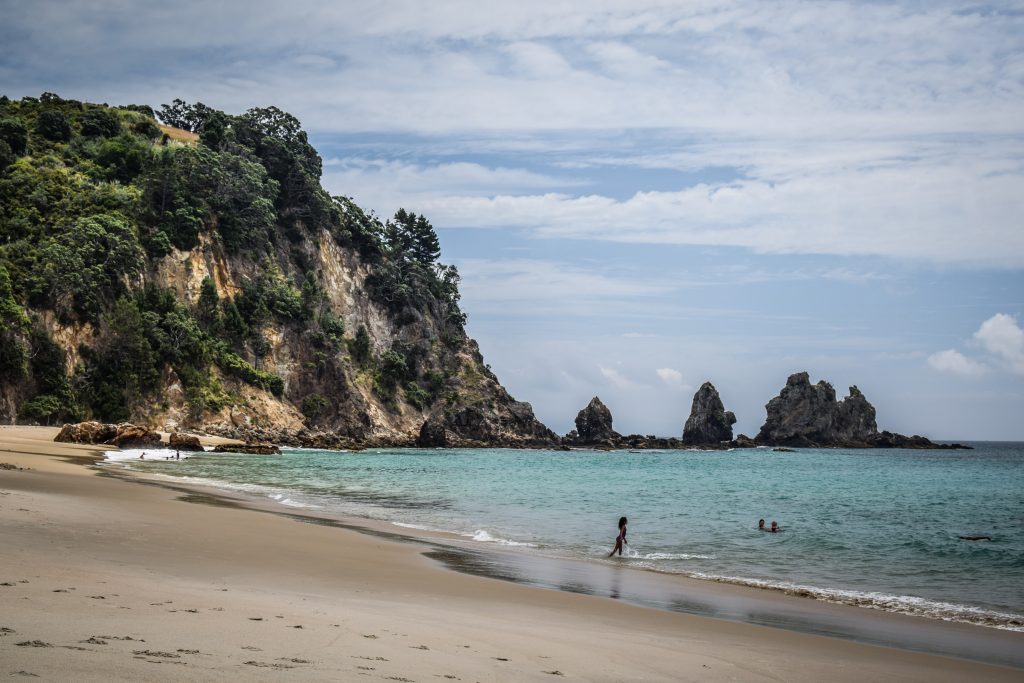
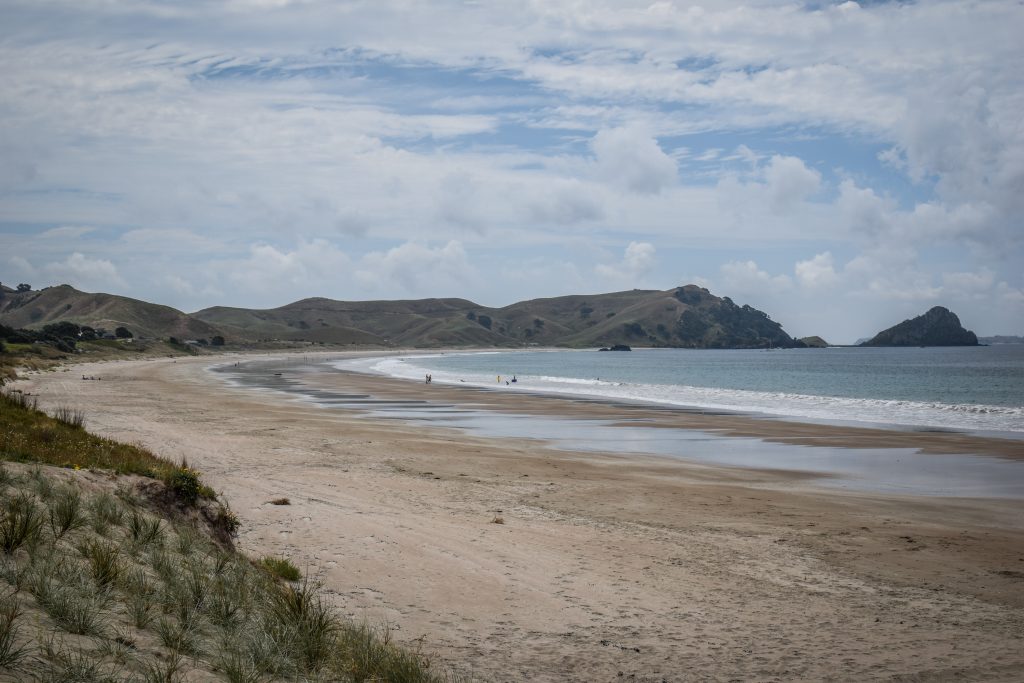
Coromandel Pennisula, New Zealand
Otama Beach
Opito Bay
Coromandel Pennisula, New Zealand
Opito Bay

Waiau Falls and Kauri Grove

Both attractions are located on Road 309 so you need to drive back from Opito Bay towards Kaimarama and then take a turn to Waiau. After half an hour, there will be parking next to Waiau Falls. It’s only 10 metres high but still a very nice place for a quick stop.
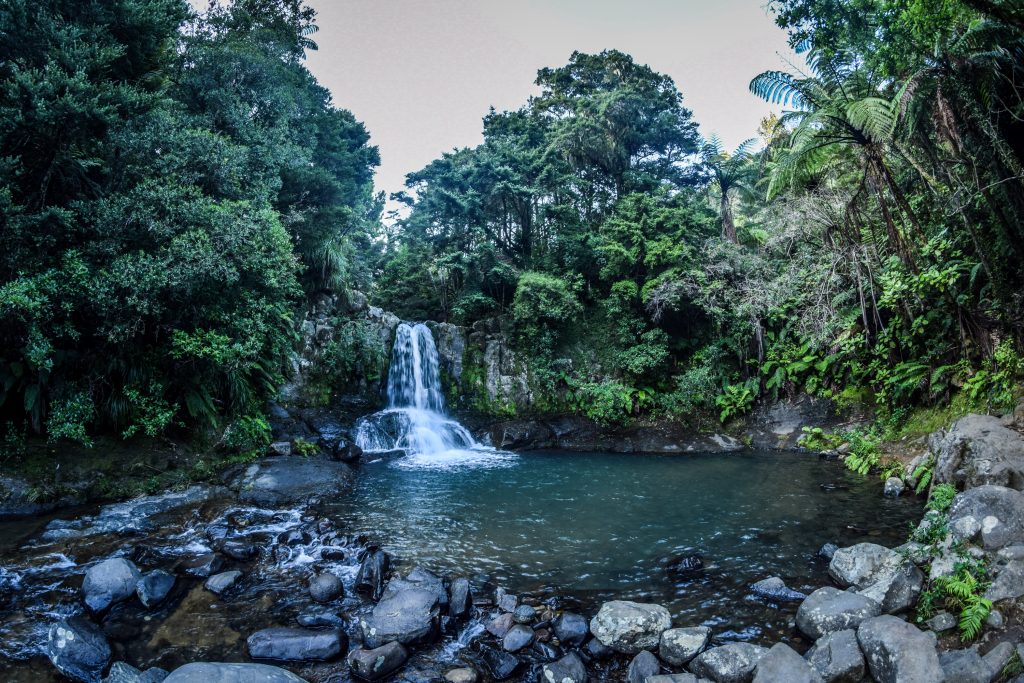
Waiau Falls

From there, is about 10 minutes hike to kauri grove which was probably the highlight of the day. I had never seen this kind of trees before and damn, I was impressed. Just imagine that back then, the whole Coromandel Peninsula was covered by such a forest! The oldest trees are 600 years old and have about 6m circumference.

Kauri trees are a cornerstone of the original forests of the North Island. They are one of the longest-living tree species in the world as well as the largest.

Tane Mahuta with a diameter of 4.6m and height of 52m is the largest kauri tree still standing. It is estimated to be between 1200 and 2000 years old. You certainly shouldn’t miss seeing it when travelling through Northland.

Kauri timber was used by Maori for a very long time, especially for builduing boats and houses or carving. The gum was used as a fire starter and for chewing.

The arrival of Europeans brought the decimation of these magnificent forests. The mature trees were felled to fulfil the high demand for sawn timber of unsurpassed quality for building. The gum was obtained through digging, fossicking in treetops, or more drastically, by bleeding live trees. Finally, more forest was cleared as demand for farmland.
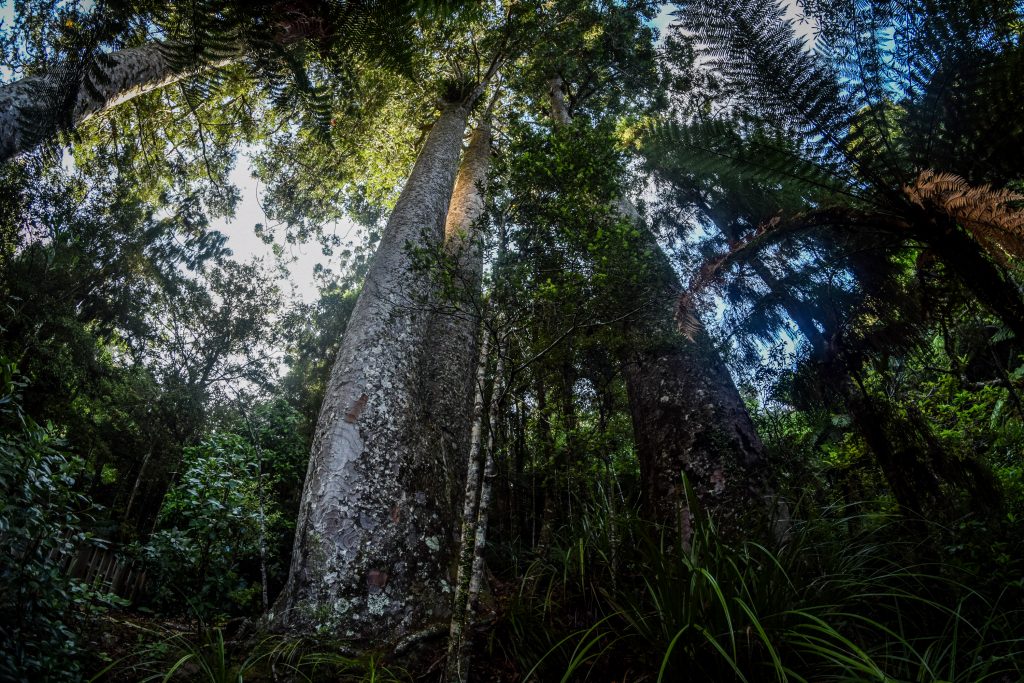
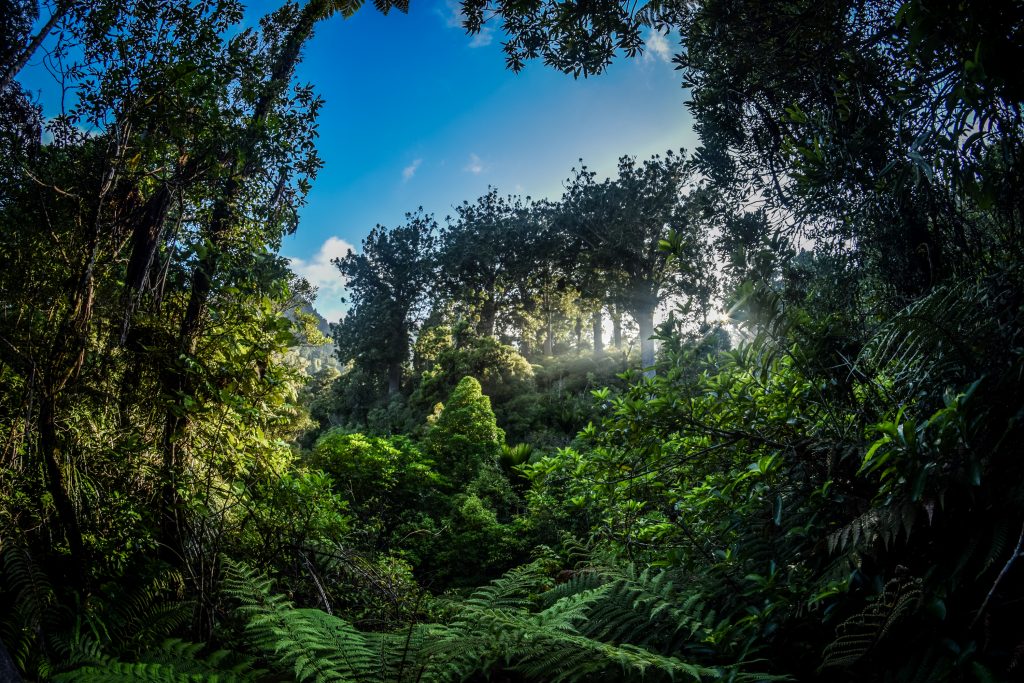
Coromandel Pennisula, New Zealand
My first time to admire kauri trees!
Coromandel Pennisula, New Zealand
Fantastic forest walk at Coromandel Peninsula

Coromandel Town

The discovery of gold in the 1860s resulted in an establishment of settlement that quickly grew to over 10.000 inhabitants. Have a walk around the town admiring the Victorian architecture and finish the day with fish & chips and sunset view at Mcgregors Bay.

Mining & Historic Museum located in the historic Coromandel School of Mines building presents the life of mining and its impact on a small town so you may want to visit it in the morning if you are interested.

Coromandel, New Zealand
Architecture in Coromandel Town

Alternative: night in Port Jackson / Fletcher Bay

A very scenic road goes from Coromandel Town to the very top of the peninsula. It’s about 60 km but you have to count at least 2 hours to get there. The road is gravel and very shaky, so I felt a bit insecure while pushing my campervan to its limits already in a first week. I arrived at Macdonald Recreation Reserve, which is more or less halfway and made a decision to turn back.

Nevertheless, if you decide to proceed further, coastal views will certainly take your breath away. It makes sense to drive in the afternoon, stay for the night in one of DOC’s campsites in Fletcher Bay or Port Jackson and come back to Coromandel Town the following day in the morning.

Hiking enthusiasts will be happy as Coromandel Coastal Walkway (3 hours one-way) links Fletcher Bay with Stony Bay and provides fantastic views.

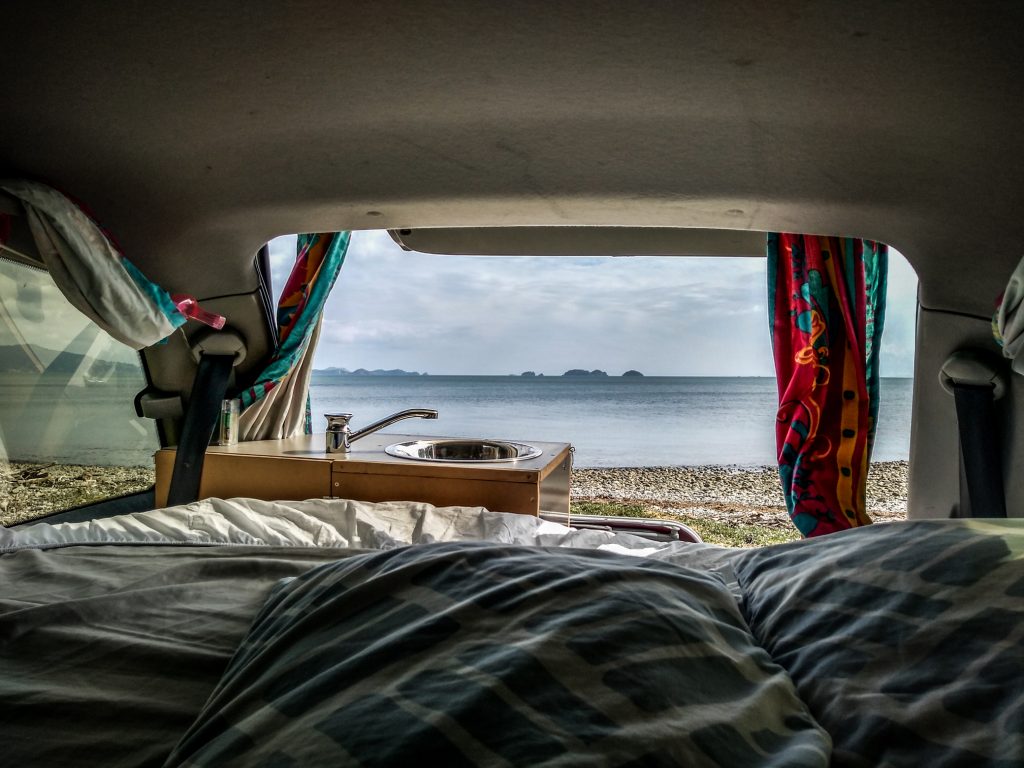
Coromandel Pennisula, New Zealand
Short rest in Macdonald Recreation Reserve
Coromandel Pennisula, New Zealand
Could easily have a nap here!

Day 3 – Thames, Pinnacles

The highlight of the last day at Coromandel Peninsula is without doubt a hike to the Pinnacles. But before you head towards Coromandel Forest Park, dive into the gold rush times at well maintened Goldmine Experience in Thames.

Thames

Currently, it’s the largest city on Coromandel Peninsula but back in time, it was even the second-largest city in New Zealand. As usual, all because of the gold rush. At that time it was discovered in the lower Kauaerange valley. Two smaller settlements (Shortland and Grahamstown) were founded to support mining in the early 1860s and later on merged into one forming Thames.

Visit in Goldmine Experience was worth the time and money as it was completely different than modern mine in Waihi. The staff is lovely too and they will certainly tell you more about the story of that place. Wear a helmet to walk through the tunnel and have a look at still working stamper battery in action. It’s really noisy but no worries, you will get ear protection.

School of Mines & Mineralogical Museum is another historical spot on the map of the city. I decided to skip it though as minerals aren’t that interesting for me and the main plan for the day was a hike to Pinnacles.
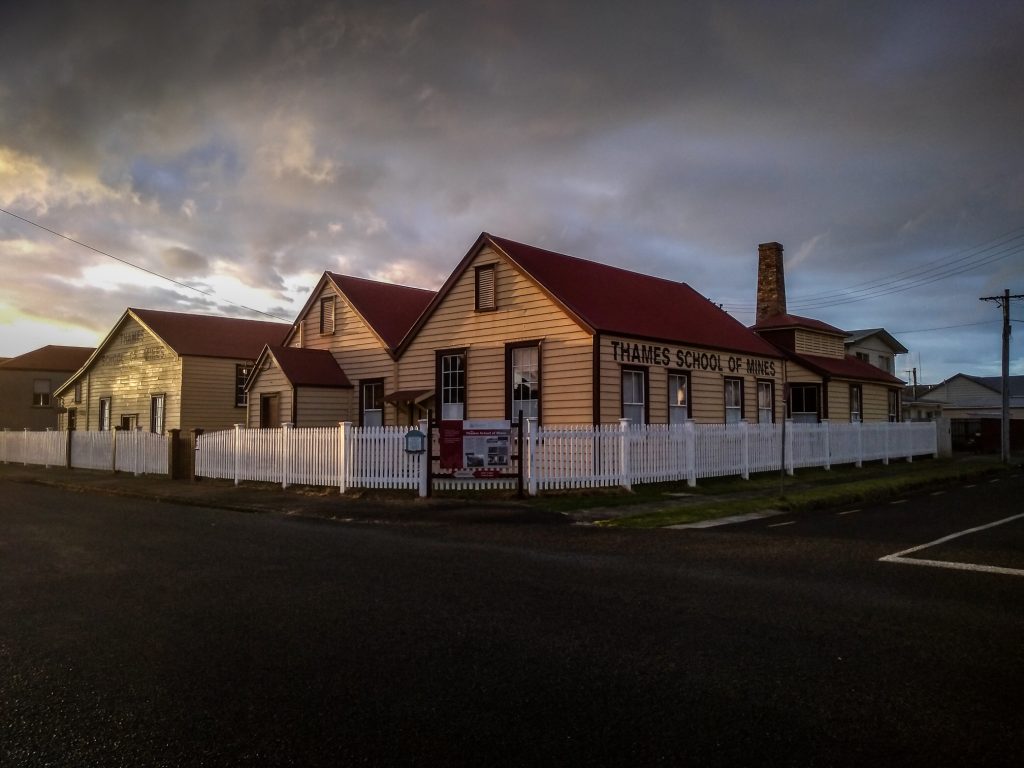
Coromandel, New Zealand
School of Mines & Mineralogical Museum

The Pinnacles Track

After a quick stop in Pak’n’Save to stock with food, I moved on towards Coromandel Forest Park and Kauaeranga Valley. From visitor centre (you may want to ask for maps or weather conditions) it’s another couple of minutes on unsealed road to the parking and start of the hike.

Official timing says it’s 3 hours one way to the hut and another 30-40 minutes to the summit. If you are in a good shape, it’s perfectly doable to reach the hut in about 2 hours. But as always, better assume more and take it easy.

The Pinnacles Track follows the route used by packhorses when carrying supplies for loggers, gum diggers and gold miners who worked in the area during the early 1900s.

First kilometres are rather moderate but the track goes continuously up at some point you may get tired. After reaching the trails junction, you can either continue on the Webb Creek Track or the Billygoat Track. The best and the most popular scenario is to take Webb Creek Track for ascent and then descent following Billygoat Track. That’s exactly what I did as well.

The views are getting better and better the higher you go and the last section will take you to The Pinnacles Hut. It’s a popular overnight place and indeed it must be nice to admire night sky in such a place. I didn’t have a reservation so had a quick lunch instead and then made a final push to the summit.
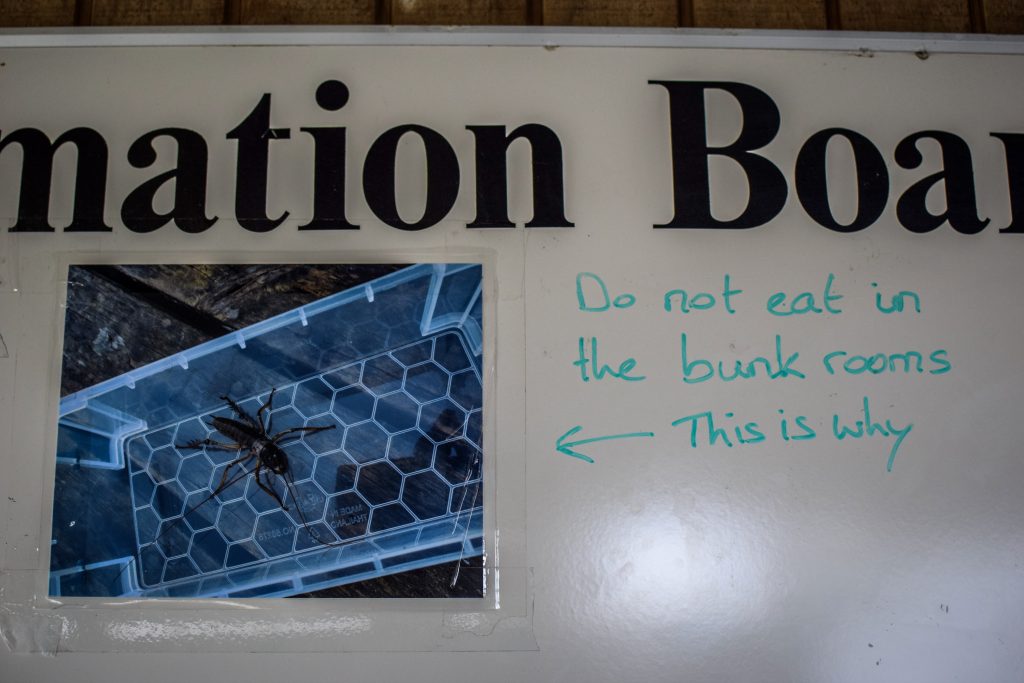
Very clear message from the staff working in The Pinnacles Hut

The summit seems to be very close but it is a tough ascent, first on the wooden stairs and later on a metal ladder attached to the rocks. Stay focused but don’t forget to look around – that views are the main reason of coming here after all 🙂 Once on the summit, you should feel great satisfaction.

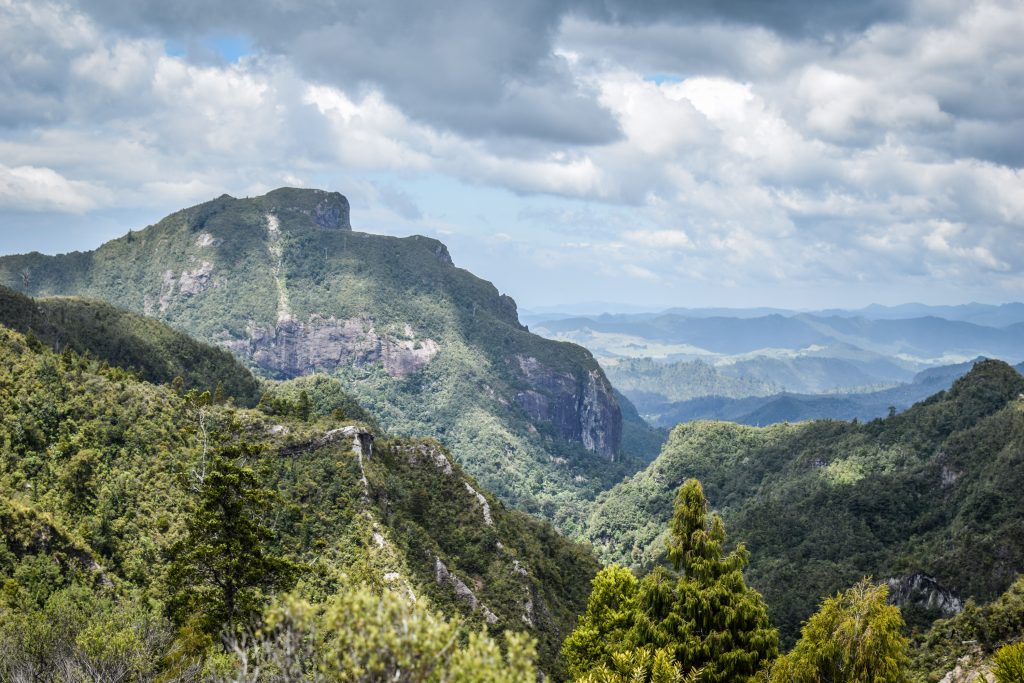
The Pinnacles, Coromandel
The weather was perfect – warm but with some clouds providing shadow
Panorama of the Pinnacles
The Pinnacles, Coromandel
The hike there and back should take between 6-8 hours

I descended back towards the Pinnacles Hut and then continued all the way to the same trail junction as before, but that time I chose Billygoat Track, finally arriving at the parking where I left my van.

That’s all about the trip to the Coromandel Peninsula. It was a wonderful time packed with beautiful places, history and scenic hikes. I hope you will enjoy it too. And if you have a question, don’t hesitate to leave a comment.

Cheers!

Probably I wouldn’t come to Tauranga if it wasn’t the place where I had to pick up my campervan. I was super excited because it was supposed to be my vehicle and home for the next several weeks. The plan was simple. Finish all formalities quickly and spend the rest of the day exploring the town!

How did I find a car in Tauranga? Well, it was before I even departed to New Zealand. At my boring job, I had enough time for browsing websites of rental companies, reading blogs and articles from other travellers. This is how I came across Kiwi Road Trips and checked their offer of self-contained vans.

After another week of thinking about all pros and cons, I made my mind that it’s the most convenient and affordable way to have my own 4 wheels for a longer period of time. It comes with guaranteed buy-back so I didn’t have to worry about looking for buying in April, which is already after peak season. Karen and Pete explained to me all formalities and we set the date for pick up.

Don’t you worry – there will be a separate article describing all the options that travellers have for renting or buying a car in New Zealand. Stay tuned. Meanwhile, let’s focus on Tauranga.

How to get to Tauranga?

Intercity has a bus network all over the country and they have good deals too. You can buy hours-based travel passes and that should be fine to visit the most popular travel destinations. Needless to say, places that are off-the-beaten-track will be difficult to reach and very often it’s possible only with your own vehicle.

Nearby airport isn’t too busy but there are daily flights to and from Auckland, Wellington or Christchurch.

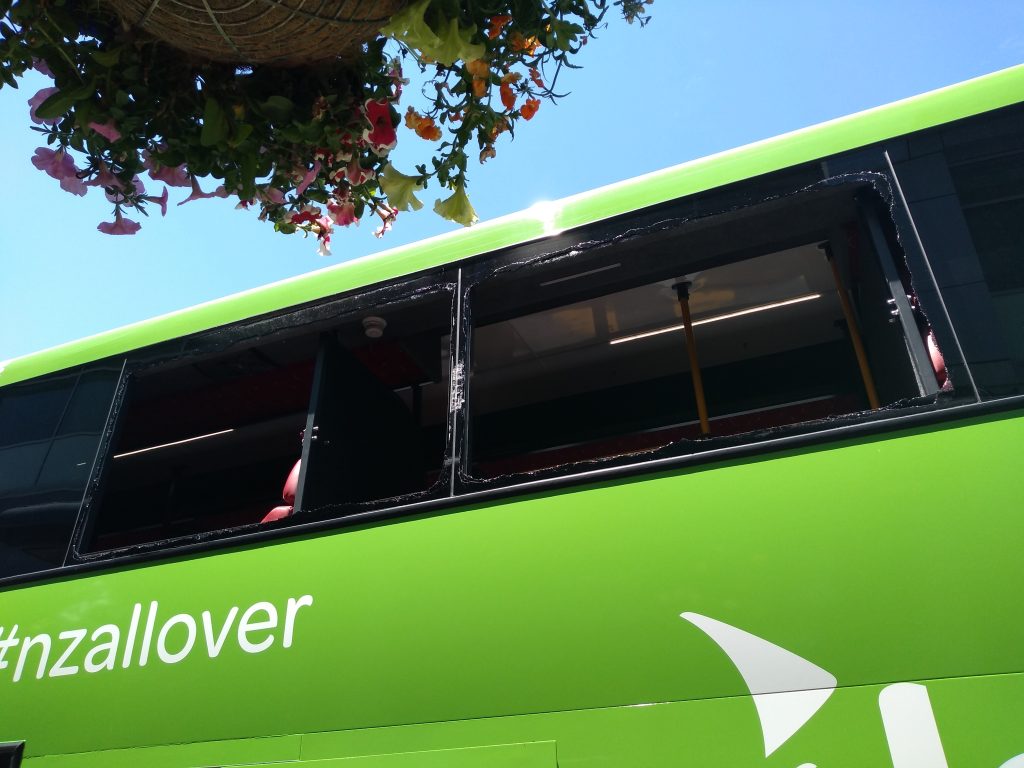
I will describe the bus trip a bit more because I must say, it was quite entertaining. I boarded the bus in Auckland and everything was fine until on one of the turns it hit the wall of rocks with its left side. Not very hard, but everyone could feel a bump and small pieces of glass were all over the floor. A window was broken. The driver stopped, checked the damage and called the company. The window was still there, just a bit broken. Unfortunately, it could fell apart anytime creating the risk for passengers and other drivers. The solution to the problem was very practical and kiwi style. The driver took a broom, smashed remaining parts of the window, told everyone to move to the front of the vehicle and that was it. We continued the journey to Tauranga, just without 2 windows on the side of the bus. At least we couldn’t complain there wasn’t enough fresh air. Such situations certainly don’t happen too often to stay chilled!

I was picked by Karen from Kiwi Road Trips at the bus station and after signing documents, it was time to drive out on kiwi roads.

1-day itinerary

Tauranga is the largest city in the Bay of Plenty and one the biggest in the country. Location is very convenient for further exploration of North Island, with Rotorua, Taupo and Tongariro National Park being a short drive away. The city centre isn’t as popular as beachside suburbs – Mount Maunganui or Papamoa. But you know me guys, I always want to see everything so here is where I started.

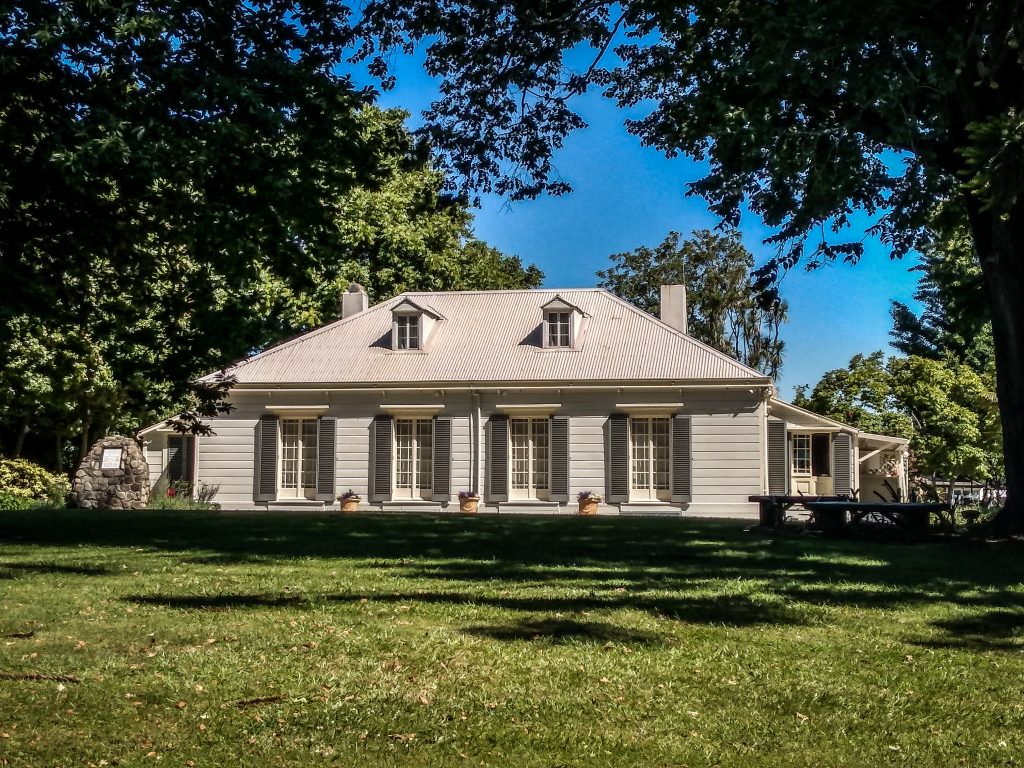
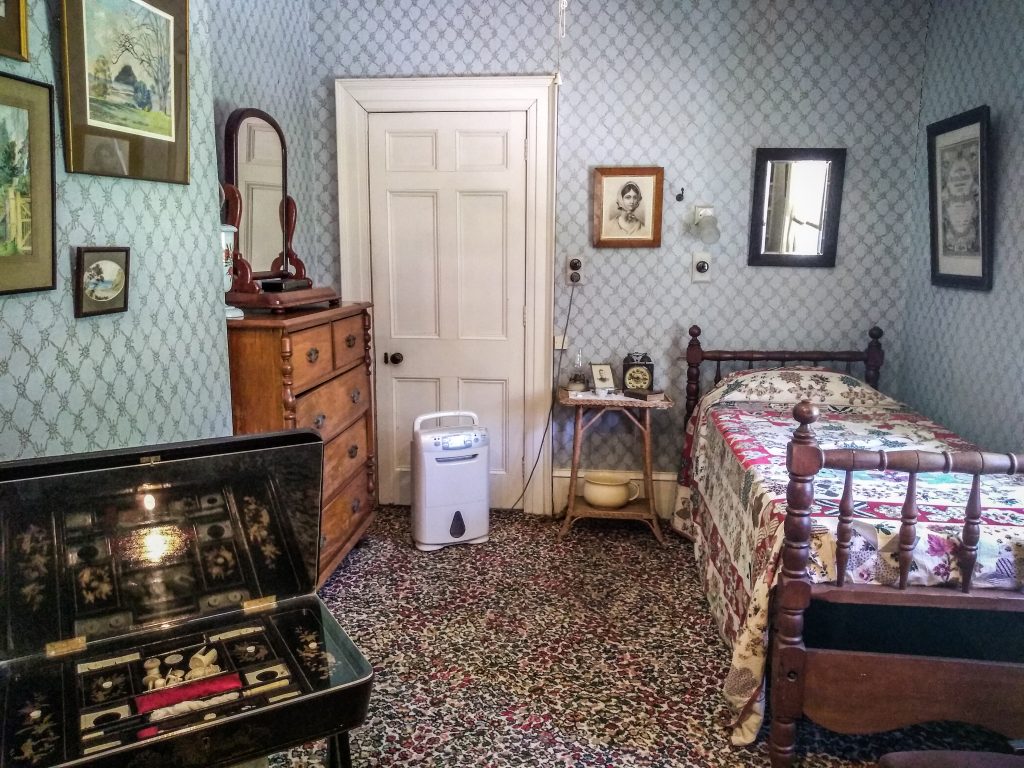
The Elms – Anglican mission was established here in 1838 by priest Alfred Nesbit Brown and the first buildings in the Bay of Plenty were constructed, initiating regular contact between Maori and Pakeha (white people). Brown worked hard, preaching even in the most remote settlements. Unfortunately, after the war, soldiers settled on the land previously occupied by Māori and the mission declined.

The guide was an absolute highlight of the place. So passionate and dedicated! Even though the entrance ticket isn’t cheap (15 NZD for international guests), it’s a solid part of New Zealand history and shouldn’t be missed.

Mission Cemetery – Visiting the memorials commemorating battles between Maori and British government forces is a great continuation to the visit at the Elms mission house.

Tauranga, New Zealand
Mission house in Tauranga
Tauranga, New Zealand
Inside the mission house – guided tour is great!

Monmouth Redoubt – Another memorial place. Maori fortified village (called pa) Taumatakahawai, used to stand here until it was taken over by British forces during the wars to stop the flow of warriors and support for Maori chiefs.

Tauranga Art Gallery – exhibitions of contemporary works. I’m not a fan of such, so gave it a miss but it does have good reviews so you may want to consider it in your itinerary.

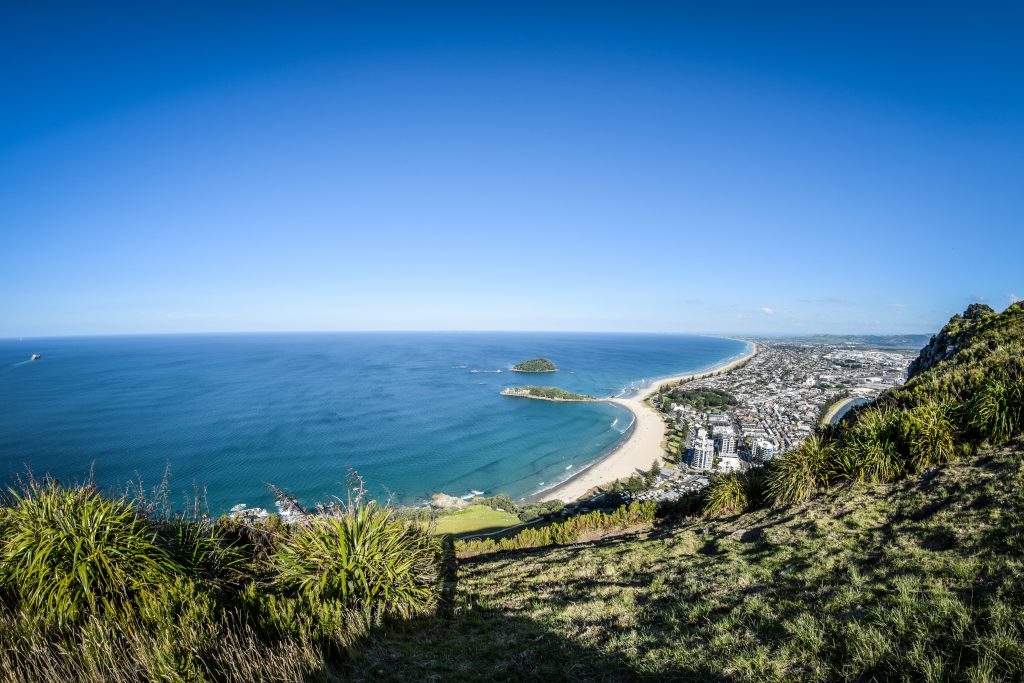
After seeing the most interesting sights in Tauranga, I got into my car and drove to the nearby beachside suburb of Mount Maunganui. It’s hard to miss an extinct volcanic cone at the end of peninsula seen from the distance and that was exactly where I was heading. Maunganui means big mountain but let’s say that with the elevation of 232 m a.s.l. the name is rather overexaggerated.

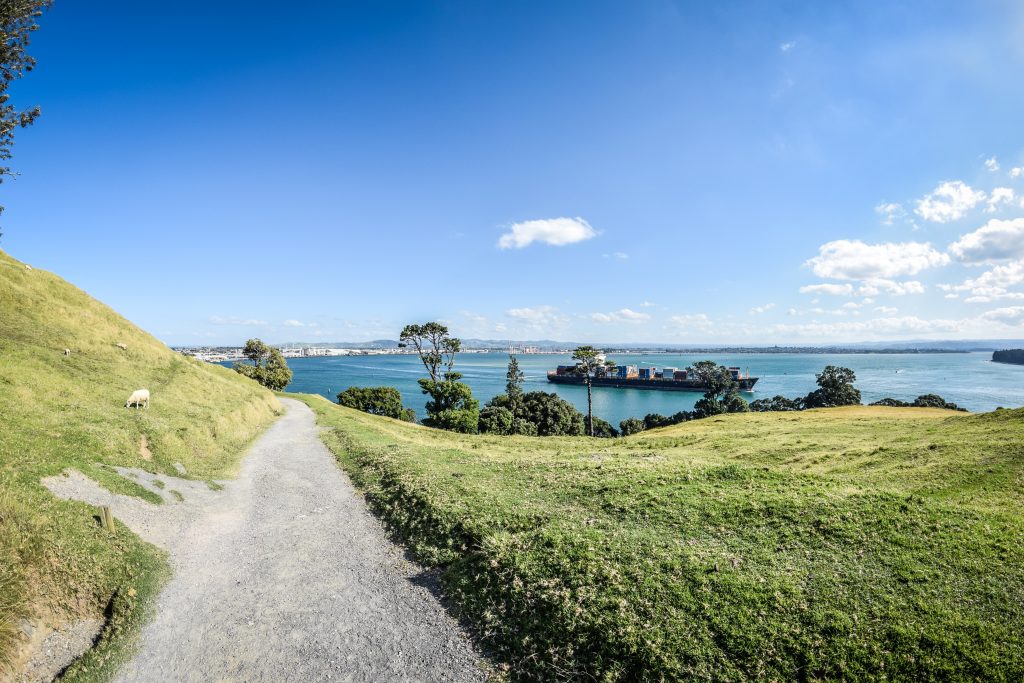
Mauao Reserve – There has been evidence of three fortified villages (pa) on top of and around Mauao making it an important and sacred site for Maori. Several walking paths run in the area, the most popular being the summit walk. You would need about 35-50 minutes to get to the top and it can be done following Oruahine Track, Waikorire Track or 4WD Track. Check the map here. It’s quite steep and more tiring than it looks like but the views are nice, especially in the direction of the ocean. The base track around the mountain is popular as well and it’s 3.4 km long, taking about 45 minutes to complete.

Tauranga, New Zealand
Views nearby the summit of Mount Maunganui
Path to the summit in Mauao Reserve

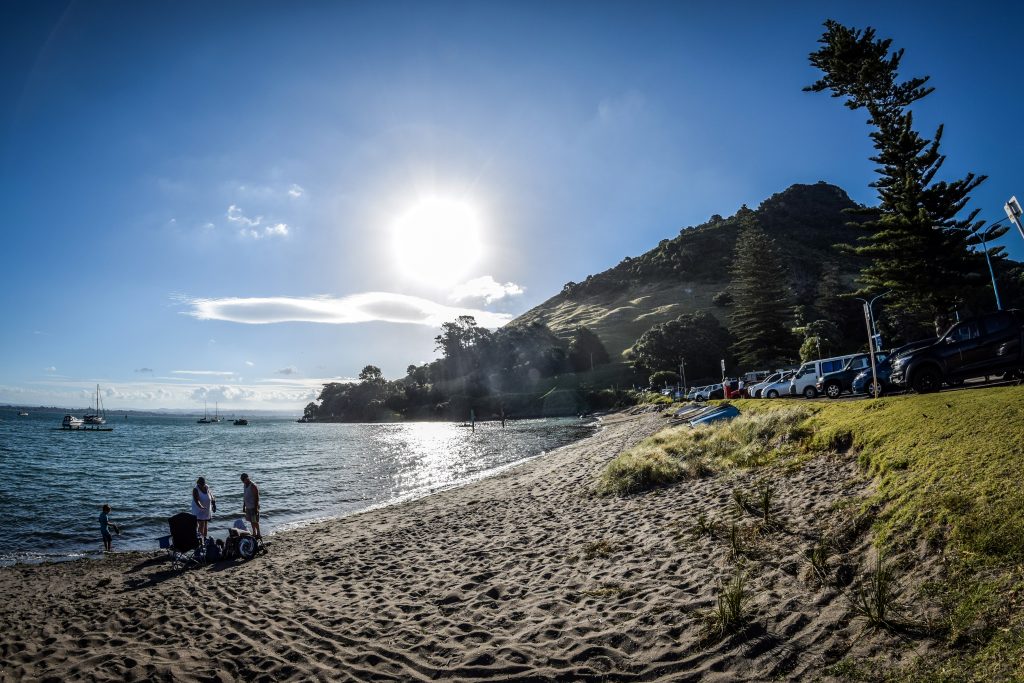
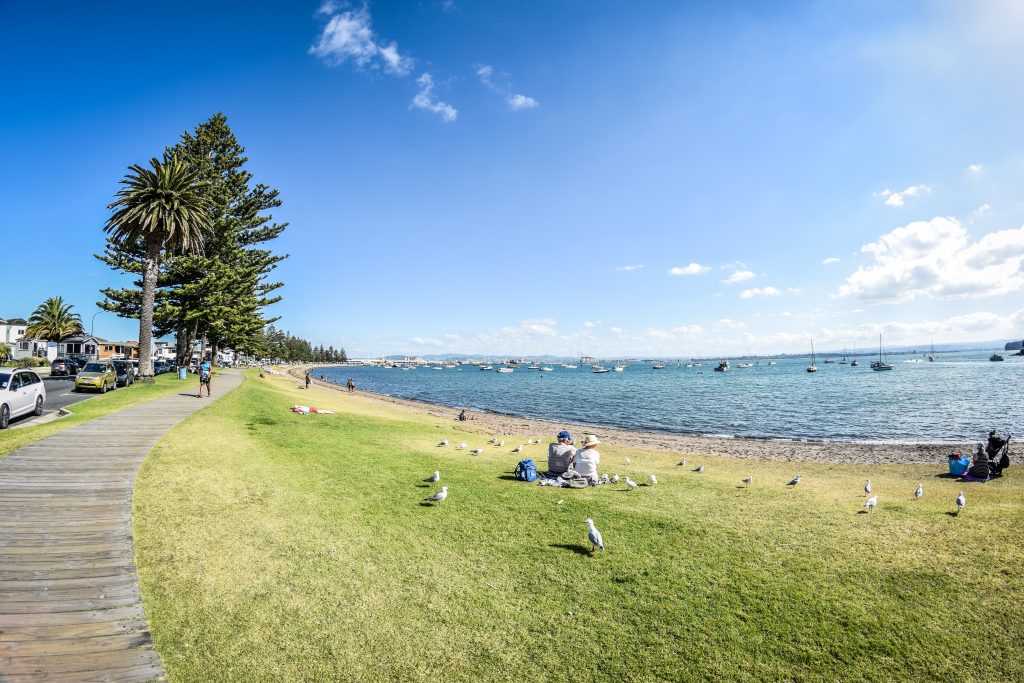
Main Beach and Pilot Bay Beach – The first one is on the side of the ocean, which makes it very popular among those looking for bigger waves. There is also Moturiki Island easily accessible from the beach. The second one is located on the side of the bay and is usually much calmer and better for kids.

Tauranga, New Zealand
Pilot Bay Beach
Tauranga, New Zealand
Pilot Bay Beach

Mount Hot Pools (optional) – Located just at the feet of Maunganui. The bath in hot saltwater doesn’t sound bad and certainly will help you to recover energy after a full day of sightseeing.

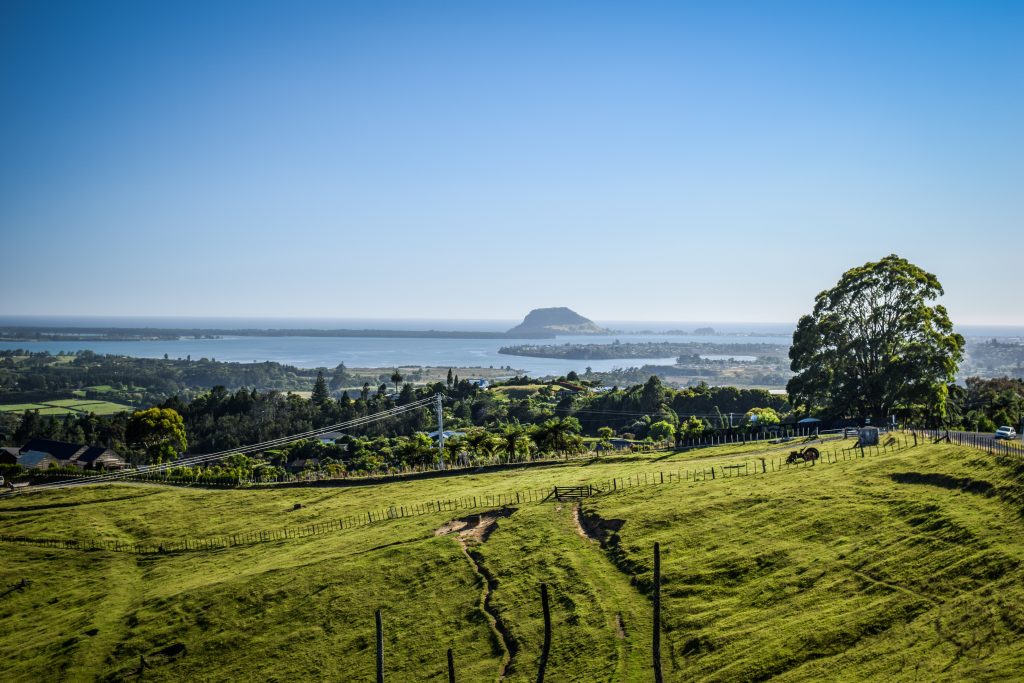
Minden Lookout – Being located about 13 kilometres from the city centre, it was my last stop for that day. The easiest is to follow State Highway 2 and then turn left into Minden Road in Te Puna. Wide panorama of the Bay of Plenty is certainly worth extra kilometres.

Tauranga, New Zealand
View to Mount Maunganui from Minden Lookout

From there, it was time to stock up with groceries so I made my way to Pack’n’Save. It has the opinion of being the cheapest supermarket in New Zealand and they also have discounts for fuel which is another benefit for road trips.

Karen and Pete recommended me to stay the first night in the campervan at McLaren Falls, 190 hectares of parkland set alongside Lake McLaren. Parking for campervans costs 10 NZD and it was indeed a very nice place in nature with clean toilets, sink and electric grills.

Waiheke was my second island escape from big city life in Auckland. Fantastic beaches, watersports, hiking, fishing, wineries. It seems that Waiheke has it all and it would be really difficult to be bored there. How lucky Aucklanders are to be surrounded by such places!

How to get to Waiheke?

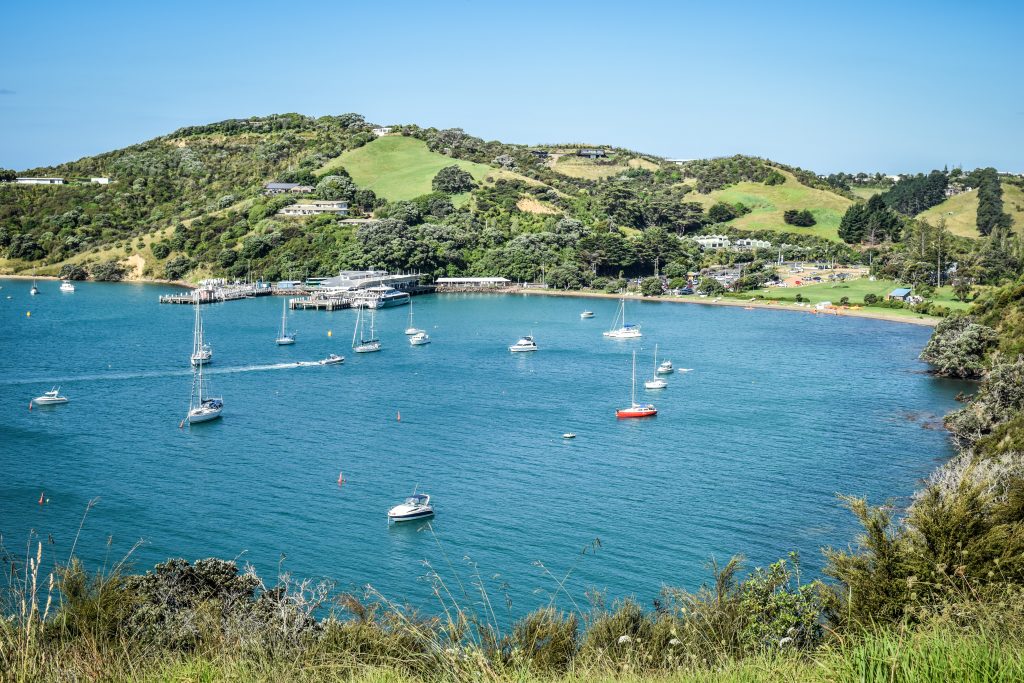
The island can be easily accessed with the same operator that took me to Rangitoto and Motutapu Islands before – Fullers 360. The ferry ride from the Auckland City Centre takes around 40 minutes and costs 42 NZD for the return trip.

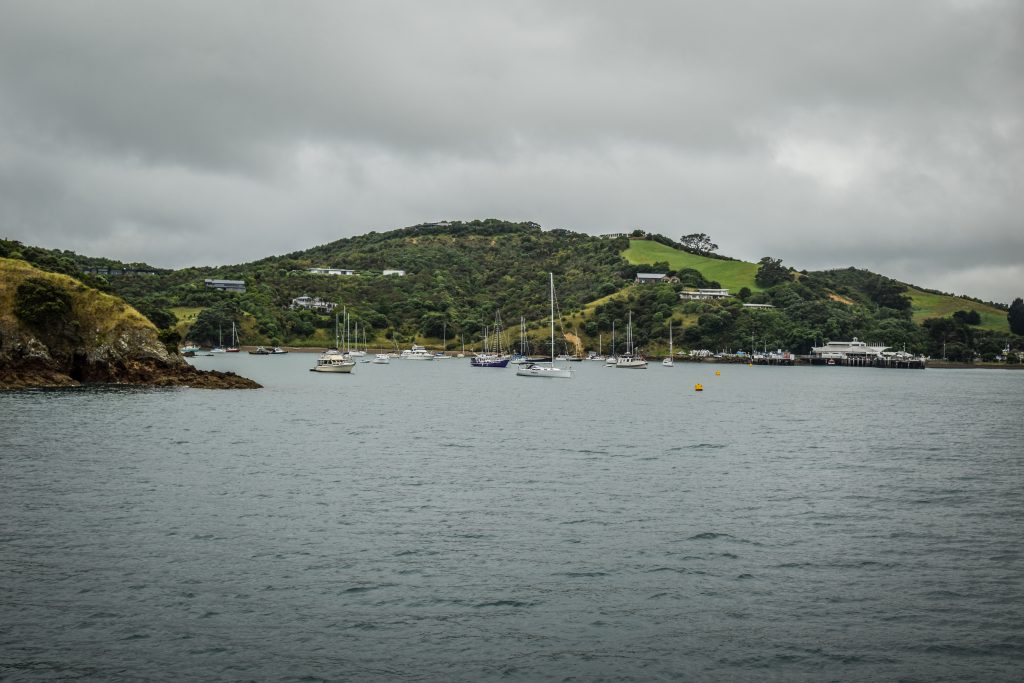
Waiheke Island, New Zealand
Approaching ferry terminal in Matatia Bay

How to get around?

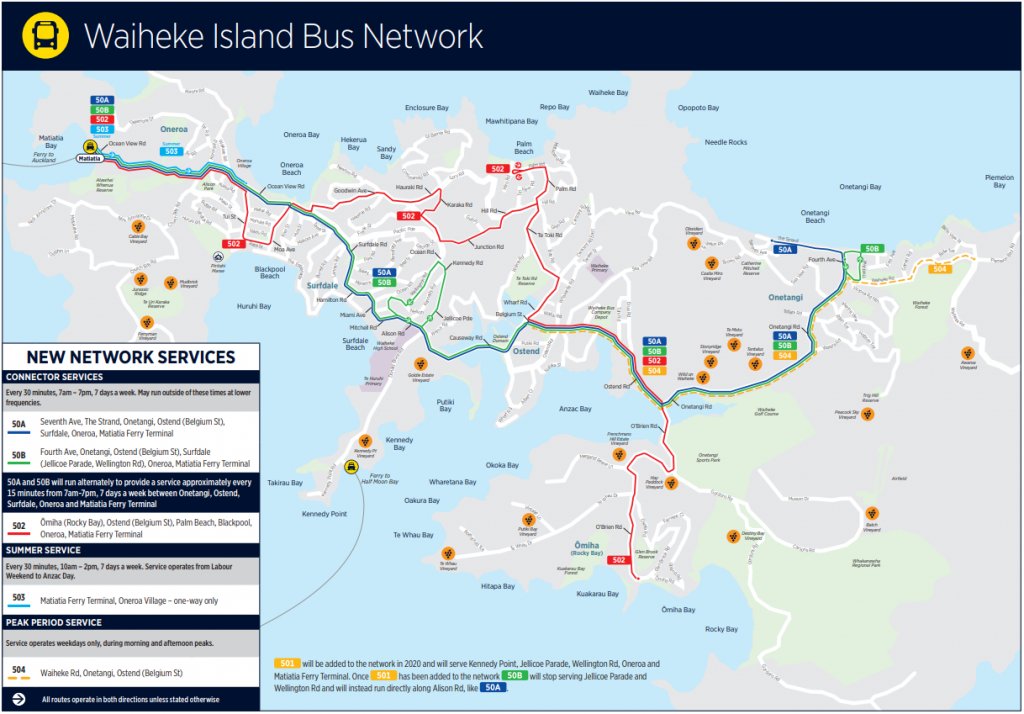
After arriving at the ferry terminal at Matatia Bay, I purchased one day ticket for public bus service. It costs around 10 NZD and takes people to various locations on the island with plenty of stops on the way.

waiheke map
Source: https://www.tourismwaiheke.co.nz/

There is also a more expensive alternative of HOP-ON HOP-OFF bus served by Fullers 360. It’s more like a tour bus that has set stops limited to the attractions and wineries. Combined ticket including return ferry ride plus the bus costs 68 NZD. Unless you want to reach a place that is beyond public bus service and on the other hand is included on the route of HOP-ON HOP-OFF, I don’t see the benefit of choosing that option.

Another means of transport include bicycles, scooters, rental cars or taxis.

One day itinerary

The first ferry from Auckland to Waiheke was scheduled at 8 AM and to have as much time as possible on the island, I was obviously on board. The morning seemed to be very cloudy but shortly after arrival at Matatia Bay, the sun was already burning my neck. I didn’t repeat the mistake from Rangitoto and that time I immediately put a sun cream all over my exposed skin.

I purchased a daily ticket for public bus service and boarded line 502 heading towards Rocky Bay. The driver seemed to be surprised that I’m going there and for a short moment it made me hesitate. Luckily, I didn’t change my mind. The less popular the place the better!

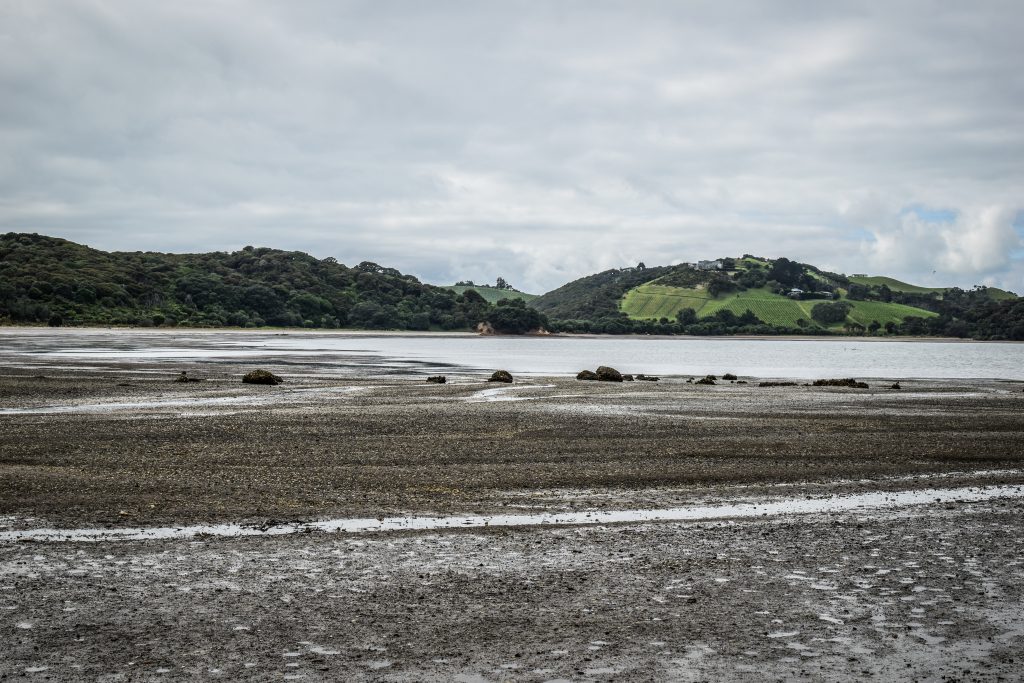
The reason why I wanted to go there was Whakanewha Regional Park. The place was absolutely awesome and probably I could spend the whole day just here, hiking all the tracks. It was still some time before high tide and the ocean looked like a bigger pool a few hundred meters from me.

Waiheke Island, New Zealand
Low tide at Rocky Bay
Waiheke Island, New Zealand
Whakanewha Regional Park has a lot of hiking tracks

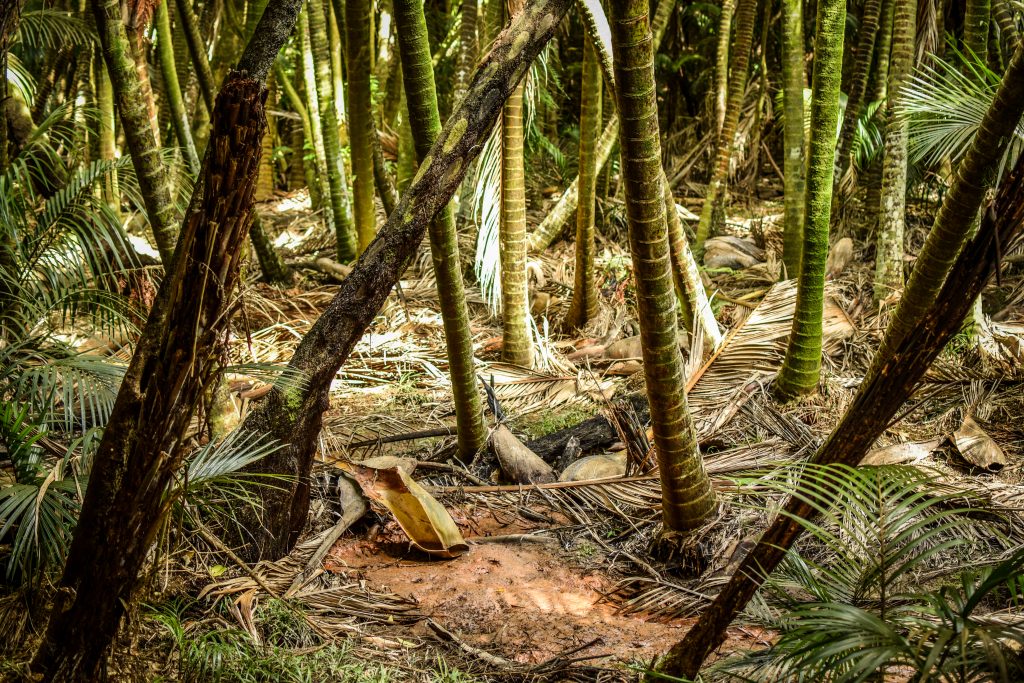
I followed Dotties Lane Track first, then completed two small loops: Rua Loop Track and Pa Look Track. In the end, I couldn’t resist going all the way to Cascades Stream with waterfalls, following Nikau Track that later joins Tarata Track. All of them were excellent hikes in a completely new type of forest for me. At least back then, because the next 3 months in New Zealand brought even more natural surprises. People don’t even call it a forest here. It’s a bush. Bush full of ferns, palms and birds singing all over the place.

Waiheke Island, New Zealand
Nature at its best!
Waiheke Island, New Zealand
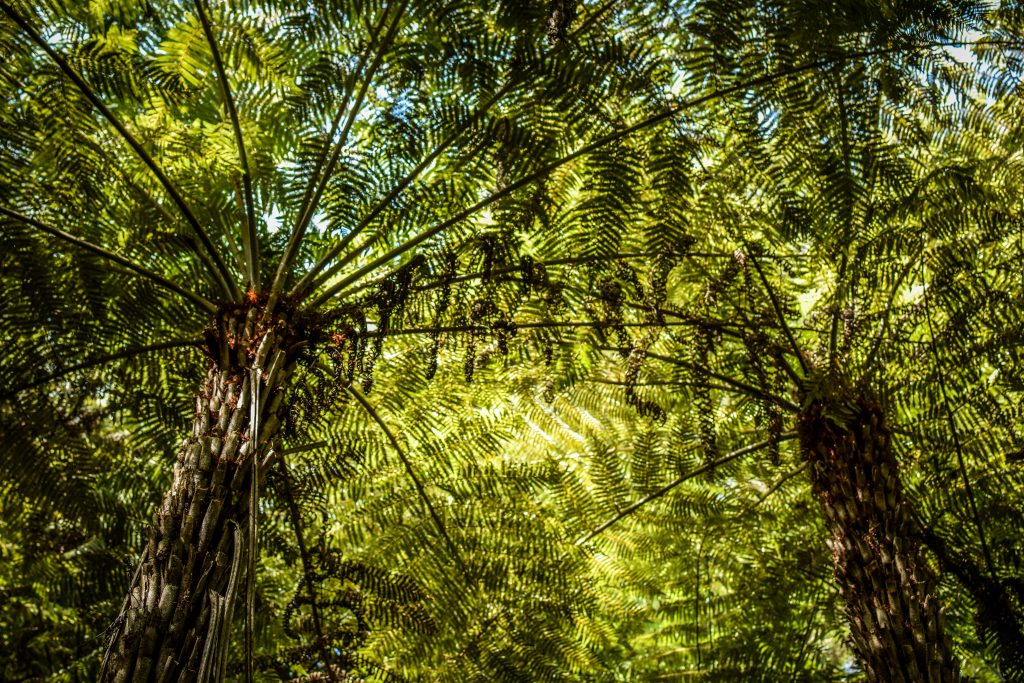
Feels like walking under huge umbrellas
Waiheke Island, New Zealand
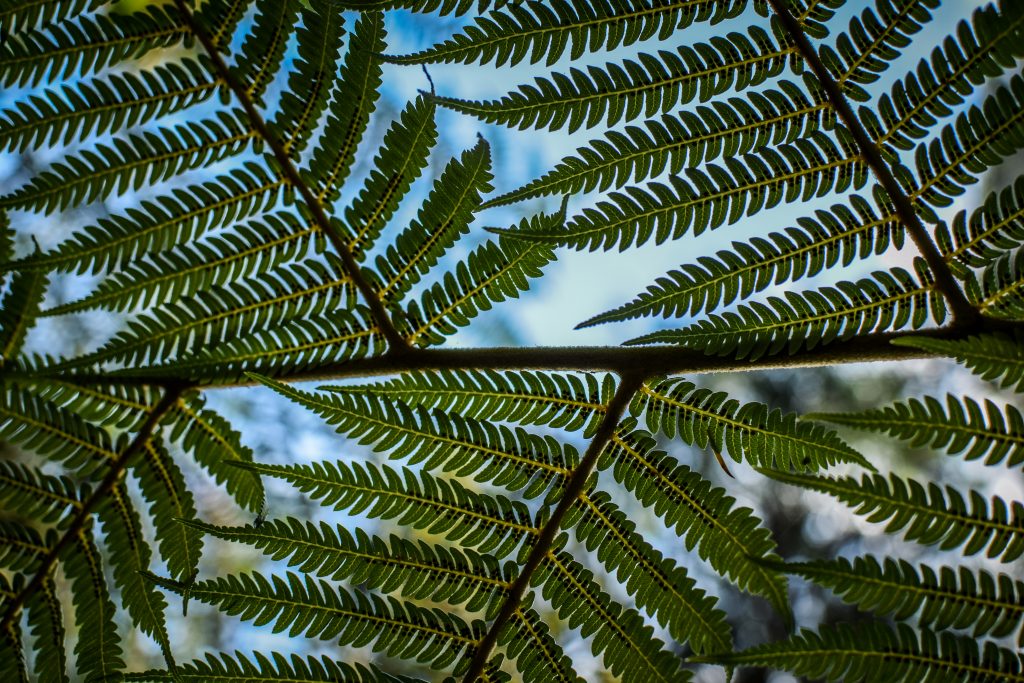
Fern leaf in a symbol of New Zealand

The visit to Whakanewha Regional Park took me around 2-3 hours. You can check out the detailed map of the place published on the Auckland Council website.

My next destination was Onetangi Bay and due to peak hour, all buses seemed to be full of tourists. Google maps shown it was just around an hour walk to get there, with the chance to visit Waiheke Museum on the way, more or less following Waiheke Cross-Island Walkway. Why not? 🙂

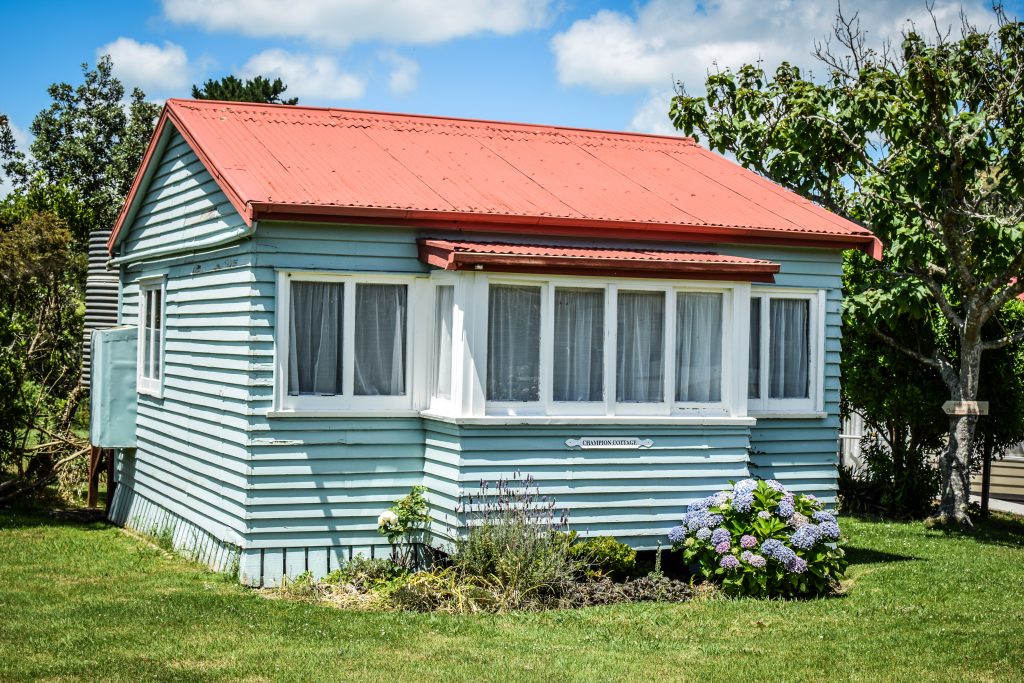
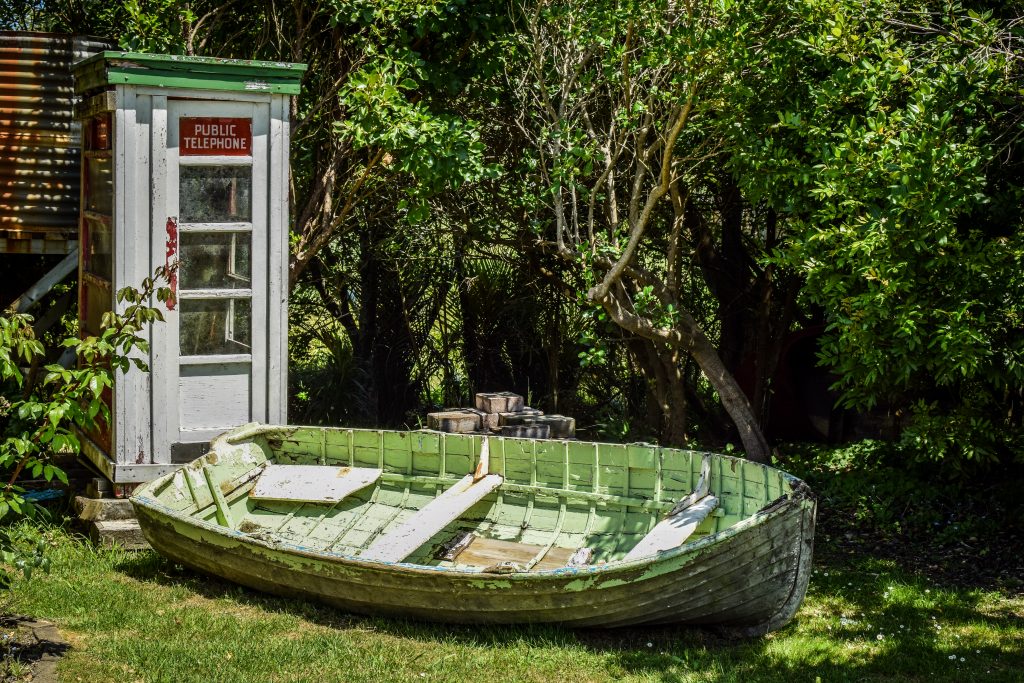
There is a reconstructed woolshed with exhibits, old cottage, three bach-style houses, telephone exchange and building of the jail. It’s a really nice place to understand the history of the island. Entry by donation.

Waiheke Island, New Zealand
Old cottage in Weiheke Museum
Weiheke Island, New Zealand
Weiheke Museum is a good short stop along the way

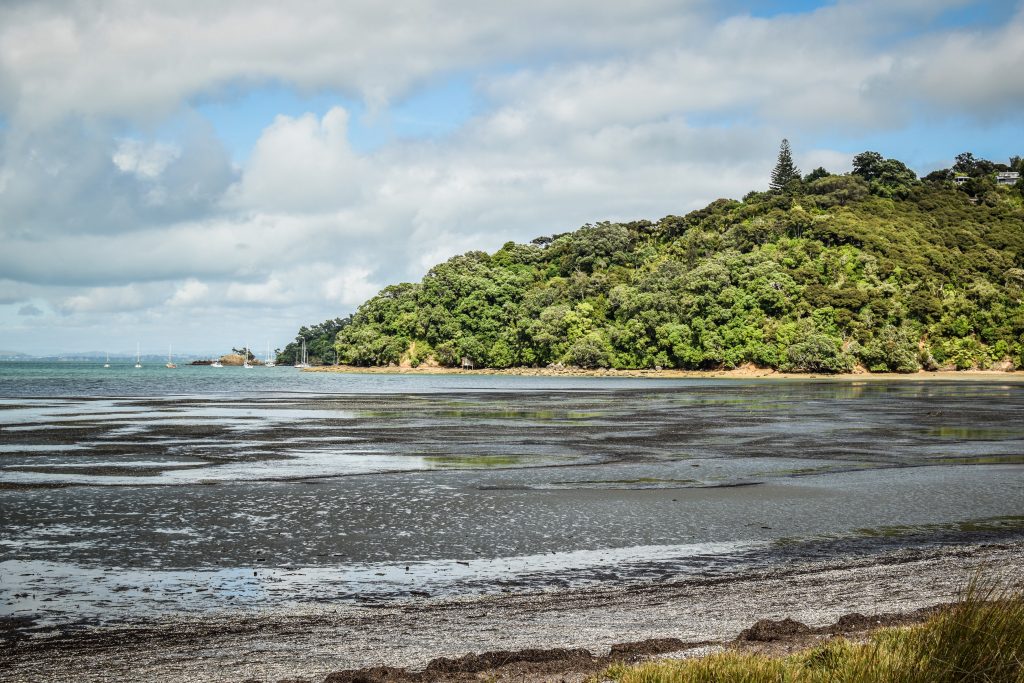
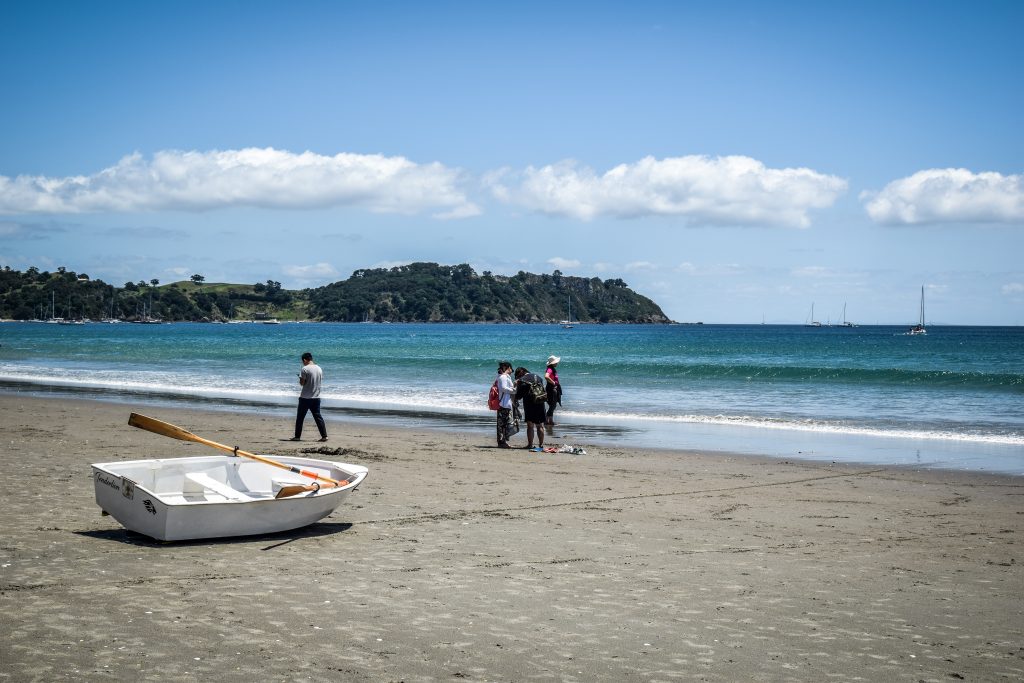
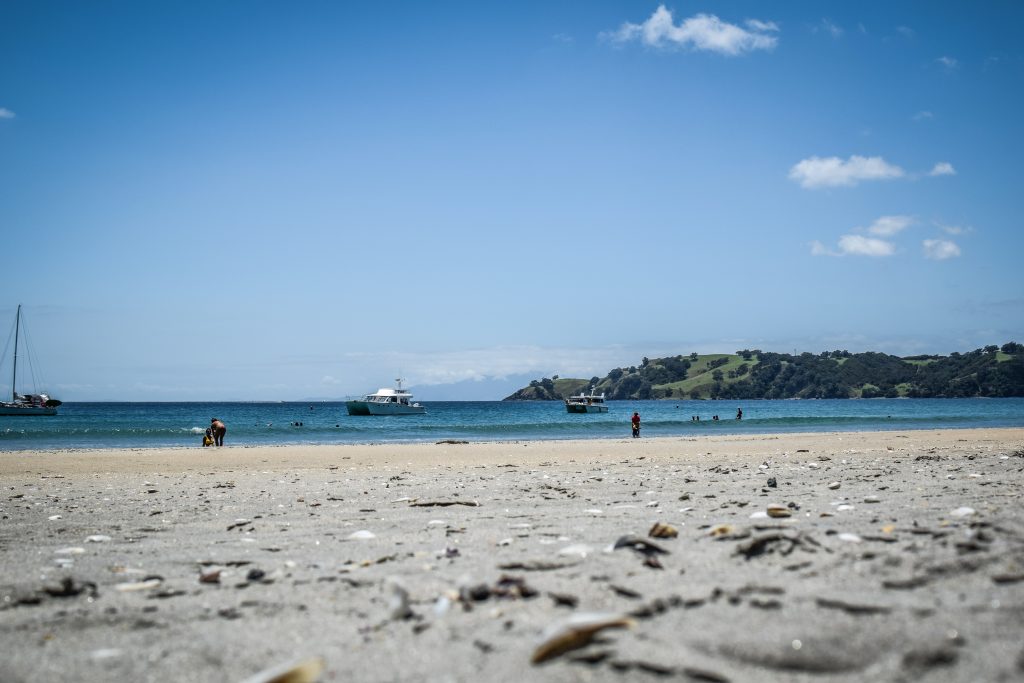
Onetangi Beach had nice sand and there were much fewer people than I expected. A pleasant place for quick swim and lunch.

Weiheke Island, New Zealand
Calm Onetangi Beach
Weiheke Island, New Zealand
View on the yachts and hills
Weiheke Island, New Zealand
Short swim is the best way to get new energy

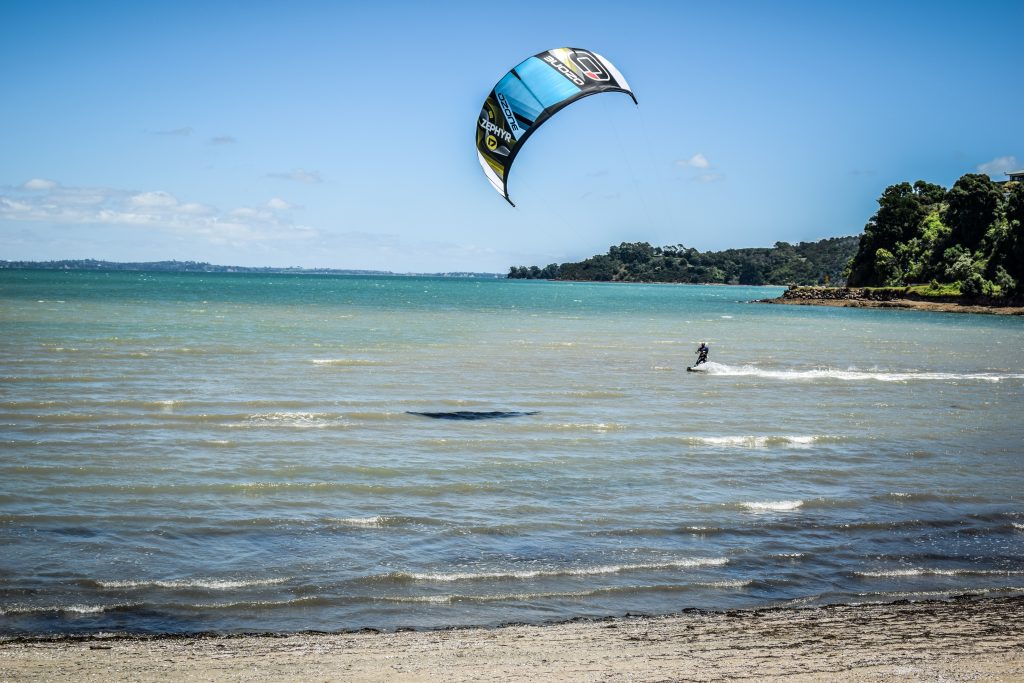
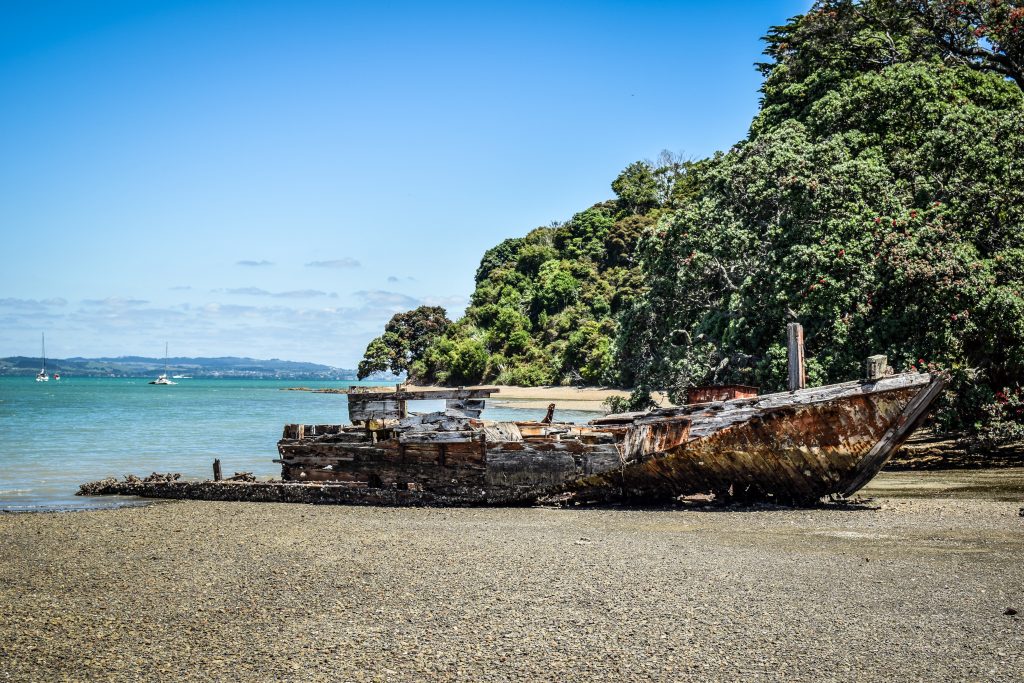
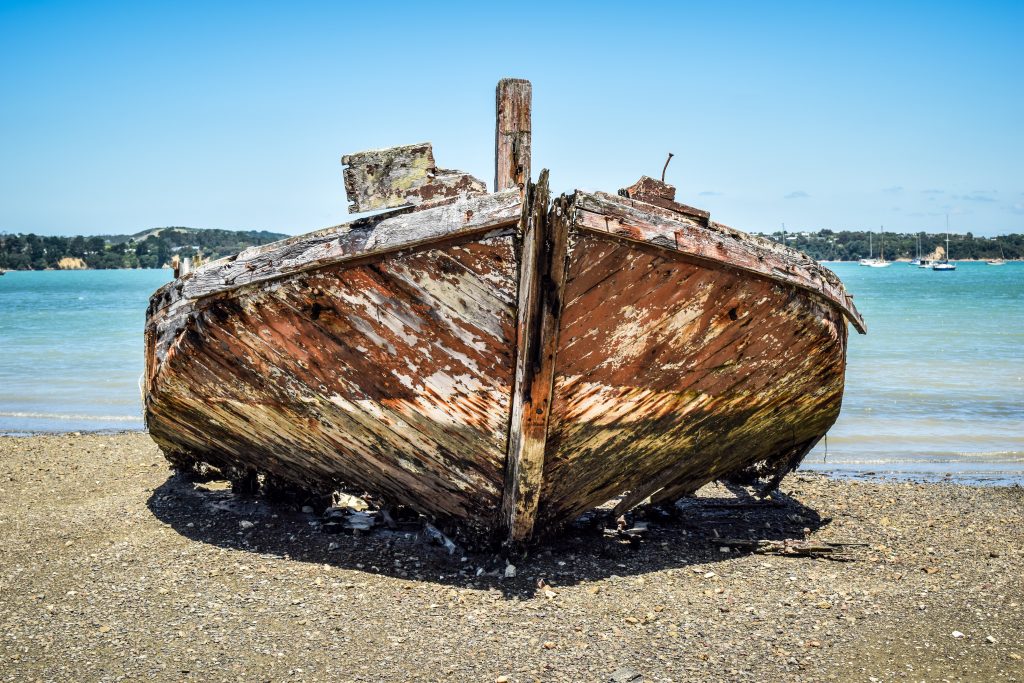
I caught the bus 502 again, that time going towards Blackpool Beach. Calm and quiet place only with a single kitesurfer and moored yachts. When I proceed along the Esplanade, unexpectedly I saw a picturesque wreck visible in full size due to low tide. It’s the hulk of the trading scow Rahir.

Kitesurfer making use of strong wind
Unexpected discovery on Blackpool Beach
Weiheke Island, New Zealand
Rahir shipwreck at low tide

As mentioned before, Waiheke is famous for two reasons: beaches and vineyards. Beaches checked. Time to have a break and do a wine tasting. At that moment the closest place was Mudbrick Vineyard and Restaurant and that was where I headed. For 10 NZD I had the chance to sample 3 different kind of liquid pleasure. It tasted even better on their lovely shaded terrace.

The last stop was Oneroa Beach, approximately half an hour walk but after some wine, I was fast as the wind. Oneroa was my least favourite beach on the island. Being so close to the ferry terminal, it’s very accessible and popular, somehow lacking the atmosphere.

One day on the island was just fine and fulfilled my expectations. On the other hand, I wouldn’t say that that 2 or 3 days would be too long either. With so many things to do, time can fly very fast and if you are tired enough, nothing is better than a glass of wine or chilling at the beach.

New day, new adventure! I woke up early and took my bags down to the reception. I was going to Great Barrier Island for 2 days only, so it didn’t make sense to take the whole luggage. Probably due to early hour, no one was there though, so I just left the note and 3 NZD fee hoping that my luggage will still be there when I arrive back the next day.

After doing some research about Great Barrier Island, I felt like I am going on an adventure. No ATM, no supermarket, solar energy or power generators, unsealed roads, no streetlights, limited mobile coverage. Sounds cool, doesn’t it? 

Great Barrier Island got its name from James Cook, as it lays like a barrier between the Pacific Ocean and Hauraki Gulf. Indigenous Maori people called it Aotea, meaning ‘Cloud’. It’s New Zealand’s fourth-largest island, after North, South, and Stewart.

Ferry or plane?

From Auckland, there are 2 options: either by plane or by ferry. 

The ferry is operated by SeaLink and in high season goes once per day, departing Auckland at around 8:00 AM and arriving at Tryphena 4.5 hour later or to Port Fitzroy 5 hours later. The cost is around 115 NZD for the return trip. It is quite a long travel if you just plan to drop by for 2 days as I did. 

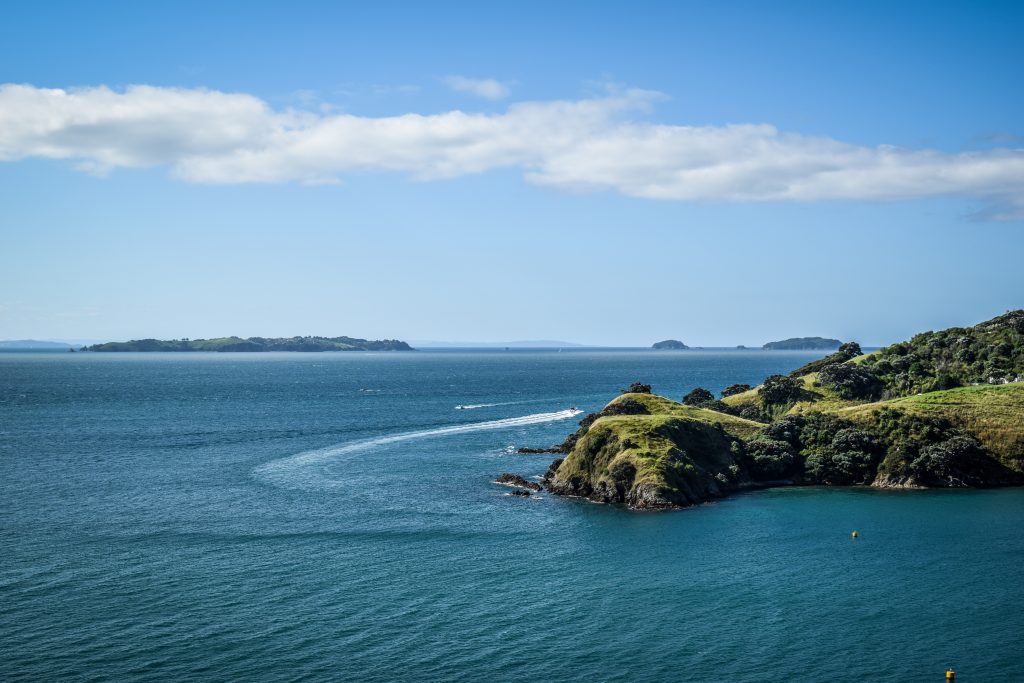
Therefore, I decided on 30 min flight with Barrier Air. Yes, you will spend more money as the flight will cost you around 200 NZD. But people say that time is money. Taking a flight is also a more scenic way of arriving on the island. The plane is small, you have great views through the window being able to admire other islands from Hauraki Gulf such as Waiheke, Rangitoto, Little Barrier as well as the Coromandel Peninsula. The airport is at Claris, 12 km away from Tryphena where you can find accommodation, shop, pharmacy, and (as everywhere on the island) expensive fuel.

The hassle-free way to get to the airport in Auckland is with SkyBus. I bought the ticket online and enjoyed a 1-hour ride using free WiFi and reading about my next destination. Buses depart very frequently from Auckland CBD.

How to get around Great Barrier Island?

As the name suggests, Great Barrier Island is pretty big, so walking is not exactly the best idea. There is some bus going around but you will rely on the schedule and many of the scenic bays will be out of your reach. That’s why the best idea is to rent a car. I booked the one with Aotea Rentals – Nissan AD for 70 NZD per day. Never heard about a model like that but its youth time definitely passed a long time ago. It had so many scratches already that I knew that even if I make another one, that wouldn’t make a difference. It was still a decent and economical car that took me without an issue to all the places that I wanted to go to. Additionally, it has a big truck so it’s an extra advantage for people travelling in groups. The guy from Aotea Rentals was waiting for me at the airport and when I asked how should I return the car, he said: ‘just park it here and leave the keys inside’. Fair enough!

Driving on the island was quite an experience. Roads are narrow, sometimes sealed sometimes not. And it was the first time in my life that I had to drive on the left side of the road! Luckily even in high season, the traffic on the island is light, so after a while, I started to feel comfortable.

On the way to Port Fitzroy, I saw some shady bare foot hitchhiker and I felt the impulse to stop. He happened to be retired Kiwi fella that was going back to his boat parked in a bay down the road. Well, you can say – that’s life. We had a nice chat even though the Kiwi accent is sometimes beyond my understanding. And he thought all the time that I am from Holland, not Poland. Quite a common misunderstanding here, which I learned in the following months.

Here is the MAP of the island:

www.greatbarrier.co.nz

Top things to do and see

Dark Sky Sanctuary

Beautiful beaches and nature were not the only things that encouraged me to visit the Great Barrier Island. Another one was the fact that it’s one of 10 places recognized as International Dark Sky Sanctuaries (others being in Australia, US, Chile, South Africa, and the Pitcairn Islands). Remember when I said there is no electricity? This and the fact that the island is nearly 100 km away from Auckland make the night pitch black. It is an amazing spectacle in the sky. The best way to admire the Milky Way and other interesting constellations that can be seen in Southern Hemisphere is to spend the night camping.

Kaitoke Hot Springs

My first destination was 45 minutes track leading to forest hot springs. The track was completely empty and at some point, I started to doubt that I’m going the right way, but when I finally reached the spring, 3 folks were already enjoying their time there. I continued the short way up to the lookout and then came back meeting many more people heading the opposite direction. I guess not everyone is going for the hike straight after arrival at 9 am. The track starts and ends at Whangaparapara Road.

Great Barrier Island

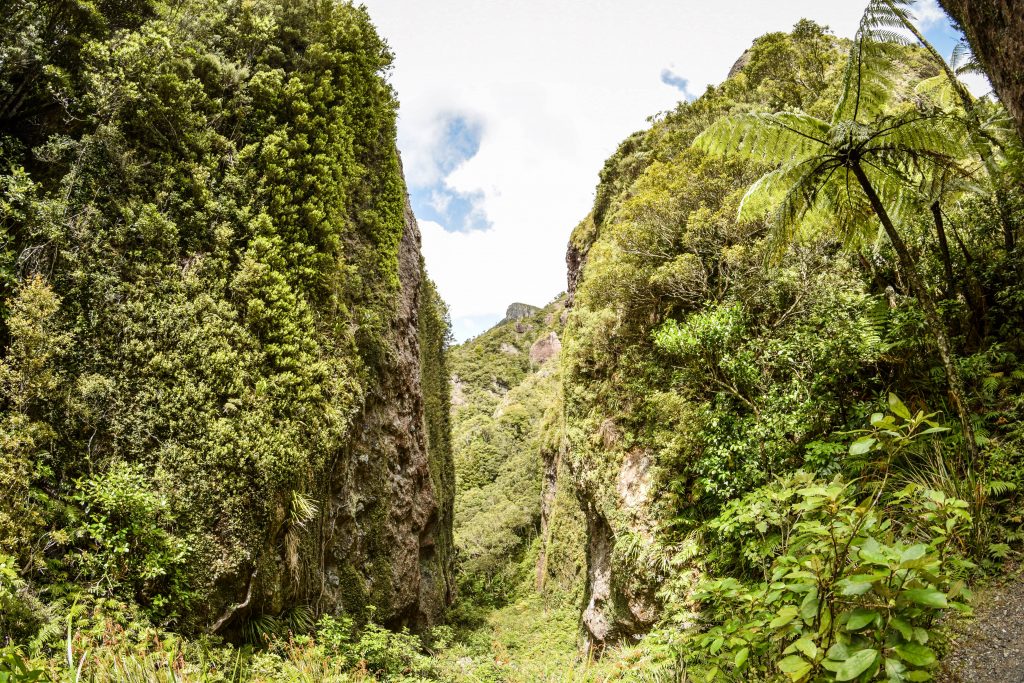
Windy Canyon & Mount Hobson

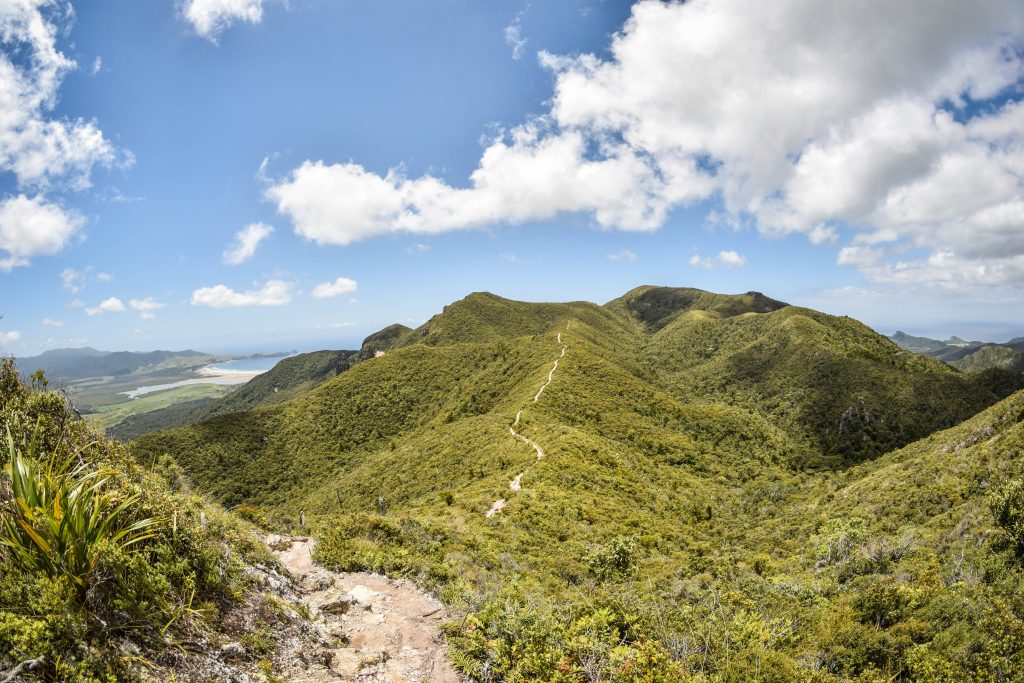
The most scenic short hike on the island and, according to me, the best thing to do in general. You reach Windy Canyon around 10 minutes after departing from Aotea Road, and then continue for another ca. 2 hours to the highest point of the island – Mt Hobson (621m). Views from the top are simply magnificent and no picture can do this place justice. Go and see by yourself!

Track to Mount Hobson
Great Barrier Island

Ruahine Lookout

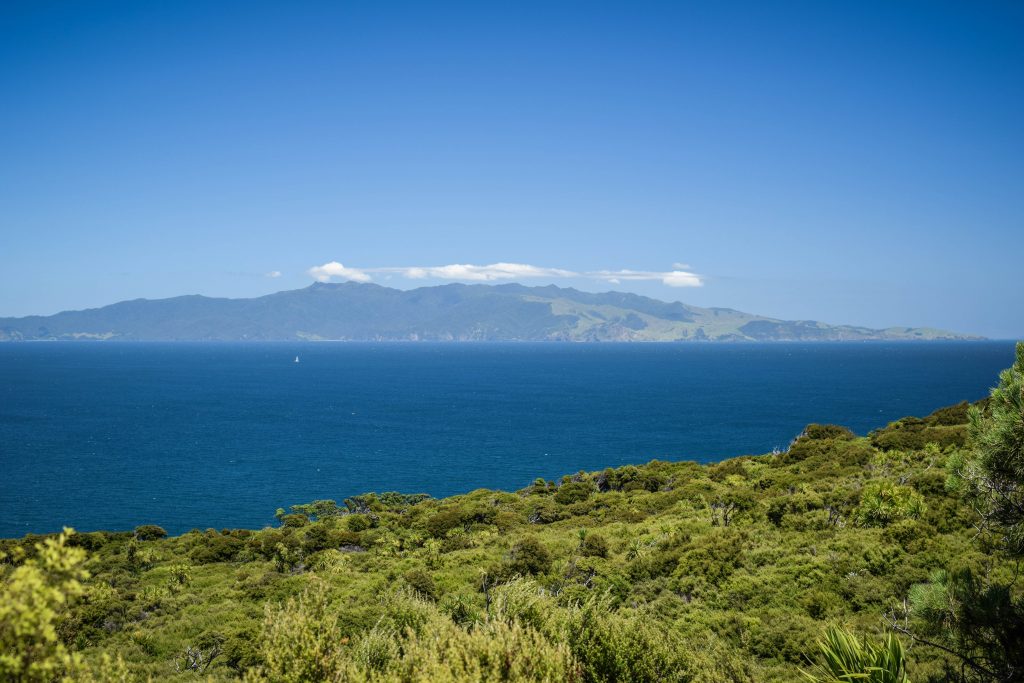
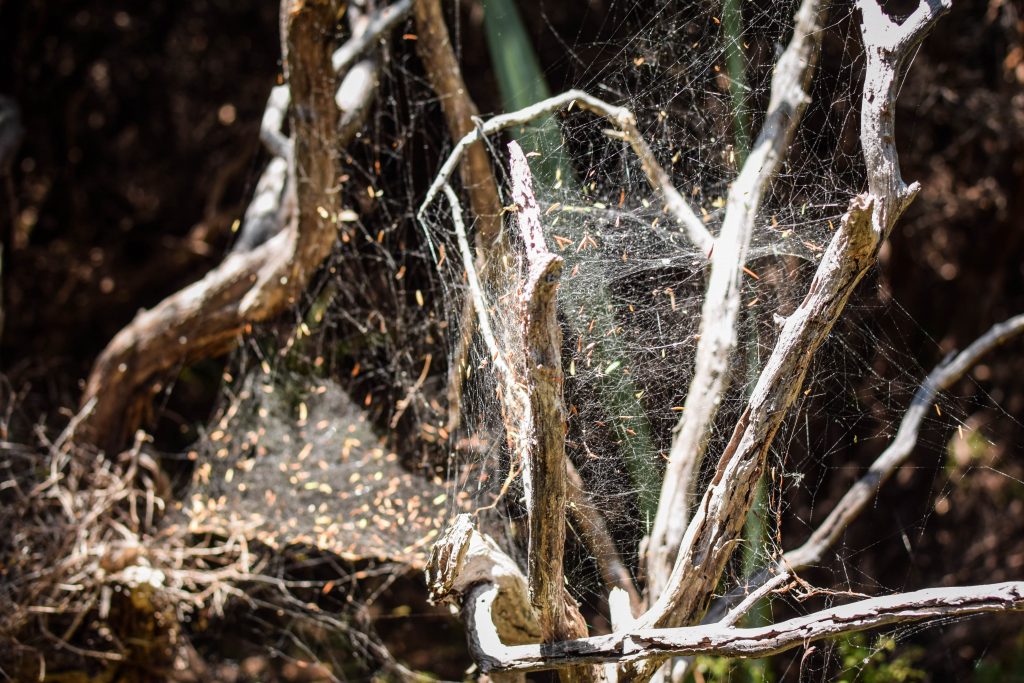
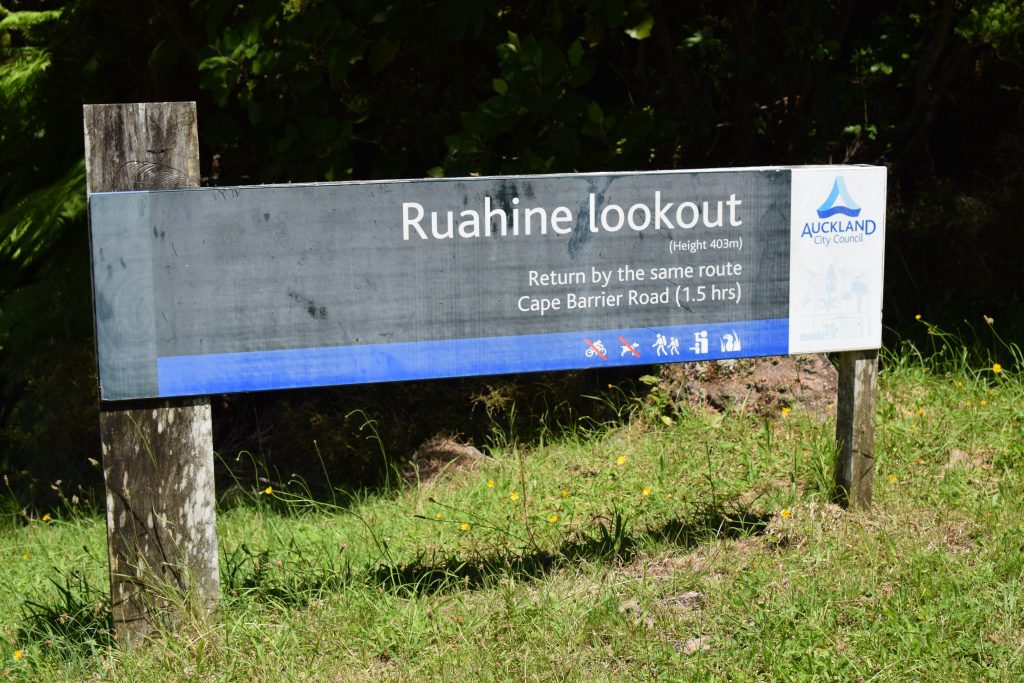
Even though there was a sign ‘4WD only’ I took the risk and drove down to Cape Carrier. From there I followed the track down to Johnson’s Bay and then up the mountain. Bloody hell, I had the feeling that I was the first hiker on this trail for several weeks. Not meeting a single soul on the way up and down and having my face literally covered with spiderwebs seemed to confirm that. Close to the summit, there is Ruahine Lookout proving decent but not the best ocean views. It’s quite a steep climb taking anything between 3-4 hours return, depending on your shape. Luckily my car got out of the parking without any issue so if dry, I would say 4WD is not essential.

Great Barrier Island

Whalers Lookout

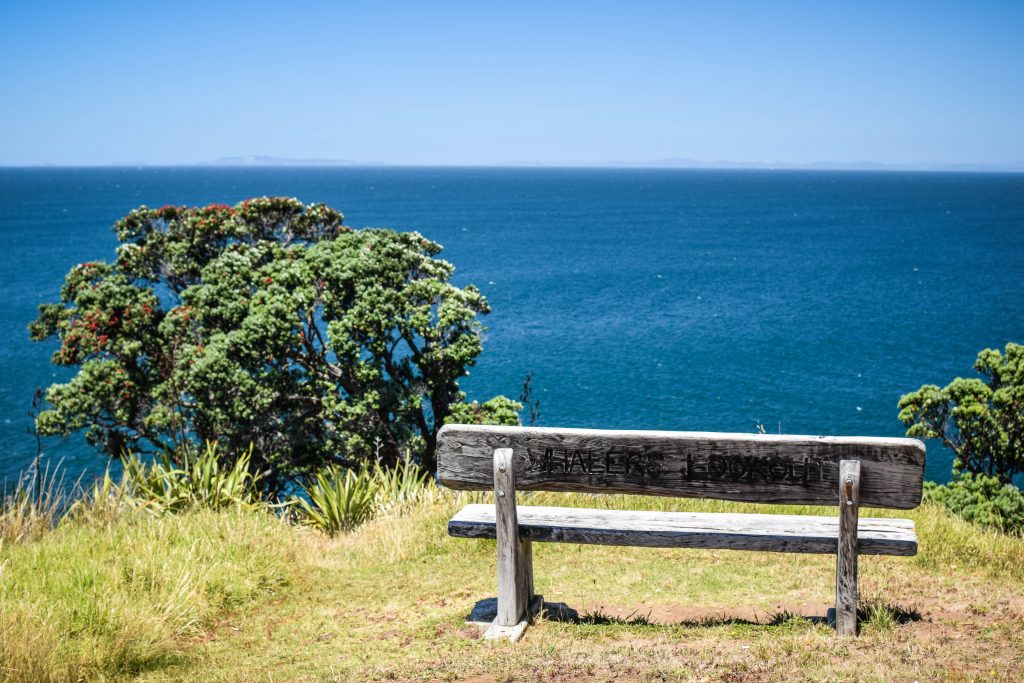
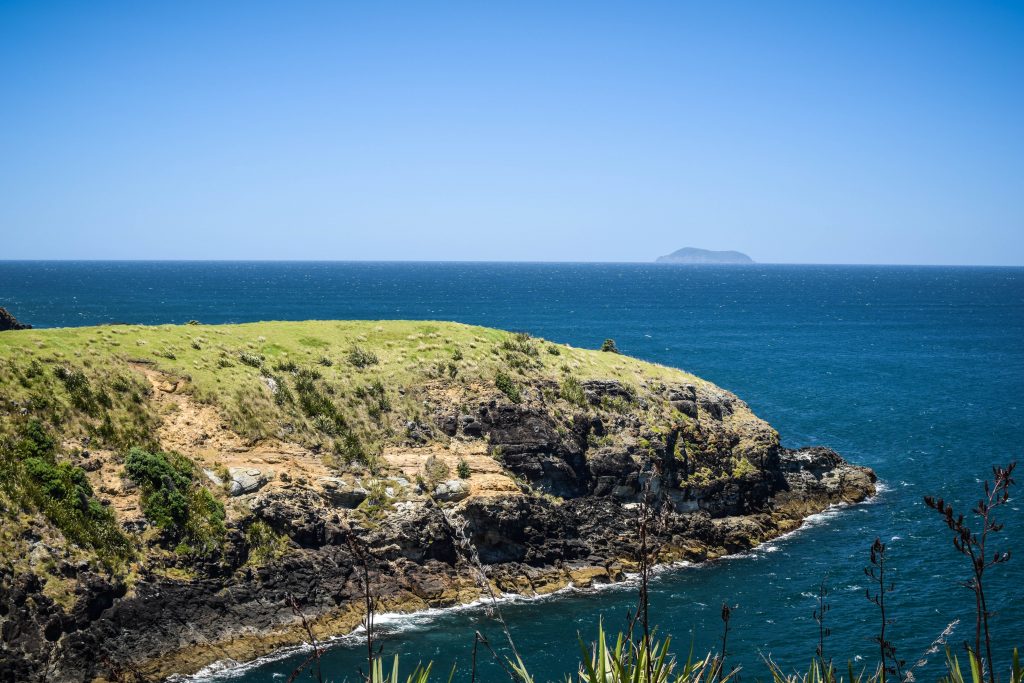
You can make it a destination on its own or just a stop on the way to Ruahine Lookout. Reachable from Johnson’s Bay, it’s the southernmost point of Great Barrier Island. There is a nice bench to have a rest and wait for the whales to make a splash, however, you have to be very lucky to actually see one.

Great Barrier Island

Other hiking trails

Track to Mt Hobson is obviously not the only one on the island. There are amazing alternatives available, ranging from being just a couple of hours warm-ups, such as:

  • Tramline Track (6 h) following old tramline used by the Kauri Timber Company during the 1920s and 1930s.
  • Harataonga Coastal Walk (4-5 h one way) which is an easy and flat track with superb views of the coast.

… to some being multiple-day adventures:

  • Aotea Track (2-3 days) – the father of all hikes on the island, 25 km long loop encircling central mountain area. There are two huts on the way available for overnight stay.

Check the website of the Department of Conservation and select the hikes you like the most! In all cases be well prepared: take plenty of water, snacks, sun cream, hat and tell someone about your plans and expected return time.

Beaches and bays

If you like chilling on the sand (and I mean really white sand), you will have a blast here. The population of the island is around 600, increasing with tourists flow especially on summer weekends, but it’s still possible to find a perfect spot on the beach just to yourself, without anyone in the sight. There is more white sand beaches with fine surfing opportunities on the East Coast: Whangapoua Beach, Haratonga Beach, Awana Beach, Kaitoke Beach or Medlands Beach. You can feel the power of the ocean here! On the other hand, West Coast is dotted with calm bays giving even wilder and more remote feeling: Karaka Bay, Katherine Bay, Whangaparapara or Okupu Bay.

Port Fitzroy and Glenfern Sanctuary

Port Fitzroy is the arrival point of the ferry from Auckland CBD. There is a general store, a boat club, an information desk and fuel station.  Old Lady Track (45min – 1h) is a great way to straighten your legs and it has a steep side trip (30 min) up to Lookout Rock with stunning views over the harbour. Another point worth checking is Glenfern Sanctuary Regional Park located nearby. They offer self-guided or guided walks in the huge predator-proof area where endangered species of birds can recover. The loop walk is the most popular one.

Make a splash!

There are heaps of water activities to choose from: surfing, kayaking, fishing or diving. Numerous bays are also a heaven for all yachts lovers. You can also go the cheap way  – just relax at Kaitoke Hot Spring or at one of many scenic white sand beaches.

Was it worth it?

Yes, it was! Going to Great Barrier Island isn’t particularly cheap, but experience even half of what the island has to offer and you will certainly not regret it!

Questions? Please write a comment 🙂