Introduction
Numerous beaches, ocean, forest, mountains, waterfalls and rich history. It’s a perfect combination for every holiday. Add to it relaxed vibes as well as proximity to Auckland and you will get a very popular place for summer escapes from a big city.
The area was occupied by Maori long time before the arrival of Europeans. Unfortunately, the distance from Auckland, availability of kauri timber and discovery of gold resulted in intense colonisation and Maori lost most of their lands by the 1880s.
The Peninsula was named after HMS Coromandel, a ship of the British Royal Navy that stopped at Coromandel Harbour in 1820 to purchase kauri spars. The ship was named for India’s Coromandel Coast.
The following itinerary encircles the peninsula from east to west and assumes that you have your own transportation.
Day 1 – Waihi, Whangamata, Wentworth Falls, Tairua, Hot Water Beach, Cathedral Cove
The day is busy and packed with attractions so it’s essential to start early. Driving along the east coast of Coromandel Peninsula will reward you with scening summer towns, waterfall, gold and silver mine and hot water beach. All of that finished with the grand finale at famous Cathedral Cove. Let’s start!
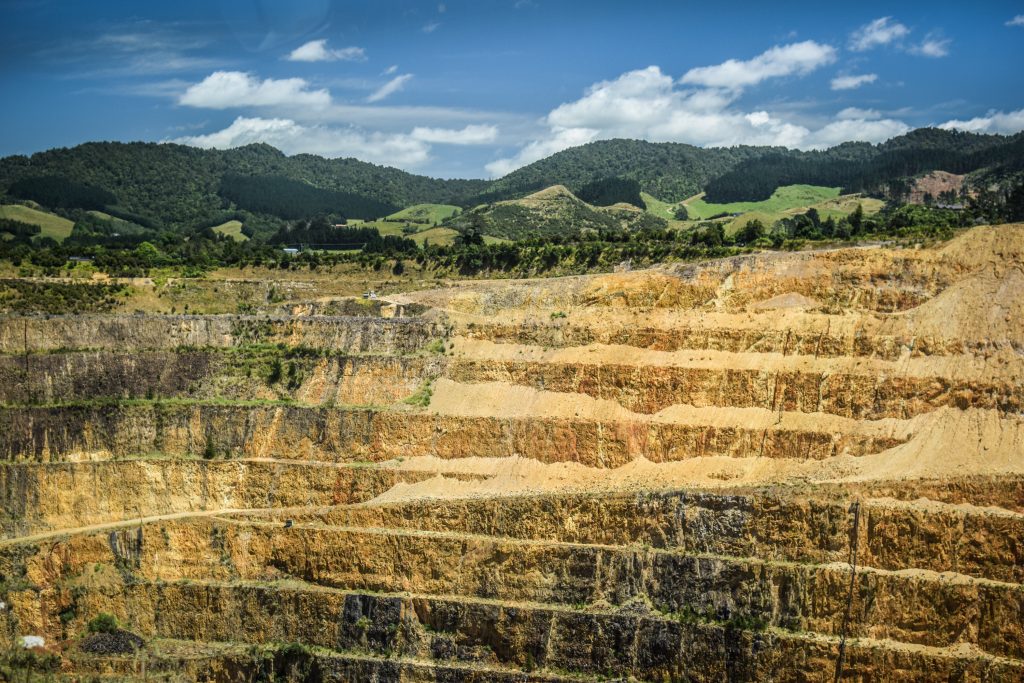
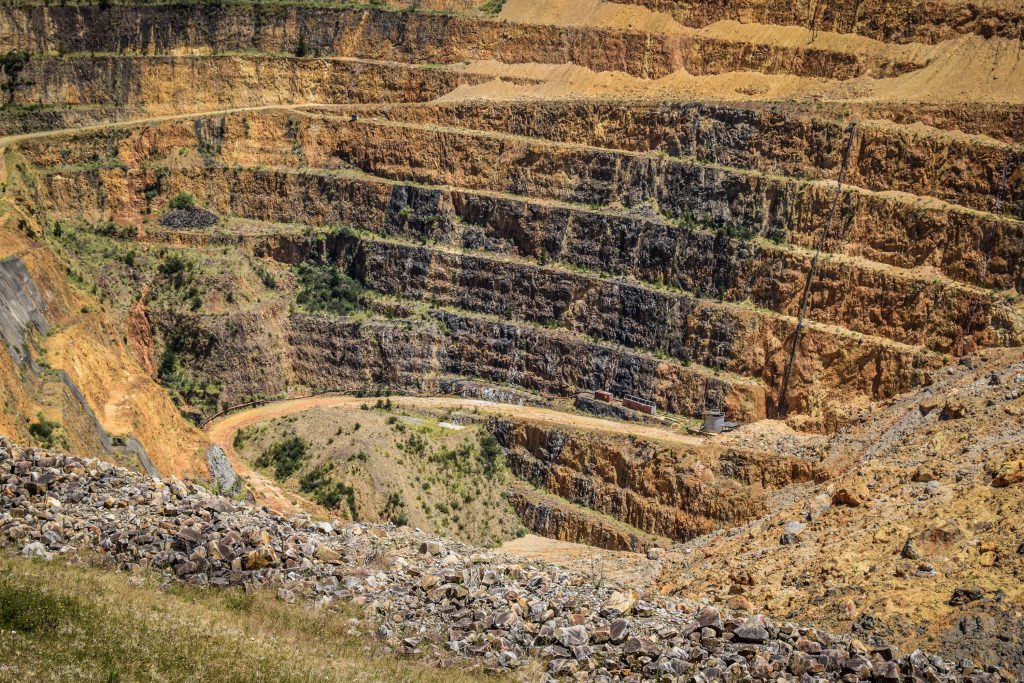
Waihi
Gold was first discovered here in 1878 and soon after the Martha Mine became one of the most important gold and silver mines in the world and the reachest one in New Zealand. It closed in 1952 due to change in the gold price, outdated machinery and the world depression of the 1930s. In the 1970s, when the gold price went up again, interest in mining at Waihi returned. The site was reopened as an open pit in 1988.
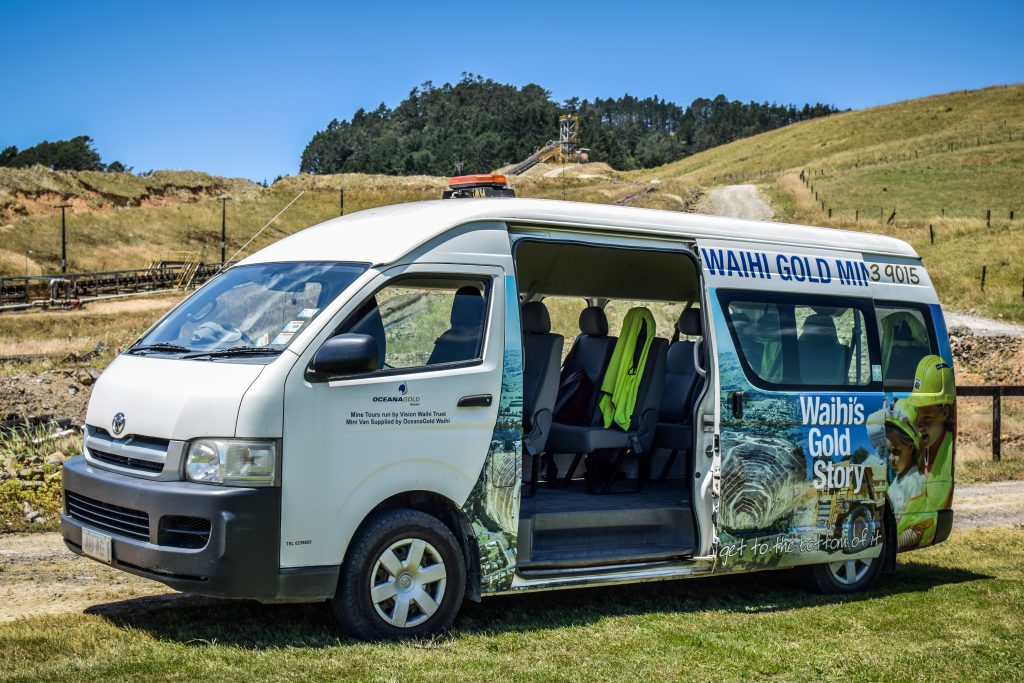
The detailed story is presented in Gold Discovery Centre and additionally, you can join a guided tour to see modern-day gold mining up close. After putting on safety gear, you will board a van driven by a knowledgable guide that stops in many interesting spots along the way. It’s a different kind of experience comparing to historic mines all over North Island, where you walk through old tunnels and see the machinery.
Tickets are quite expensive though – Gold Discovery Centre 25 NZD, guided tour 39 NZD and combo ticket including both 59 NZD (prices for adults).
Whangamata
Popular summer-holiday town with restaurants, parties, fine beaches such as Whangamata Beach or nearby Onemana Beach and a wide selection of water attractions.
Wentworth Falls
From Whangamata follow Wentworth Valley Road for around 8 kilometres inland. Park your car and head towards Wentworth campsite. From here, the return hike to the falls should take about 2 hours. The track is easy, mostly flat and crosses two bridges on its way. The falls are in two drops of about 20 metres each.
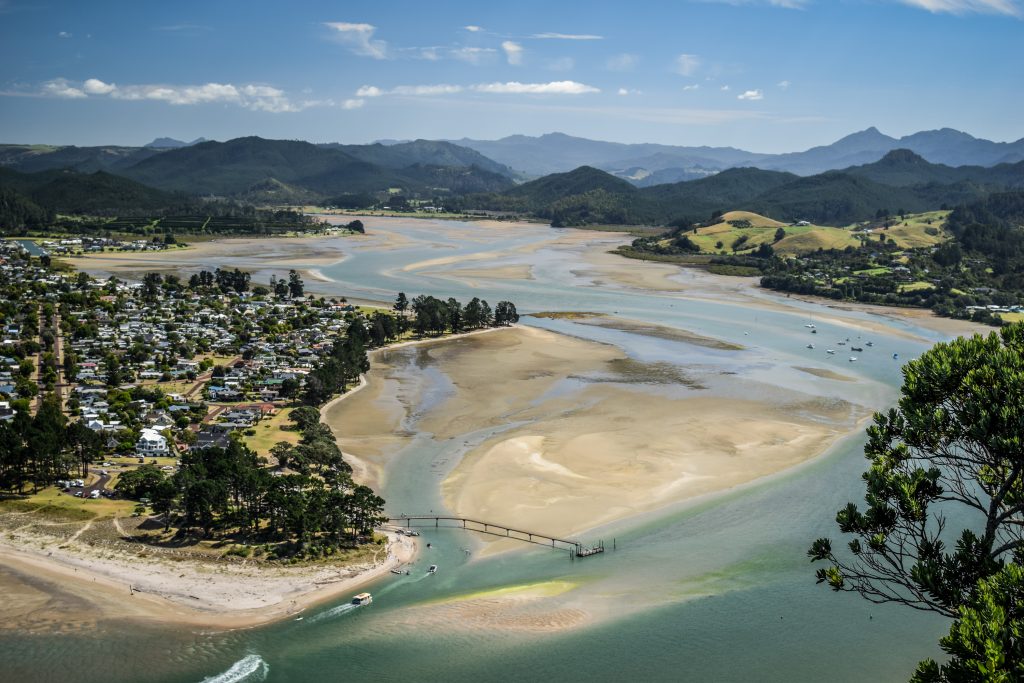
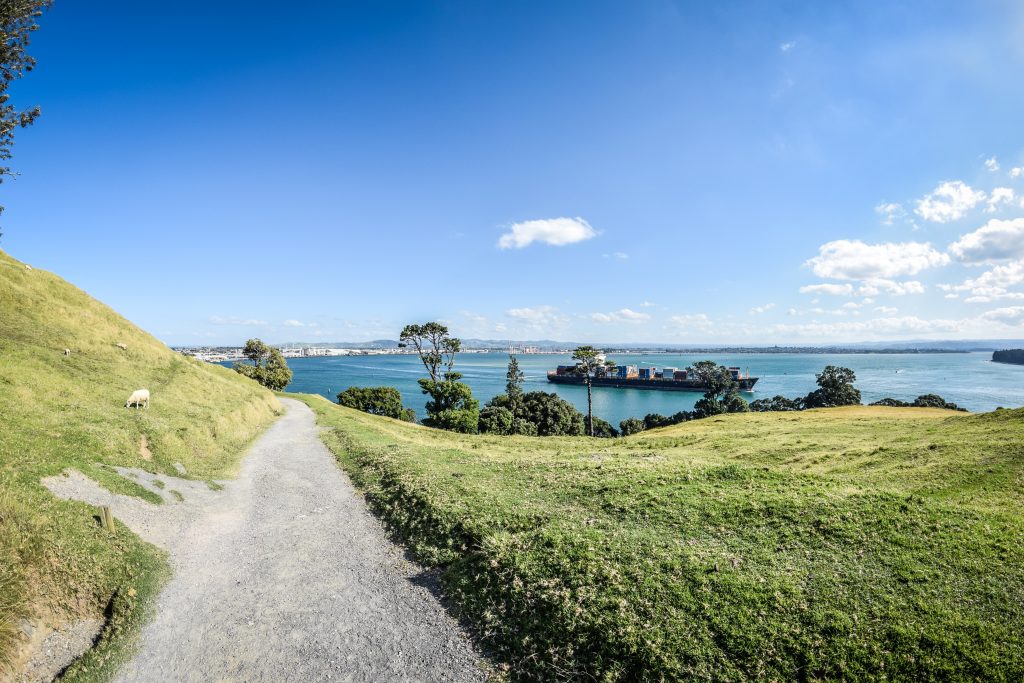
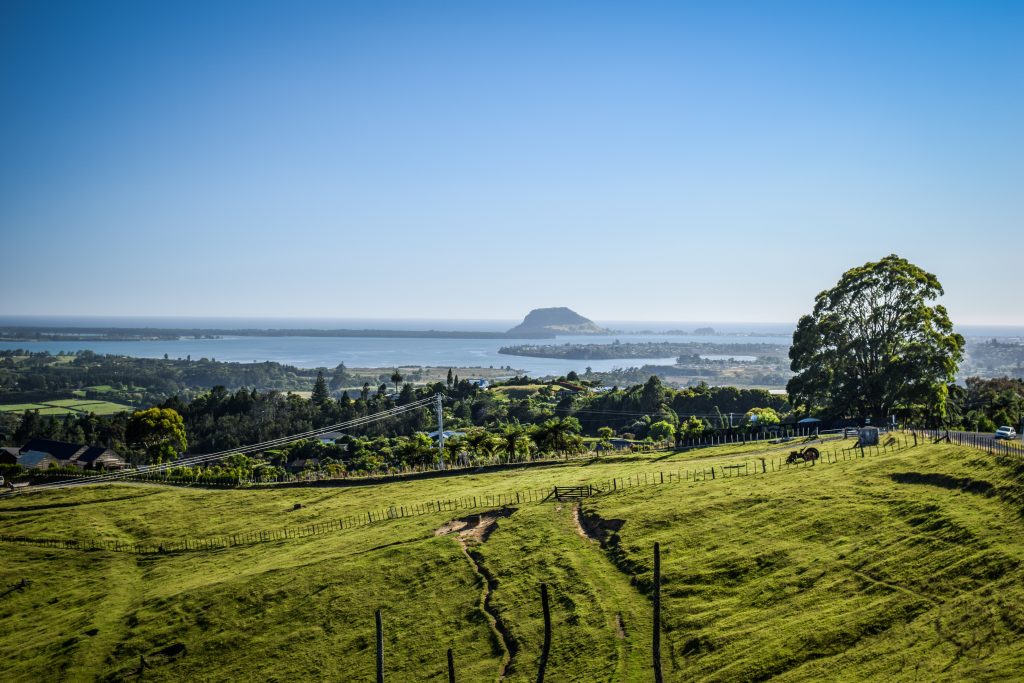
Tairua
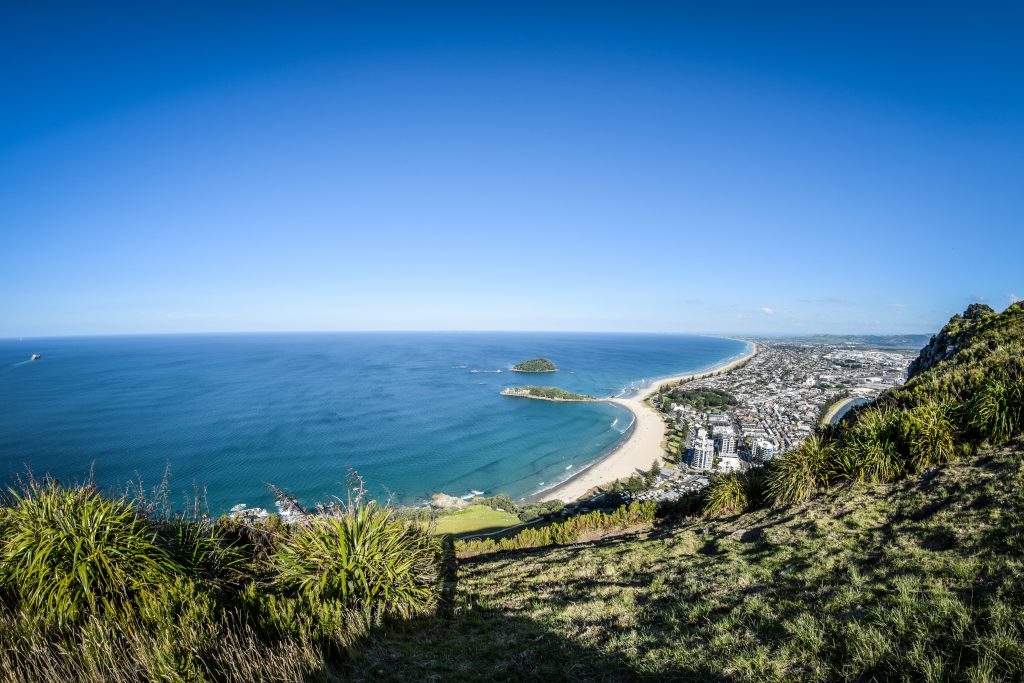
Another popular getaway destination with one particularly nice spot to stop by which was once a volcanic island – Mount Paaku. It’s a short but very steep, half an hour return hike with reward panorama of Pauanui and Tairua. The area was also occupated for a long time by Maori tribes.
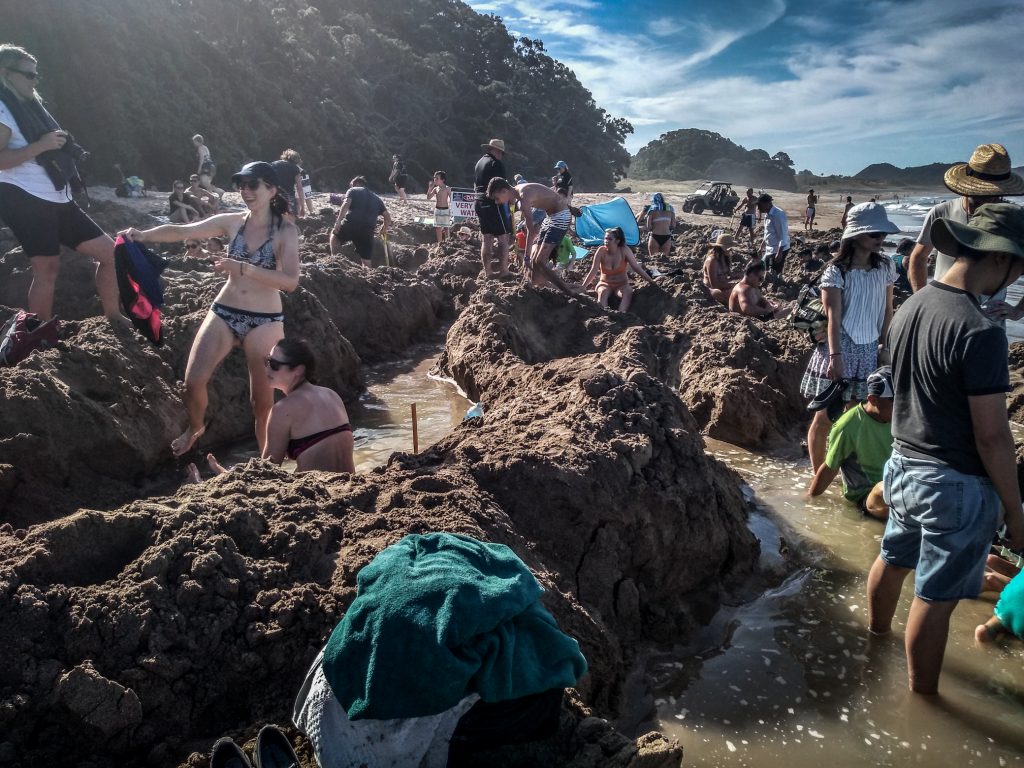
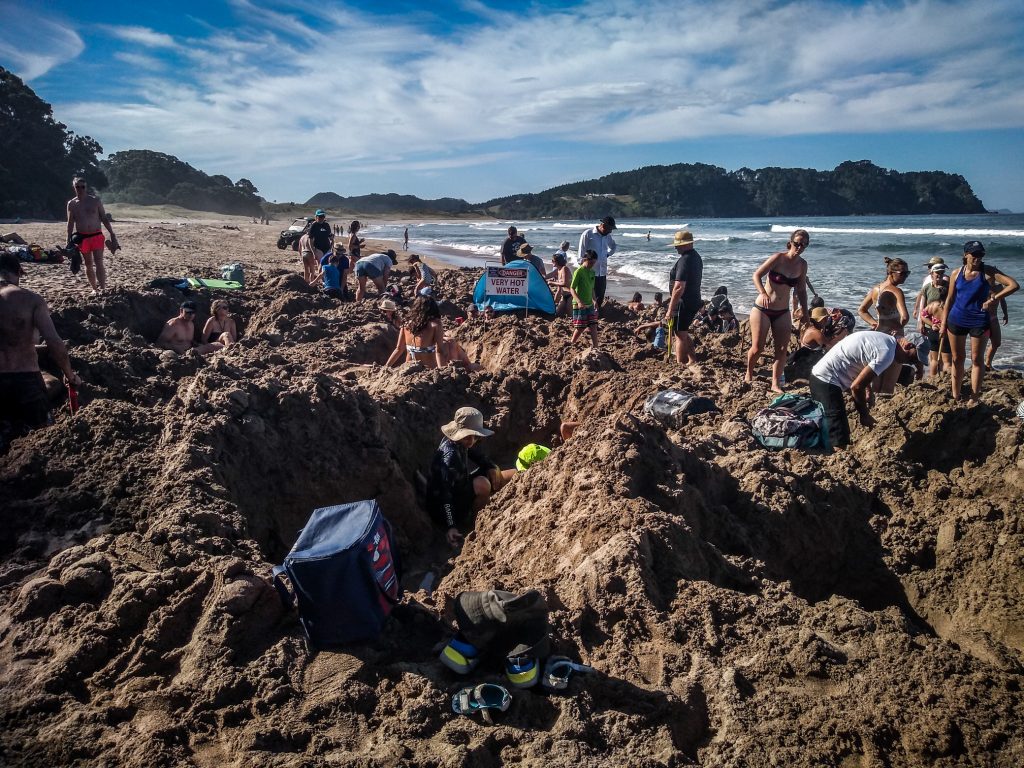
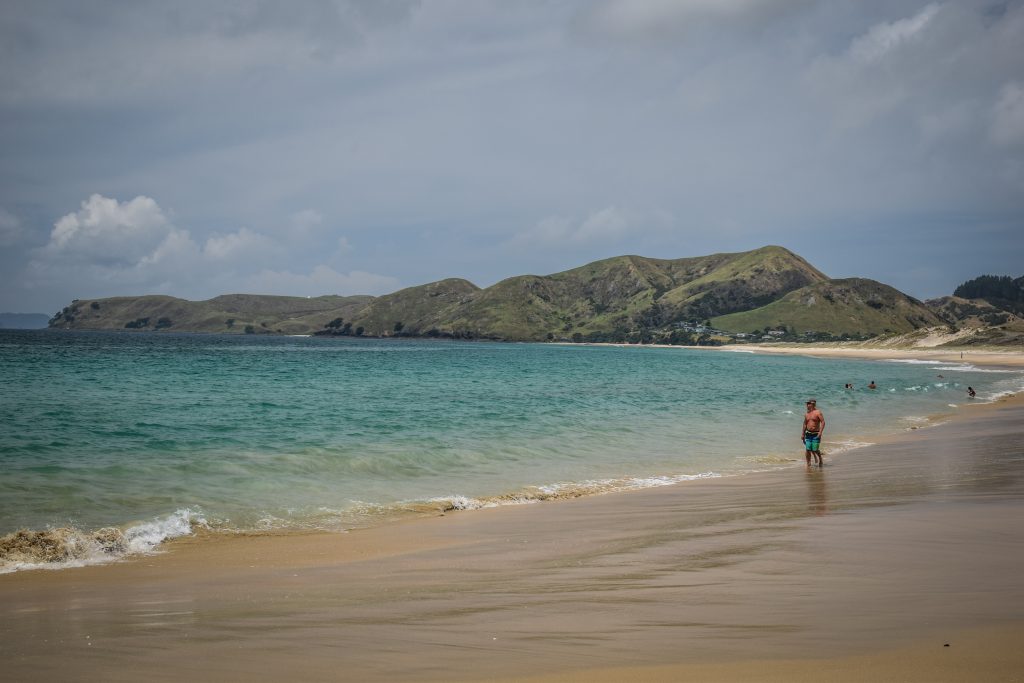
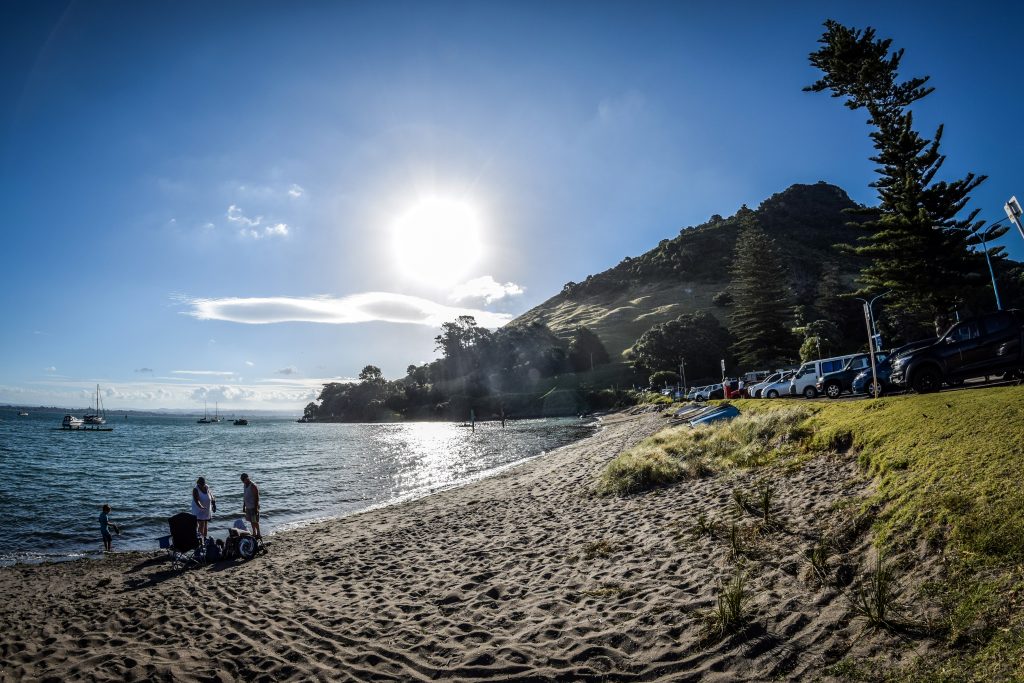
Hot Water Beach
If you see crowds digging holes in the sand and then jumping into them then yes, you are in a good place. It looks quite ridiculous from the distance but in fact, it really is a unique place! Hot water flows from the depths of the earth to surface in the Pacific Ocean exactly here at Hot Water Beach. You can pay a few dollars to rent a spade or simply ask some friendly folks at the beach. Keep in mind that the best time to create your own natural spa is within two hours either side of low tide. Check the times here.
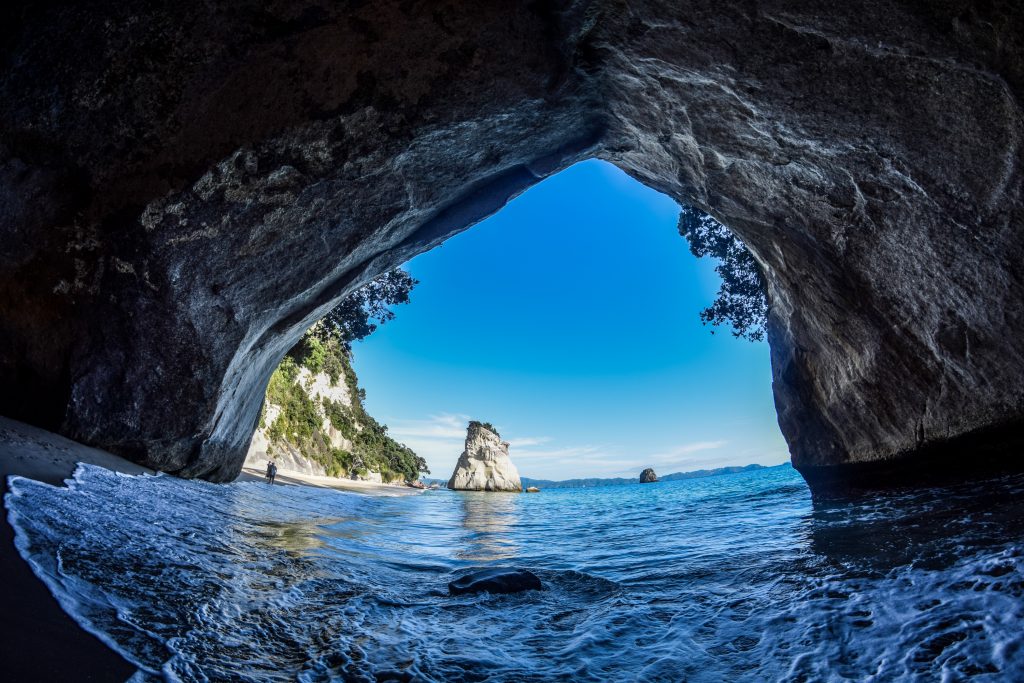
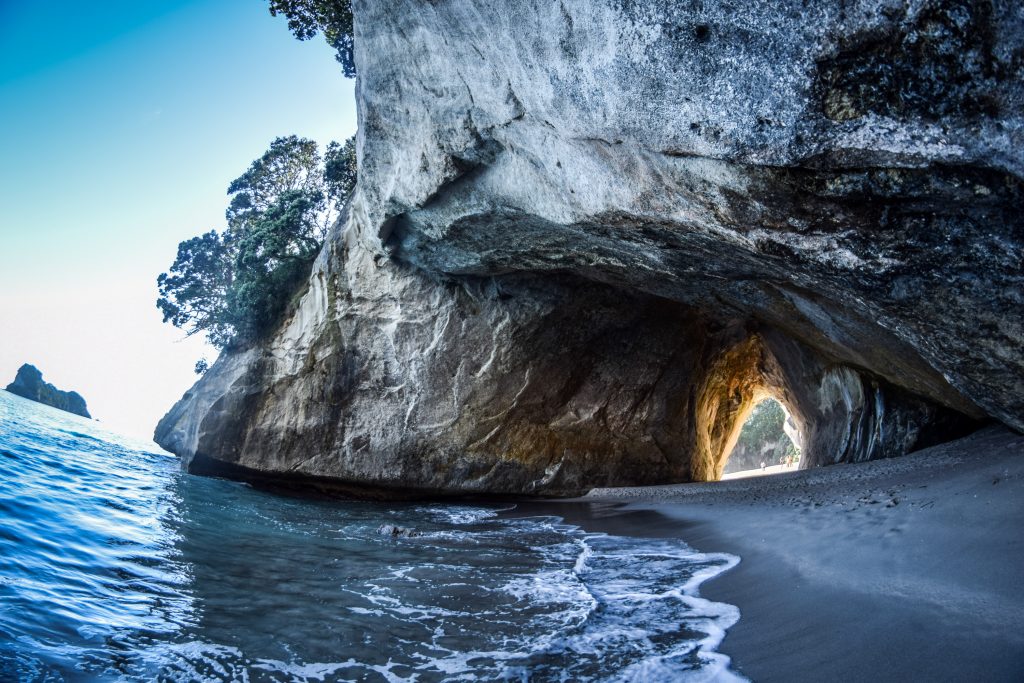
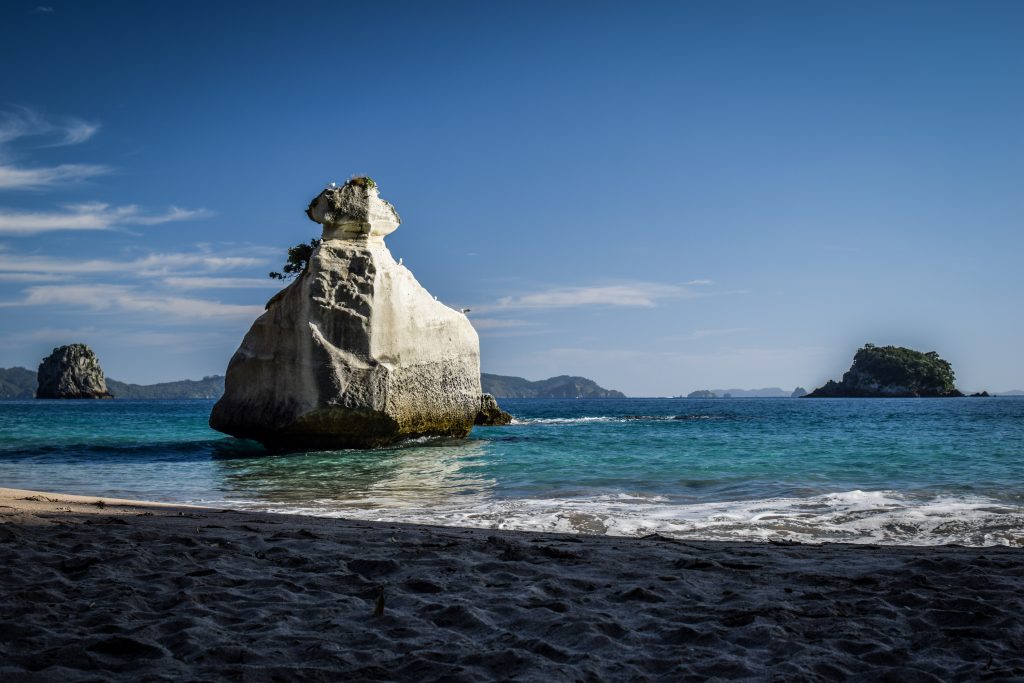
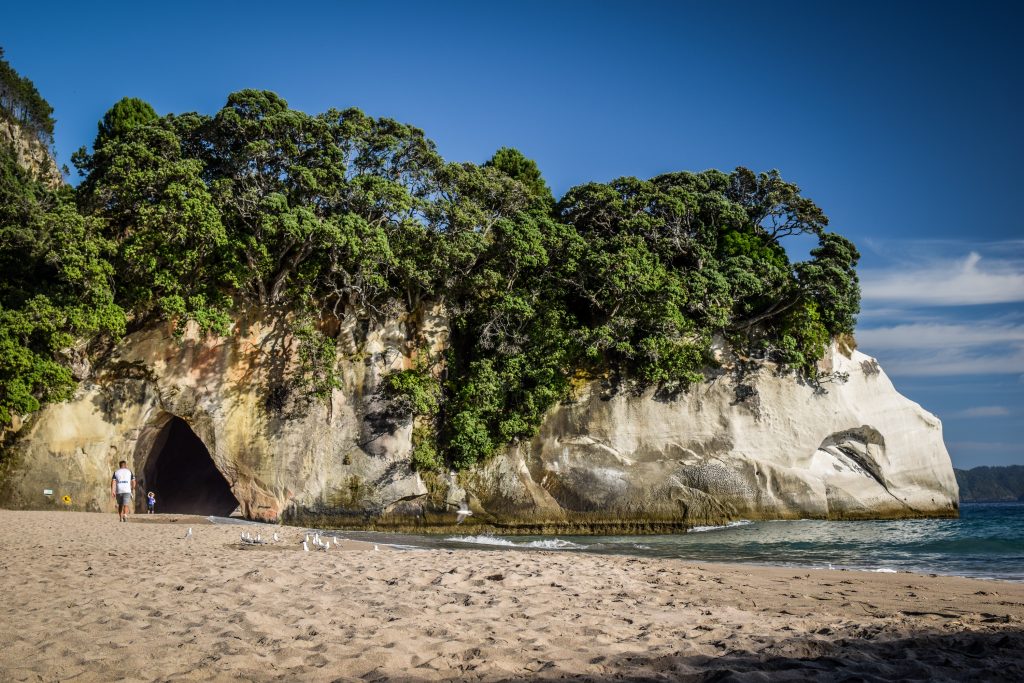
Cathedral Cove
The place with the famous cathedral-like arch is indeed picturesque but somehow I missed that ‘wow effect’. There is too much hype about it and it’s all over Instagram creating false expectations. All those photos with increased colour saturation and extra effects look nice but when you arrive at the actual place… eyes don’t have extra settings 🙂 Best would be to get here in the late afternoon to avoid crowds. From the parking, it’s about 30-45 minutes hike one way. Alternatively, you can park your car in Hahei and walk from there (60-70 minutes one way), take a bus or water taxi.

Day 2 – Shakespeare Cliff Lookout, Otama Beach, Opito Bay, Waiau Falls, Kauri Grove, Coromandel Town
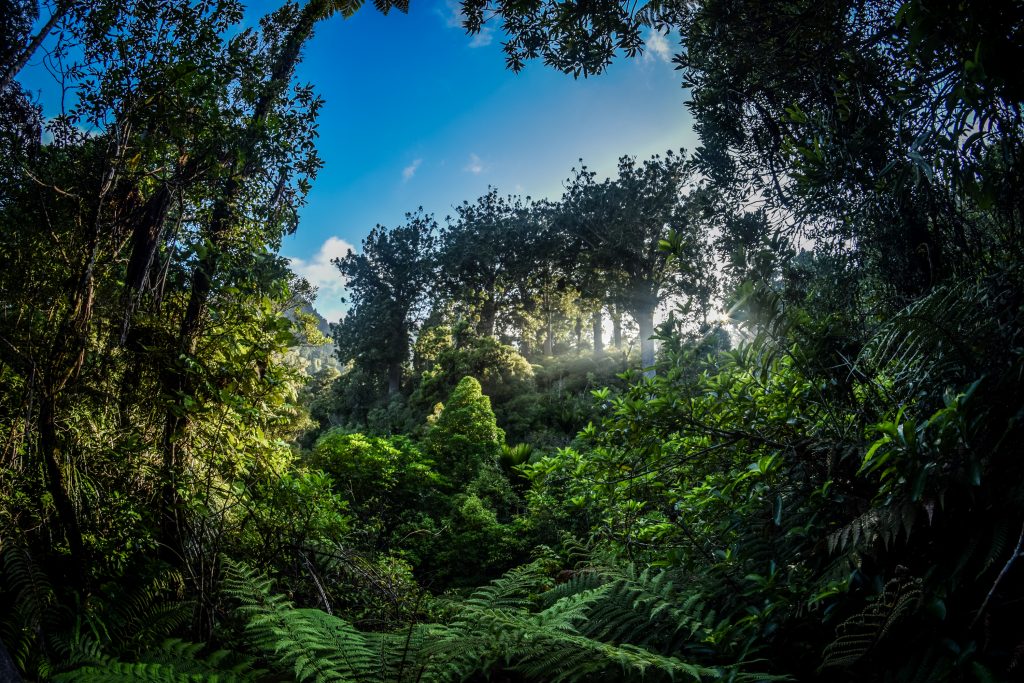
The second day is fully focused on nature. You will reach remote beaches but also waterfall as well as majestic kauri trees – a cornerstones of the original forests of the North Island.
Shakespeare Cliff Lookout
Scenic reserve located between Cooks Beach and Flaxmill Bay. A very short walk rewards with memorable views of Mercury Bay. You may also spot a cairn that records the arrival in 1769 of the HMS Endeavour under the command of James Cook.
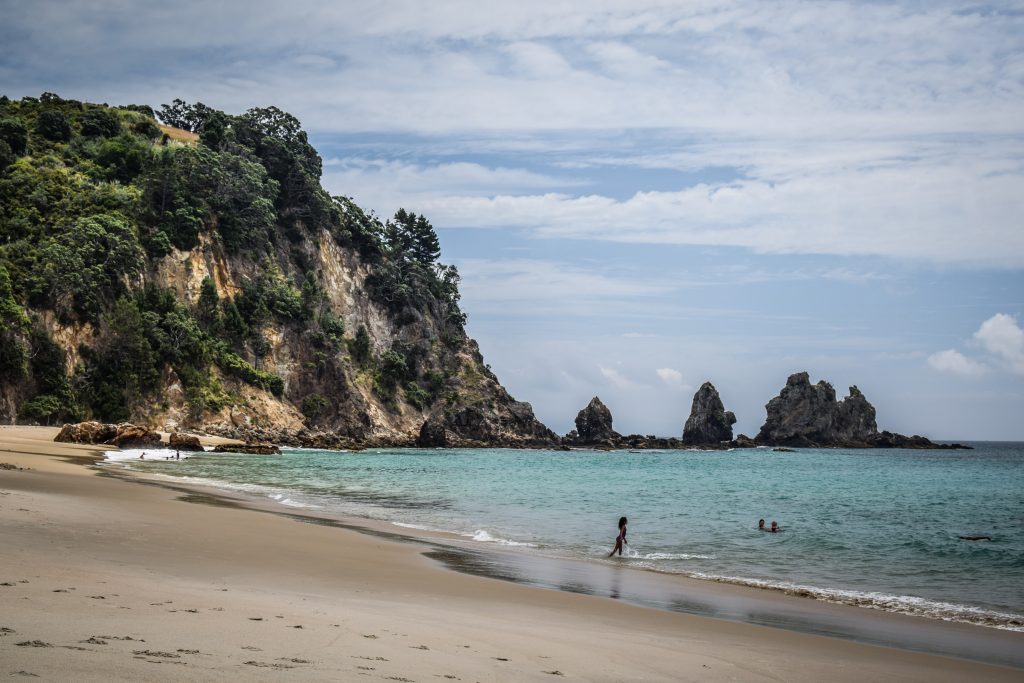
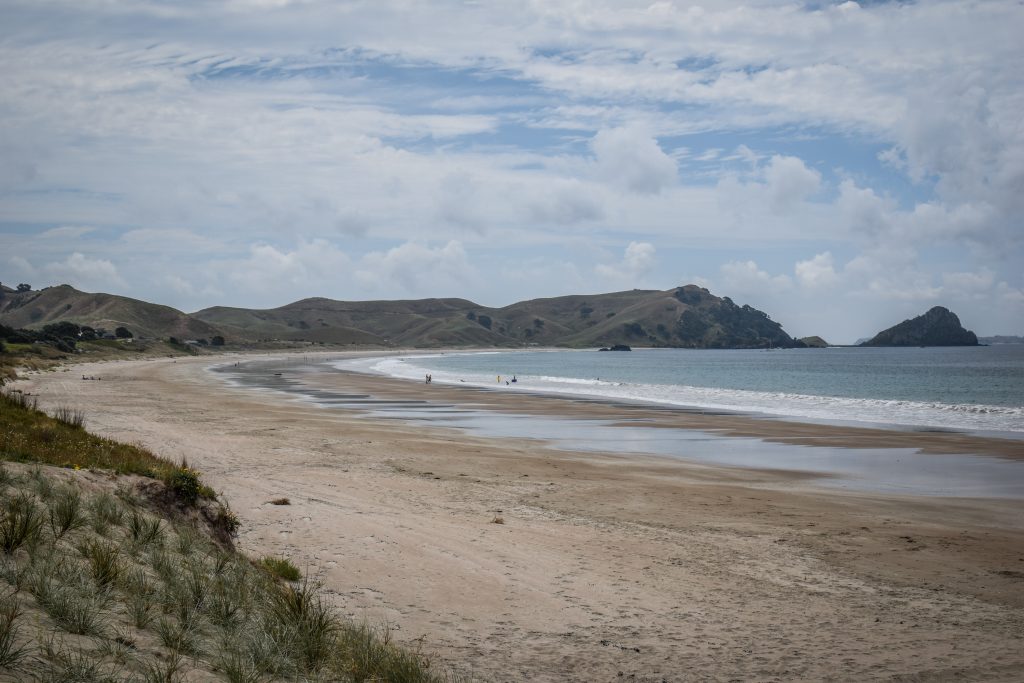
Otama Beach and Opito Bay
Both spots are accessible via Black Jack Road. It’s mostly unsealed but in a good shape so no problems at all with driving a campervan. The long stretch of Otama Beach comes first. Walk around and enjoy remoteness while listening to the sounds of the ocean.
If you continue driving further along a winding road, you will finally arrive at Opito Bay. Here, I recommend you to do exactly the same as at Otama Beach.
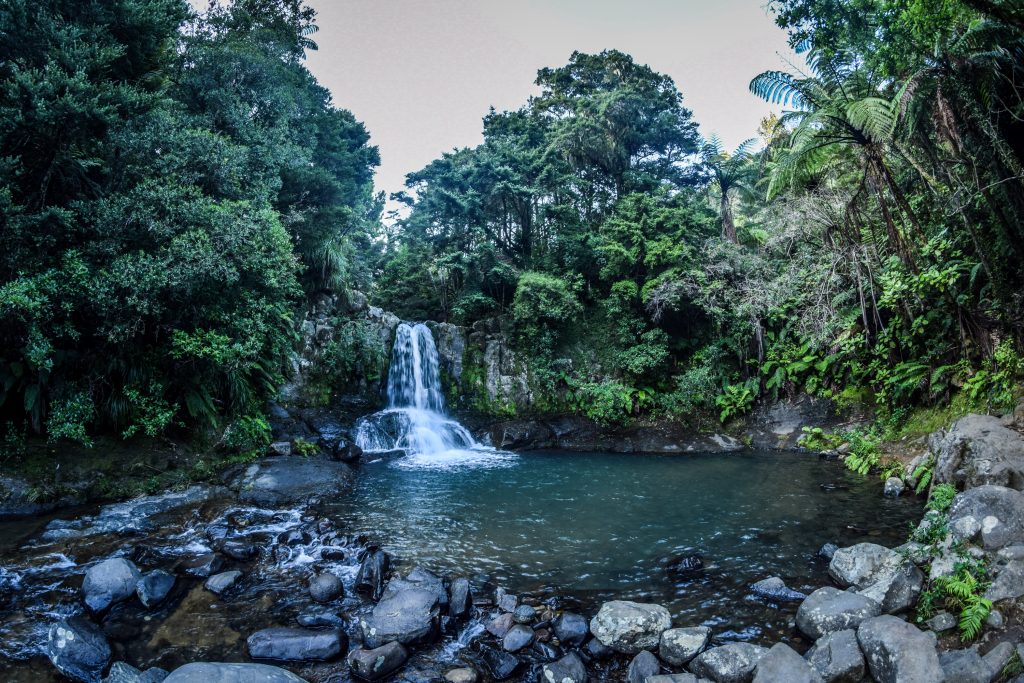
Waiau Falls and Kauri Grove
Both attractions are located on Road 309 so you need to drive back from Opito Bay towards Kaimarama and then take a turn to Waiau. After half an hour, there will be parking next to Waiau Falls. It’s only 10 metres high but still a very nice place for a quick stop.
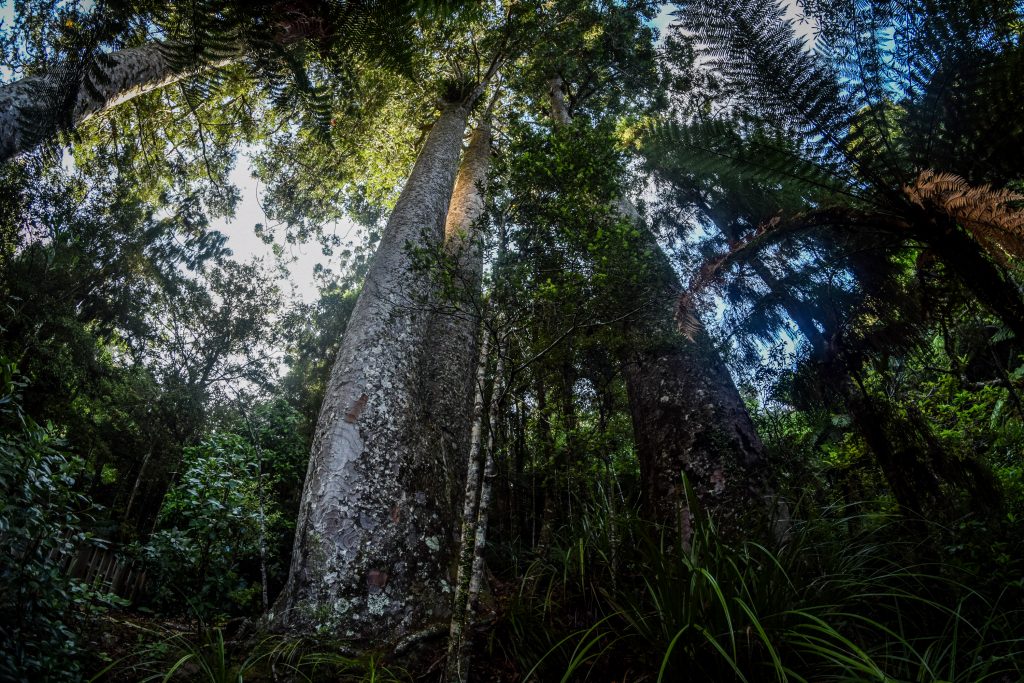
From there, is about 10 minutes hike to kauri grove which was probably the highlight of the day. I had never seen this kind of trees before and damn, I was impressed. Just imagine that back then, the whole Coromandel Peninsula was covered by such a forest! The oldest trees are 600 years old and have about 6m circumference.
Kauri trees are a cornerstone of the original forests of the North Island. They are one of the longest-living tree species in the world as well as the largest.
Tane Mahuta with a diameter of 4.6m and height of 52m is the largest kauri tree still standing. It is estimated to be between 1200 and 2000 years old. You certainly shouldn’t miss seeing it when travelling through Northland.
Kauri timber was used by Maori for a very long time, especially for builduing boats and houses or carving. The gum was used as a fire starter and for chewing.
The arrival of Europeans brought the decimation of these magnificent forests. The mature trees were felled to fulfil the high demand for sawn timber of unsurpassed quality for building. The gum was obtained through digging, fossicking in treetops, or more drastically, by bleeding live trees. Finally, more forest was cleared as demand for farmland.
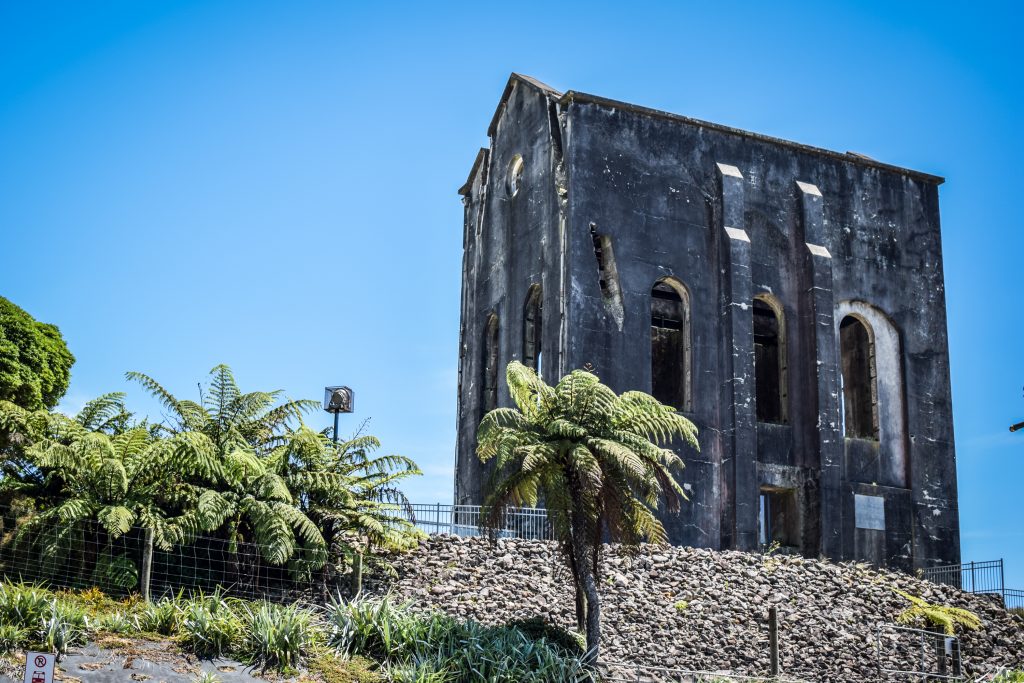
Coromandel Town
The discovery of gold in the 1860s resulted in an establishment of settlement that quickly grew to over 10.000 inhabitants. Have a walk around the town admiring the Victorian architecture and finish the day with fish & chips and sunset view at Mcgregors Bay.
Mining & Historic Museum located in the historic Coromandel School of Mines building presents the life of mining and its impact on a small town so you may want to visit it in the morning if you are interested.

Alternative: night in Port Jackson / Fletcher Bay
A very scenic road goes from Coromandel Town to the very top of the peninsula. It’s about 60 km but you have to count at least 2 hours to get there. The road is gravel and very shaky, so I felt a bit insecure while pushing my campervan to its limits already in a first week. I arrived at Macdonald Recreation Reserve, which is more or less halfway and made a decision to turn back.
Nevertheless, if you decide to proceed further, coastal views will certainly take your breath away. It makes sense to drive in the afternoon, stay for the night in one of DOC’s campsites in Fletcher Bay or Port Jackson and come back to Coromandel Town the following day in the morning.
Hiking enthusiasts will be happy as Coromandel Coastal Walkway (3 hours one-way) links Fletcher Bay with Stony Bay and provides fantastic views.

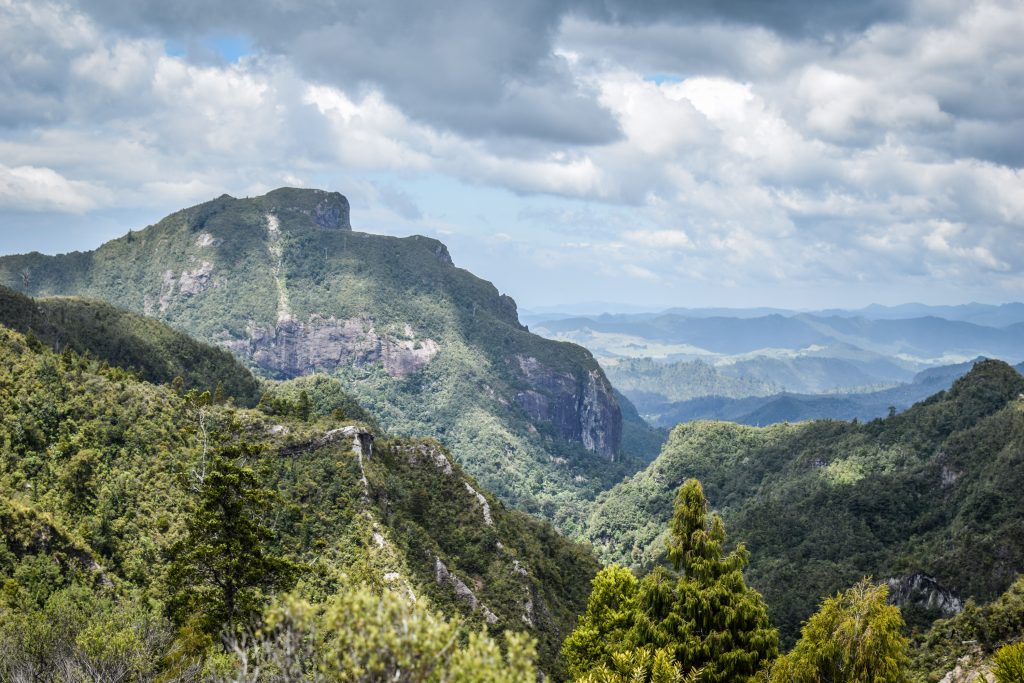
Day 3 – Thames, Pinnacles
The highlight of the last day at Coromandel Peninsula is without doubt a hike to the Pinnacles. But before you head towards Coromandel Forest Park, dive into the gold rush times at well maintened Goldmine Experience in Thames.
Thames
Currently, it’s the largest city on Coromandel Peninsula but back in time, it was even the second-largest city in New Zealand. As usual, all because of the gold rush. At that time it was discovered in the lower Kauaerange valley. Two smaller settlements (Shortland and Grahamstown) were founded to support mining in the early 1860s and later on merged into one forming Thames.
Visit in Goldmine Experience was worth the time and money as it was completely different than modern mine in Waihi. The staff is lovely too and they will certainly tell you more about the story of that place. Wear a helmet to walk through the tunnel and have a look at still working stamper battery in action. It’s really noisy but no worries, you will get ear protection.
School of Mines & Mineralogical Museum is another historical spot on the map of the city. I decided to skip it though as minerals aren’t that interesting for me and the main plan for the day was a hike to Pinnacles.

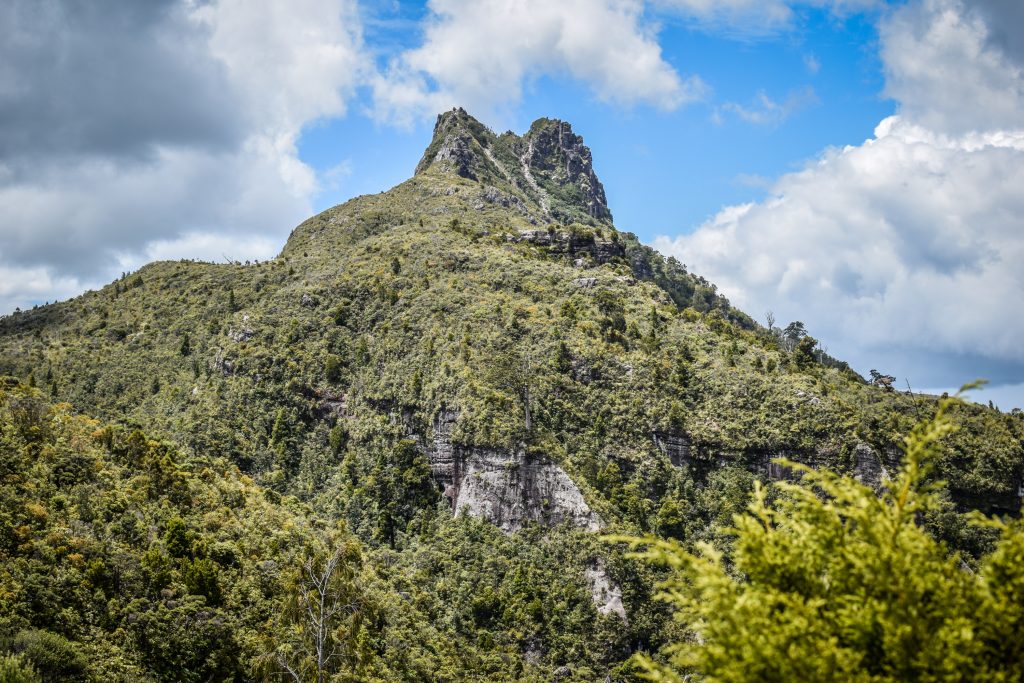
The Pinnacles Track
After a quick stop in Pak’n’Save to stock with food, I moved on towards Coromandel Forest Park and Kauaeranga Valley. From visitor centre (you may want to ask for maps or weather conditions) it’s another couple of minutes on unsealed road to the parking and start of the hike.
Official timing says it’s 3 hours one way to the hut and another 30-40 minutes to the summit. If you are in a good shape, it’s perfectly doable to reach the hut in about 2 hours. But as always, better assume more and take it easy.
The Pinnacles Track follows the route used by packhorses when carrying supplies for loggers, gum diggers and gold miners who worked in the area during the early 1900s.
First kilometres are rather moderate but the track goes continuously up at some point you may get tired. After reaching the trails junction, you can either continue on the Webb Creek Track or the Billygoat Track. The best and the most popular scenario is to take Webb Creek Track for ascent and then descent following Billygoat Track. That’s exactly what I did as well.
The views are getting better and better the higher you go and the last section will take you to The Pinnacles Hut. It’s a popular overnight place and indeed it must be nice to admire night sky in such a place. I didn’t have a reservation so had a quick lunch instead and then made a final push to the summit.
The summit seems to be very close but it is a tough ascent, first on the wooden stairs and later on a metal ladder attached to the rocks. Stay focused but don’t forget to look around – that views are the main reason of coming here after all 🙂 Once on the summit, you should feel great satisfaction.

I descended back towards the Pinnacles Hut and then continued all the way to the same trail junction as before, but that time I chose Billygoat Track, finally arriving at the parking where I left my van.
That’s all about the trip to the Coromandel Peninsula. It was a wonderful time packed with beautiful places, history and scenic hikes. I hope you will enjoy it too. And if you have a question, don’t hesitate to leave a comment.
Cheers!


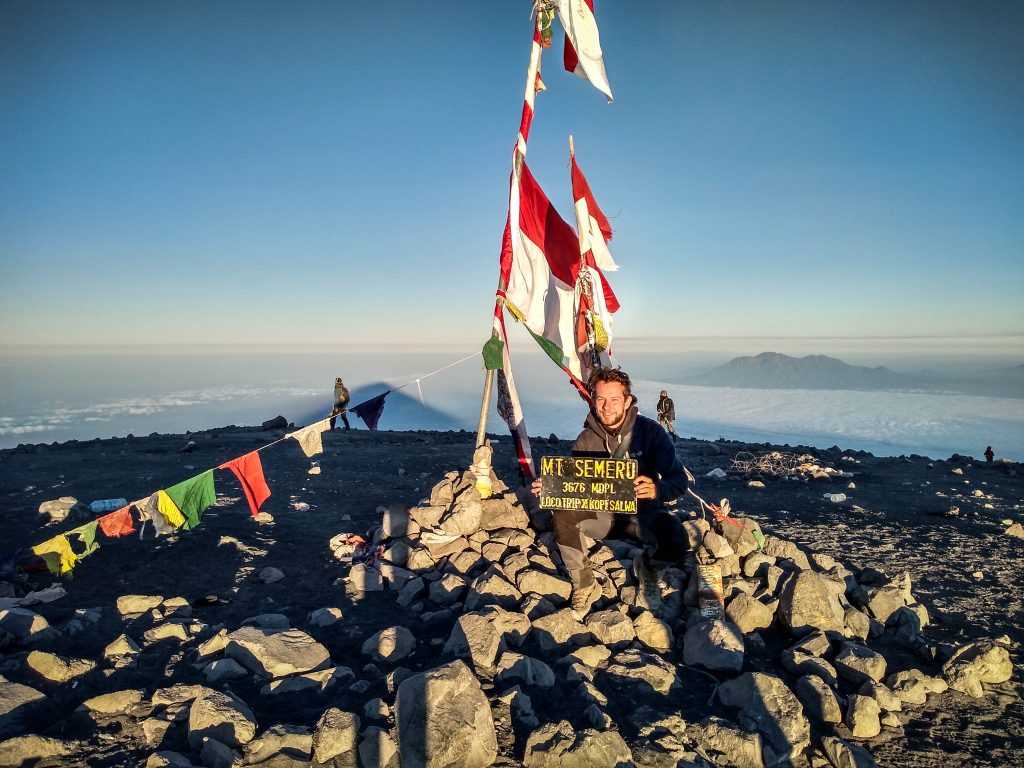
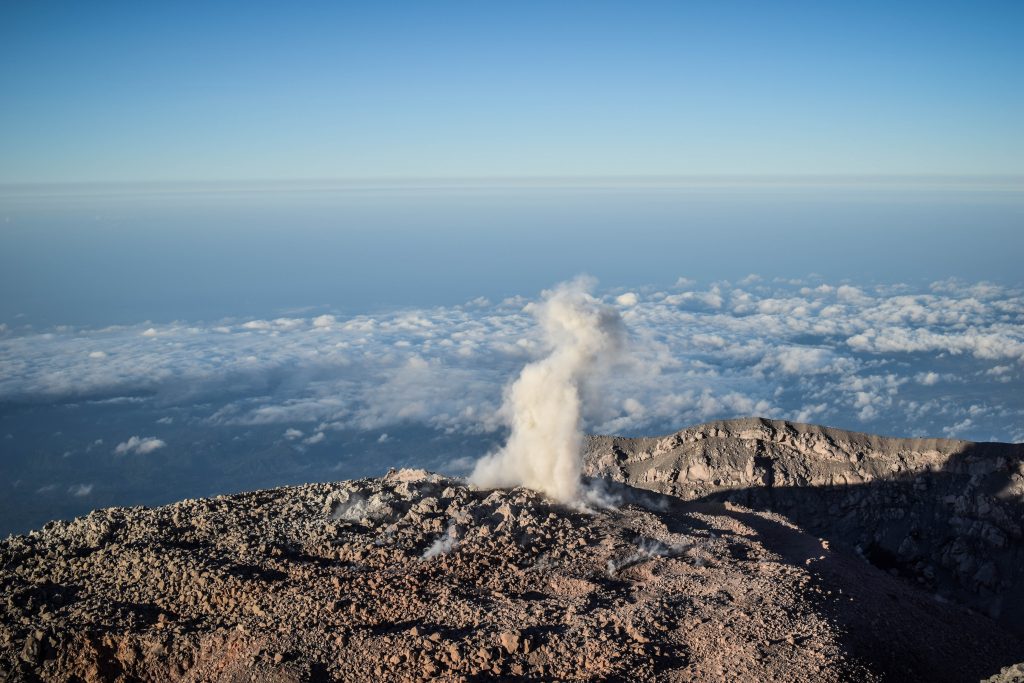
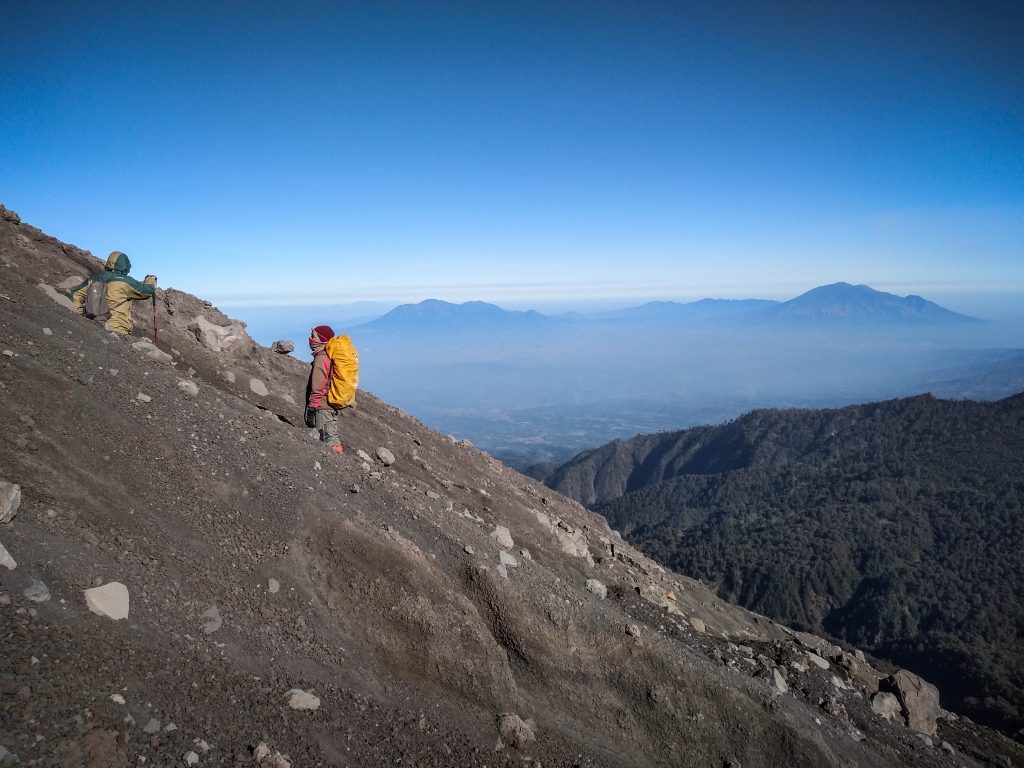
: the highest volcano on Java")